/bag/ Legend of Mari Co-Op
>>>Majoras Mask Co-Op here<<<
Controller is recommended since it is more suited for it. You can try keyboard, there was one guy playing on it and did fine. But seriously, use a controller.
This uses a specific build that has multiplayer and displays other players as the character mod you enabled.
It will be laggy as fuck depending how many people are in one area/level. Multiple people solving a puzzle or triggering something in one room increases the chances of crashing.
When do the sessions happen? Rarely on Saturdays, 8 - 11 pm EST
Alice Mod Page: https://gamebanana.com/mods/577257
Before Starting
- Download the whole game/pack here: https://files.catbox.moe/ox76rj.7z
Skip the parts below and go to In-Game Settings
- Scroll down and download "soh-windows.zip" and extract it to wherever you want.
- Download both ROMs:
- Original - https://files.catbox.moe/ixlw42.7z
- Master Quest - https://files.catbox.moe/bkwoth.7z
- The difference between the two is that Master Quest has different dungeon layouts, puzzles, and enemy placements
- Name the ROM to whatever you want. The reason to do this is to be able to play both Normal Dungeons or Master Quest Dungeons when it comes to randomizers.
Setup (Skip this section)
- Open soh.EXE and it'll ask to create an OTR file, click Yes.
- When it asks for a ROM, locate the one you downloaded.
- Let it compile and you'll be good to go, it doesn't even take a minute. If it asks to "extract another", click Yes and choose the other ROM. It'll create oot.ort and oot-mq.otr in the folder.
- The game will open afterwards.
In-Game Settings
Press F1 to open the Settings bar
To have an easier time testing controls, enable OOT Debug Mode with Maxed Save File under Developer Tools and start a new savefile in-game. Make sure to disable Debug Mode after you're done.
Settings Tab
- To change button bindings:
- Settings > Controller > Controller Mapping
- This is how I have it:

 .
. - If you want this HUD placement, go to Cosmetic Editor
- This is how I have it:
- Settings > Controller > Controller Mapping
- If you want 60FPS+ or any other graphic options:
- Settings > Graphics > Click Match Refresh Rate or adjust it to whatever you want.
- [Highly Recommend] If you want Free Camera movement with Right Stick:
- Settings > Controller > Additional Controller Option > Camera Controls > [x] Free Camera
- Since this will be enabled, you'll have to remove the C-button bindings which are assigned to the right stick, THEN you assign the right stick directionals under the "Additional Right Stick" in Controller Mapping. See Image above.
- You can also adjust Camera Speed and Distance from Link, Invert Camera and Aiming Axis's, or Enable Right Stick Aiming
- Settings > Controller > Additional Controller Option > Camera Controls > [x] Free Camera
- [Highly Recommend] To equip items on the D-Pad:
- Settings > Controller > Additional Controller Option > D-Pad Controls > [x] D-Pad as Equip Items
Enhancements Tab
You can enable whatever you want here, it should not cause desyncs if you have something different from others as far as I've tested with someone else.
[ Required to Enable ]
- Under Graphics
- Enable 3D Dropped items/projectiles
- Under Graphics > Mods
- Use Alternate Assets (This enables the mod. Can also press TAB in-game to disable/enable)
- Disable Bomb Billboarding (Makes Bombs be 3D models instead of a flat billboard texture)
[ Optional but Recommended ]
- Under Gameplay
- Assignable Tunics and Boots
- Gameplay > Time Savers:
- Text Speed: Maxed
- Enable Skip Text (Holding B Skips)
- King Zora Speed: Maxed or keep it normal for meme reasons
- Vine/Ladder Climb Speed: Up to you, +5 is fine
- Block Pushing Speed: Up to you, I think +3 or +4 is fine
- Faster Heavy Block Lift
- No Forced Navi
- No Skulltula Freeze
- Fast Ocarina Playback
- Gameplay > Items:
- Instant Putaway
- Bunny Hood Effect: Faster Run
- Bunny Hood Equippable as Adult
- Prevent Bombchus Forcing First-Person
- Equip Multiple Arrows At Once
- Gameplay > Reduce Clutter
- Mute Low HP Alarm (If you really want to)
- Under Graphics (This will most likely decrease your performance in multiplayer)
- Disable LOD
- Disable Draw Distance
- Kokiri Draw Distance
Cosmetic Editor (under Enhancements)
Feel free to change the color of anything to whatever you want. This will only apply locally, other players will not see your changes.
- If you want Alice's regular outfit color, change Kokiri Tunic to White
- I also highly recommend you edit the HUD Placement to your liking. This is how I have it: https://files.catbox.moe/sbs97d.jpg
Audio Editor (under Enhancements)
Since doing a voice mod is incredibly complicated and there is no easy way to do it yet, I'd suggest using the editor to mute Link's voice if you really want to
- Go to Voices tab -> Change all Adult Link and Young Link voices to "Navi - Unused". Any of the three Unused is fine.
- If you want Alice to use a singing voice when the Ocarina is pulled out:
- Ocarina > Change Ocarina to Malon
- If you want Alice to use a singing voice when the Ocarina is pulled out:
Multiplayer & How to Join
- To play multiplayer, go to Network Tab and have these settings:

- The IP and Port should automatically be filled in if Anchor is selected
- Choose a Tunic Color of your choice for others to see you as and Name you want.
- Room ID is basically the password. All lowercase.
- Player Location Window should be enabled, if not, press the button. This will be useful to teleport to the player by clicking the arrow next to their name.
- Incoming Item Menu This enables the chat. It's not a good one though since you cant check previously sent messages.

Vanilla or Randomizer?
Vanilla
Skip to #2 if you're not the host
- Host needs to provide a save file located in the Save folder. More specifically, provide file1.sav
- Place the file1.sav in the Save folder, open the game, and click Enable in the Network tab.
- In the File Select screen, create a save file and choose either "Ocarina of Time (Original)" or "MASTER QUEST". Choose any name after that.
- Load the save file and start.
Randomizer
This is what we'll be playing 99% of the time. Skip to #2 if you're not the host
- Host needs to provide the .json file AFTER generating the settings under Randomizer. The .json is located in Randomizer folder. If it isn't there, then just create it. Case sensitive, make sure the "R" is capitalized.
- Open the game and click Enable in the Network tab.
- In the File Select screen, create a save file and choose "RANDOMIZER". Choose any name after that.
- Non-hosts will take the .json file and drag it to the game screen while in either the File Screen or Title Screen.
- Load the save file you created in-game in step 3 and start it.
If you get disconnected or crash, you'll automatically connect back to the room when you open the game. There is technically no host since it is using a server to connect to a created room. So no one will disconnect if the "host" crashes or disconnects.
Optional Visual Mods
- There is mod priority for Ship of Harkinian. Make sure you put these mods in a folder if it isn't already and name it "0000 - Texture Mod Name" and THEN rename the Alice Mod Folder to like "0001 - Alice Mod". Visual mods should always be first.
- If any texture issue pops up, just delete the visual mod. I tested with 3DS HD Texture Pack and it works fine, just make sure to delete "Djipi's 3DE - Link's Textures" from the pack.
The visual mods may decrease performance if your PC sucks.
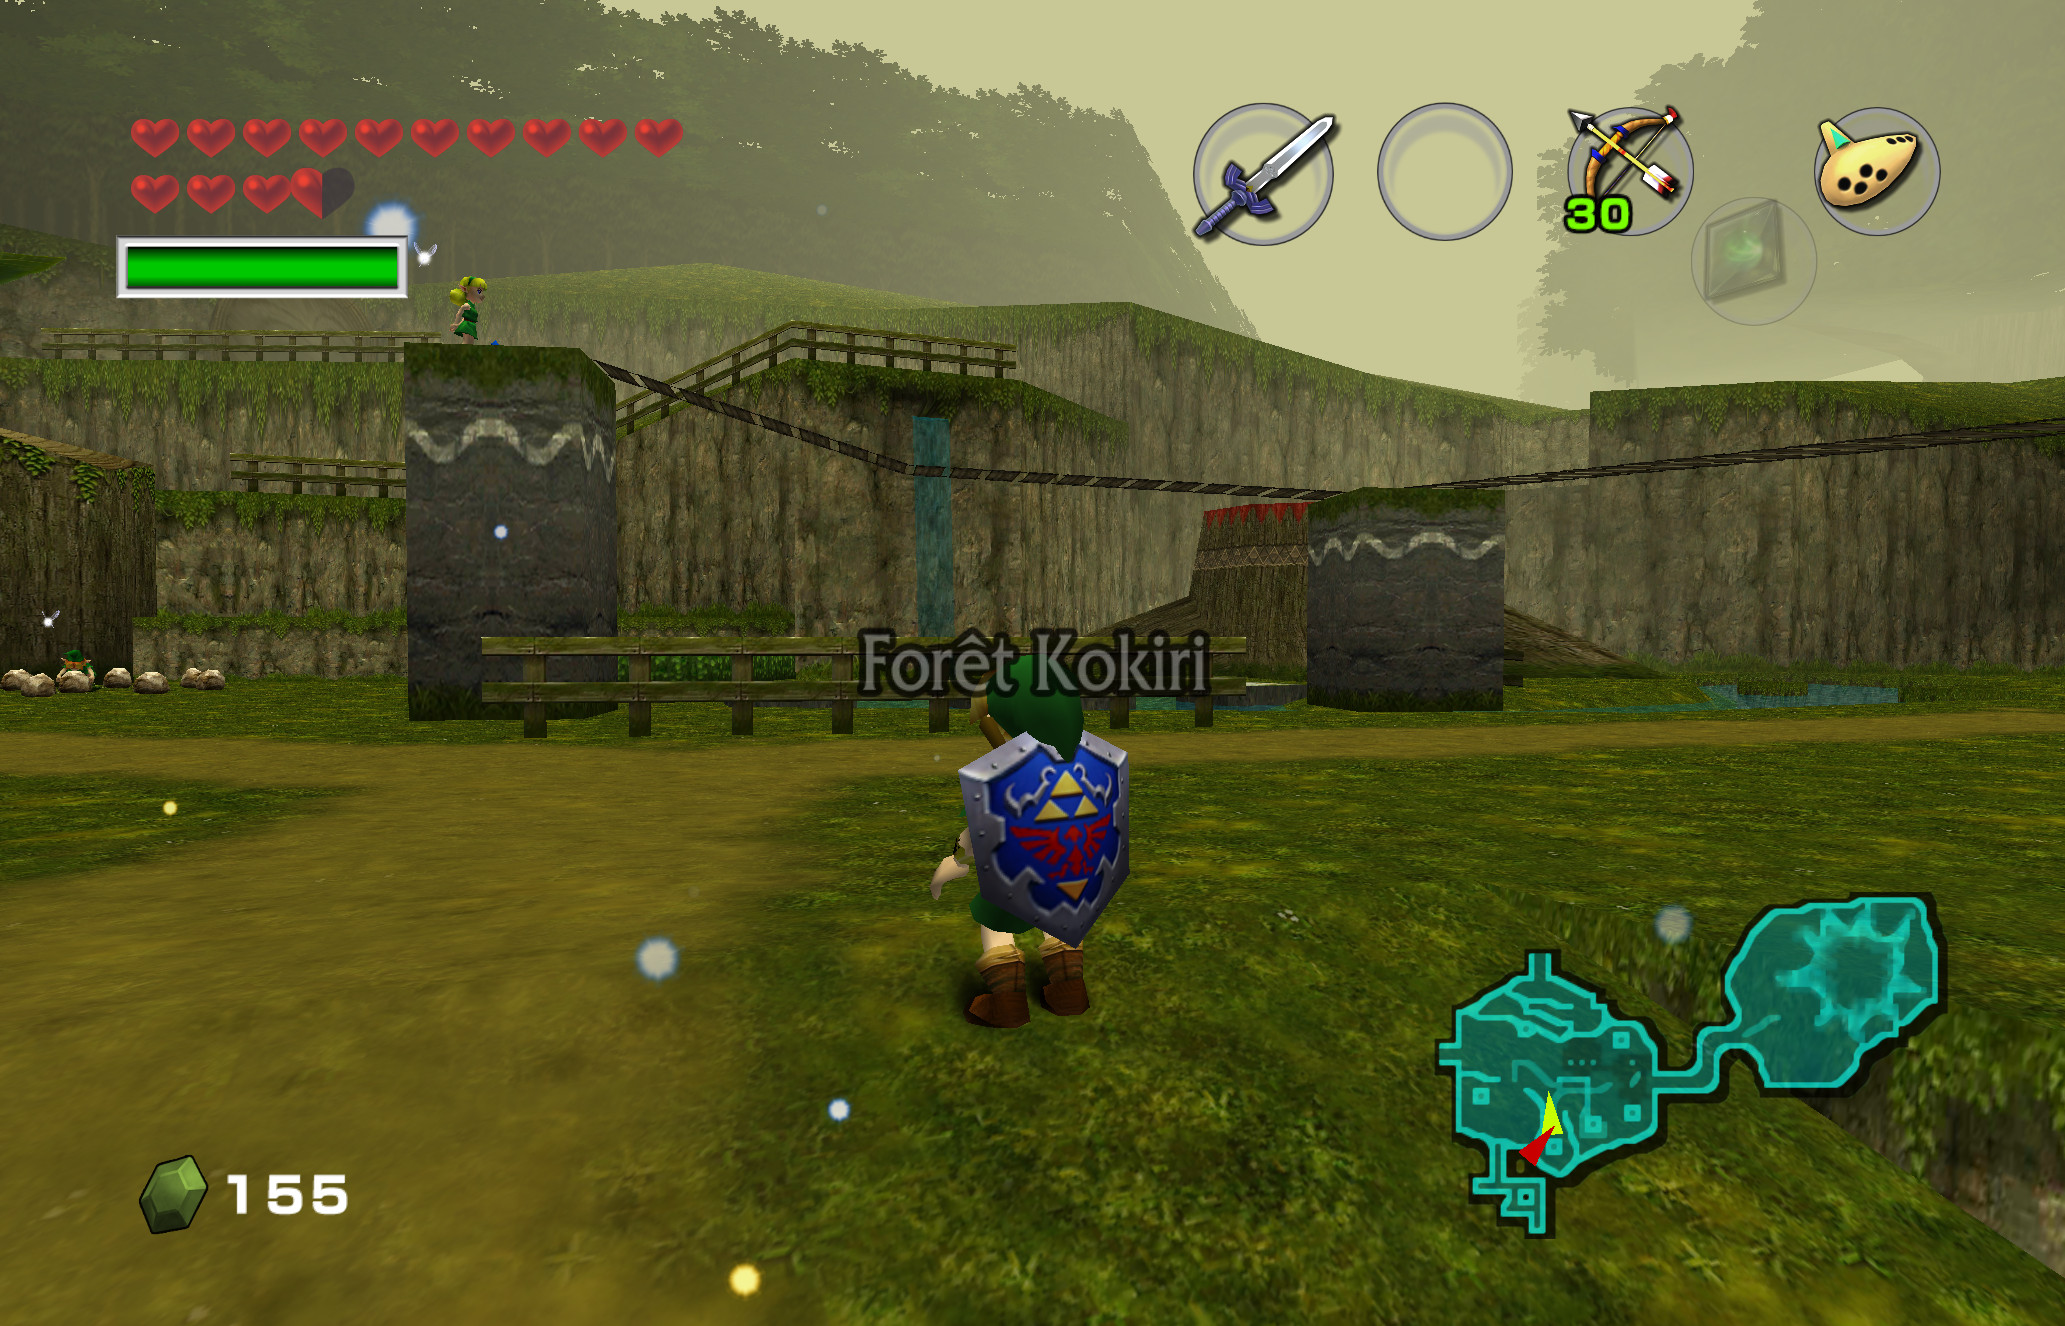
Djipi 3DS HD Texture Pack
- Open image in new tab for full size, More images on the site

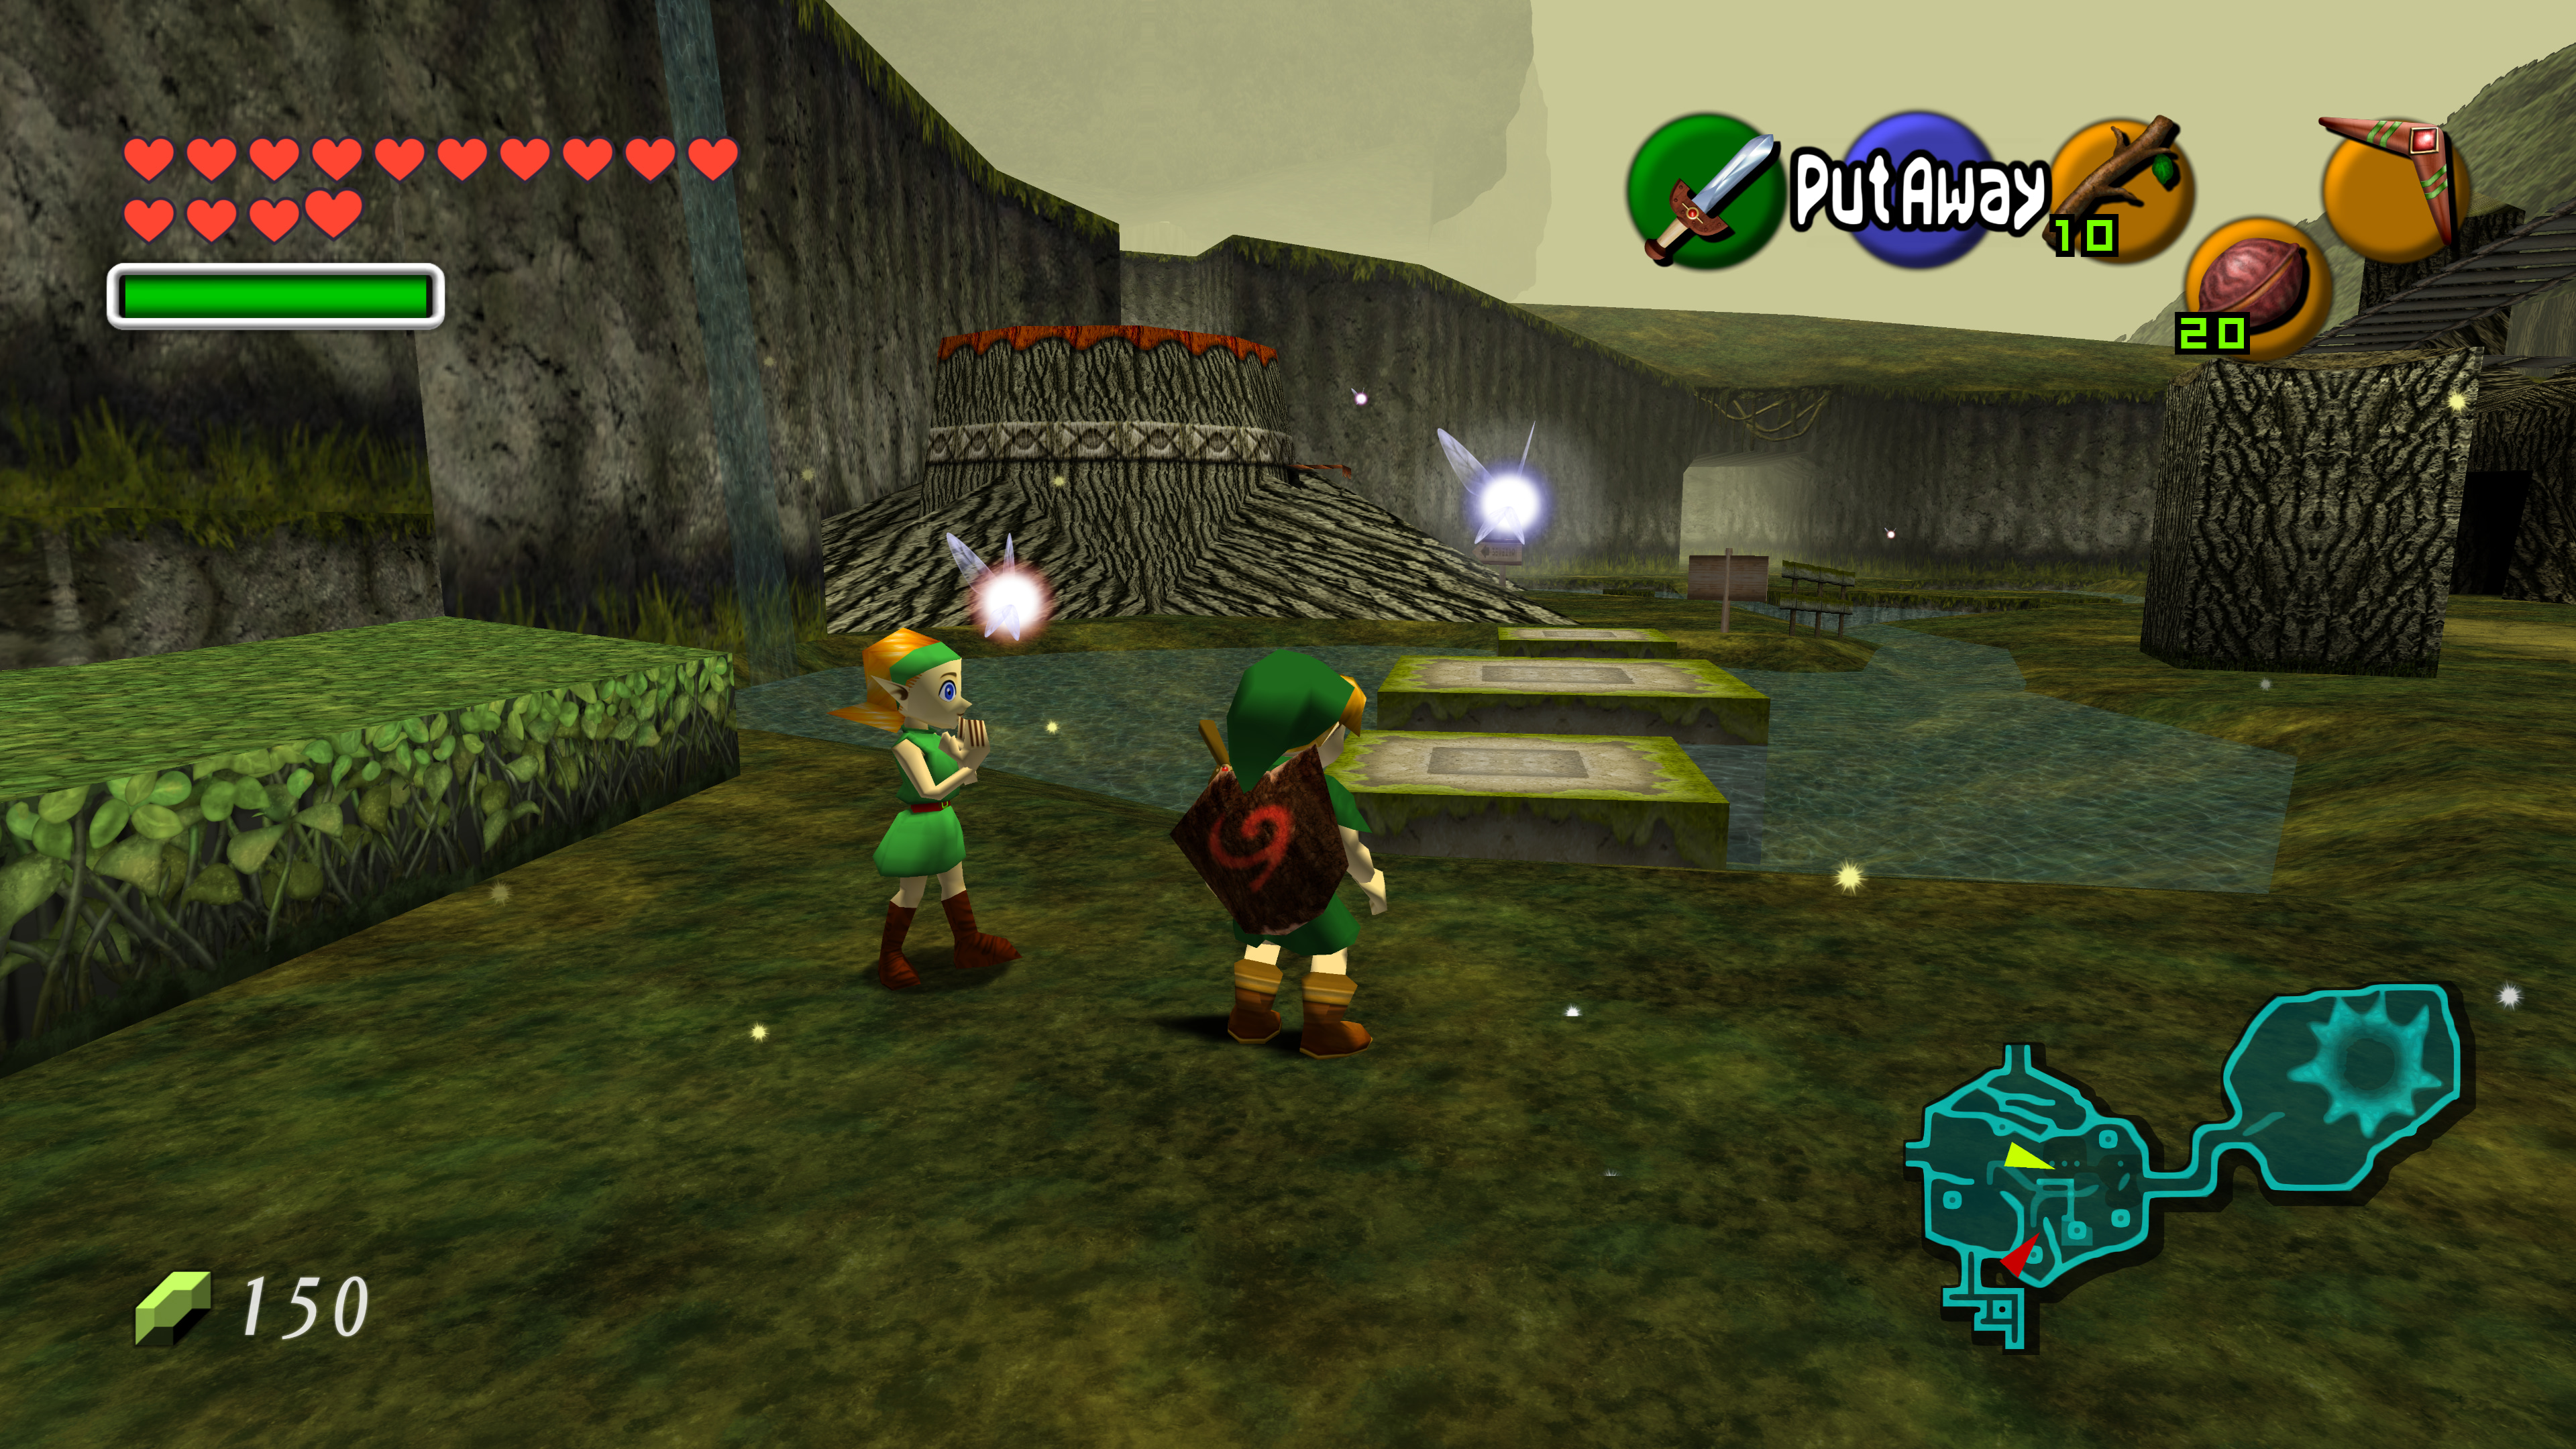
OoT Reloaded
- Open image in new tab for full size, More images on the site

Room ID is baggot
