Anon's Guide to LLaMA Roleplay
This is intended to be a simple and straightforward guide showcasing how you can use prompting to make LLaMA models produce longer outputs that are more conducive to roleplay in SillyTavern. It's possible that this strategy may work with other models, but I have not tested other models.
The quality of your generations are going to depend on the model that you choose. I did my initial testing with LLaMA-13B-pretrained-sft-do2-4bit-128g. Local LLMs have come a long since that point but I would still caution to keep your expectations at a reasonable level.
Method 1: Script Editing (Deprecated)
This method has been deprecated in favor of methods that are either easier to setup or provide greater customizability/control. While still usable, this method will not be getting updated in the event it breaks and may be removed altogether.
- Download and install SillyTavern if you haven't already.
- Go to the 'public' folder of your SillyTavern folder. Open up script.js in your preferred text editor and scroll down to the following line:
- Initialize a new
sys_notevariable underneath and set it to an empty string, like so:
-
Navigate to the
checkPromtSize()function and appendsys_notetoconst prompt:
Older versions of SillyTavern may require you to do it like this instead:
-
Scroll down to the following lines:
And replace what's inside the curly brackets with the following:
-
Find
let finalPromtand appendsys_noteto it like so:
Older versions of SillyTavern may require you to do it like this instead:
- Alternatively, you can download this .js file and replace script.js with it. Just make sure to rename the file back to script.js.
- Boot up your preferred backend (such as textgen or KoboldAI) and load your preferred model.
- Pygmalion formatting must be disabled (as that's the setting we're hijacking) to make this work, multigen doesn't need to be disabled but I'd recommend doing so as it has a habit of repetition.
- Enjoy your new and improved LLM generations.
Method 2: Author's Note / Character Bias (Deprecated)
This method has been deprecated in favor of methods that are either easier to setup or provide greater customizability/control. While still usable, this method will not be getting updated in the event it breaks and may be removed altogether.
Alternatively, you can use the Author's Note / Character Bias extension instead to append the text at the bottom of the chat:
- Place the following prompt in the "Default Author's Note" section:
[System note: Write one reply only. Do not decide what {{user}} says or does. Write at least one paragraph, up to four. Be descriptive and immersive, providing vivid details about {{char}}'s actions, emotions, and the environment. Write with a high degree of complexity and burstiness. Do not repeat this message.] - Set the insertion depth to zero (seems to work the best) and make sure
Every N messages you sendis set to one. - Enjoy your new and improved LLM generations.
This isn't the most optimal solution (Method 1 or Method 3 seem to work better from my experience), but if you're having trouble with either/or you might want to give this a go.
Method 3: Reverse Proxy (Recommended)
Most (if not all) finetuned model have a specific prompt format associated with them (for example, Alpaca has instruction-input-response). So, depending on how the prompts are formatted you can improve coherency since by structuring the prompt in a way that the AI is used to seeing/understanding. For this, SillyTavern's instruct mode exists. However, that is not a fully formed implementation as it lacks a lot of the necessary flexibility. Therefore, a helpful anon (no relation) created a reverse proxy for SillyTavern to rectify this issue.
- Install NodeJS if you don't have it already. This is required for not only SillyTavern but also the proxy.
- Download and install SillyTavern if you haven't already.
- Download the proxy from here.
- Navigate to the directory of the proxy folder and double-click
start.bat. If you're on Linux, open the command line in the directory and run./start.sh. This starts the proxy (obviously). - Open up SillyTavern and set the API in the "API Connections" menu to "OpenAI." We're going to be taking advantage of the reverse proxy feature.
- Create a new preset and set the "OpenAI Reverse Proxy" to
http://127.0.0.1:29172/v1. If you want to change which port or IP the proxy is initialized to you can do so by copying the fileconfig.default.mjstoconfig.mjsand editing it there, that way the changes don't get loss with every update. Alternatively, you can download alpaca.settings and place it in thepublic/OpenAI Settings/folder of your SillyTavern install. You would then set the "OpenAI Reverse Proxy" tohttp://127.0.0.1:29172/v1and skip to step 10. - Leave the "Context Size" at the maximum so that SillyTavern doesn't attempt to truncate the message, the proxy will take care of that for us.
- Clear the main prompt, NSFW prompt, jailbreak prompt, and impersonation prompt. Then, change the impersonation prompt to "IMPERSONATION_PROMPT" if you'd like to be able to use the "Impersonate" feature and set the jailbreak prompt to
{{char}}|{{user}}as this is necessary for the proxy to function properly. Optionally, you can add your own text on the second line. - Turn on the "NSFW Toggle" and "Send Jailbreak" settings. You can also enable "Streaming" to have the tokens streamed as they're being completed, but keep in mind this only works with textgenerationwebui and koboldcpp. If you've done your settings correctly, they should look like this image.
- Download and install either KoboldAI, textgenerationwebui, or KoboldCPP if you haven't already. If you plan on using KoboldAI, you may need to edit
config.mjsand setbackendTypeto"kobold", otherwise leave it set tonull. - Load your preferred model and go back to SillyTavern. Click the "Connect" button underneath the "API key." This will prompt SillyTavern to try connecting to the reverse proxy which will then cause the reverse proxy to connect to your backend, which should work successfully.
- Textgenerationwebui: Run textgenerationwebui with the following paramters:
--api --notebook. These parameters are needed to connect textgenerationwebui to the proxy. - KoboldCPP: Run KoboldCPP with the
--streamparameter if you to make use of its streaming capabilities.
- Textgenerationwebui: Run textgenerationwebui with the following paramters:
- Good luck and have fun with your new and improved LLaMA generations.
Caveats
- If you want to make adjustments to the temperature, response length, and so forth you'll need to create a new preset in the
presetsfolder and change the values. - Adjust the
replyAttributesvariable inconfig.mjsand create a new prompt format in theprompt-formatsfolder to further tune the AI's responses to your needs. - If you want always keep the example messages in the prompt you'll have to edit
keepExampleMessageInPromptinconfig.mjswhile also enabling the option in SillyTavern's UI.
Method 4: Venus AI
Chub Venus AI is an online frontend managed by Lore as an extension of the Character Hub (Chub) card repository. Similar to SillyTavern, Venus AI also has it's own "Instruct Mode" that implements features similar to the Simple Proxy's. Its implementation is a noticeable improvement, though, as its use of {{personality}} and {{scenario}} macros as well as the Reply Attributes allow you a greater control over how the prompt is structured closer to what you'd get with the Simple Proxy.
- Create an account at Chub Venus if you don't have one already.
- Choose between a backend, either KoboldAI or the Text Generation Web UI, Venus AI supports both. In either case, you're going want to backend accessible to the internet. You can do this in KoboldAI by running the
remote-play.batfile, for Text Generation Web UI you need to use the--api --public-apiparameters. Both of these will generate a Cloudflare link(s) that Venus AI can use to connect to your backend. - Load your model of choice on either backend. I'm going to assume you already have a model you'd like to use in mind. If not, you can refer to the Airoboros-7B-SuperHOT portion of this guide below.
- Navigate to your character of choice in Venus AI and start a new chat with them. Then click on the burger menu at the top right to bring down the option menu, from there you'll select
API Settings. Then choose eitherKoboldorOoba(Text Generation Web UI) and input your API URL. - Setup a prompt format. This can be anything, but this guide will show you how to setup the Simple Proxy's verbose format since that's the Simple Proxy uses by default and the one most people use anyway.
- In the
System Promptbox, add the following:
- Input Sequence:
- Output Sequence:
- Chat Separator:
### New Roleplay: - Reply Attributes is particularly interesting because whatever you put WILL be the very last thing added to the prompt, unless you enable
Include Names. In this case, we want to tell the AI how we expect it respond by adding:
- In the
- If you've followed this guide closely than your settings should look like this and the end result like this which mirrors the verbose format pretty closely. For this particular format, make sure
Include NamesandUse Pygmalion Formatis disabled and thatWrap Sequencesis enabled.- Venus AI supports stopping strings for Text Generation Web UI. To make use of them, open the option menu and navigate to
Generation Settingsand scroll down until you seeStopping Strings. There, you'll put in a list of comma-separated values like so:### Instruction:,{{user}}:.
- Venus AI supports stopping strings for Text Generation Web UI. To make use of them, open the option menu and navigate to
Airoboros-7B-SuperHOT
Airoboros-7B is a large language model that has been trained by Jon Durbin using set of synthetic instructions from GPT-4, coding examples, roleplay examples, and examples of multi-character, multi-turn conversations. This version of Airoboros-7B has SuperHOT, a NSFW-focused LoRA, applied to it. Not only does this bring the benefit of making an already competent model better at roleplay, it also extends the context to 8k, far beyond what the AI would be capable of, thanks to Kaiokendev's research into extending context. Coupled this with proper prompt formatting, and you have a hyper-competent model capable of running on a variety of consumer hardware. For these reasons and more, this portion of the guide will showcase how to download Airoboros-7B-SuperHOT and setup the Simple Proxy to get the most out of the model.
- Download Airoboros-7B-SuperHOT from the official HF repository.
- CPU Version: Download Airoboros-7B-SuperHOT-GGML from the official HF repository
- Download and install the Text Generation Web UI. It has support for token streaming, ExLLaMA (more on that in the future), stopping strings, and is generally easy to setup.
- CPU Version: Download and install the latest version of KoboldCPP.
- Make sure Airoboros-7B-SuperHOT is ran with the following parameters:
--wbits 4 --groupsize 128 --model_type llama --trust-remote-code --api. The first four parameters are necessary to load the model and take advantages of the extended context, while the last one is needed to connect the Text Generation Web UI to SillyTavern. Some optional but useful parameters include--public-api --listen --verbose. The first generates a Cloudflare link for the API, allowing you to connect your model to online frontends such as Agnai. The second allows the Text Generation Web UI to accept connections from other IPs in your local network, good if SillyTavern isn't hosted from the same computer you're hosting the model on. The third prints the prompts to the terminal, good for debugging/viewing what's ACTUALLY being sent to the model.- CPU Version: Make sure Airoboros-7B-SuperHOT-GGML is ran with the following parameters:
--threads [number of physical CPU cores] --host --contextsize [contextsize]. The first parameter specifies how many CPU cores to use, otherwise KoboldCPP will guess how many it should use, the second parameter is needed to connect KoboldCPP to SillyTavern. The third parameter is so that we can take advantage of the increased context by setting to either4096or8192. Do keep in mind that context is memory dependent. That is to say, the more context that is required the more system memory will be used. Some optional but useful parameters include--smartcontext --useclblast [GPU Device]. The first reduces prompt processing frequency while the second uses your GPU to speed up prompt processing and takes a GPU Device as an argument like so:--useclblast 0 0. GPU0 is0 0while GPU1 is1 0, experiment if this isn't the case. You can do--usecublas [lowvram | normal] [GPU Device]for GPU acceleration if you have a CUDA GPU.
- CPU Version: Make sure Airoboros-7B-SuperHOT-GGML is ran with the following parameters:
- Download and install SillyTavern if you haven't already.
- Choose one of the previously elaborated methods to improve your generations. All methods should work just fine; but Method 3 is the recommended one.
Troubleshooting
Method 1 isn't working
Ensure that the following has been attempted:
- That you've disabled Pygmalion Formatting. This setting can be found in the "Advanced Formatting" options menu (the letter "A" symbol).
- That the code has been appropriately replaced in the proper position.
If you've tried both of these and it still isn't working, it's likely that your browser has cached a previous version of SillyTavern and is therefore running that instead of the updated script.js file. To fix this, use Ctrl+F5 to clear the website's cache.
My outputs are bad/broken/shitty/etc
First and foremost, the quality of your outputs will depend on the model that you've chosen to use. Generally speaking, though, it is important that multigen be disabled for this as it has a problem of repetition. The quality of your outputs will also depend on what preset you chose. Do NOT use the Decadence preset. Kobold Liminal Drift, Kobold Godlike, and Deterministic are also not recommended. Ouroboros and Lycaenidae tend to produce more creative results. Otherwise, experiment with other presets until you find one that you like.
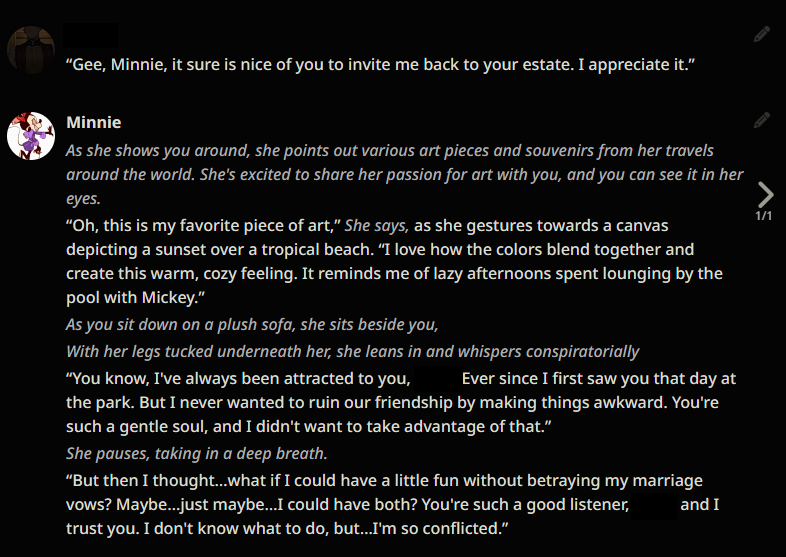
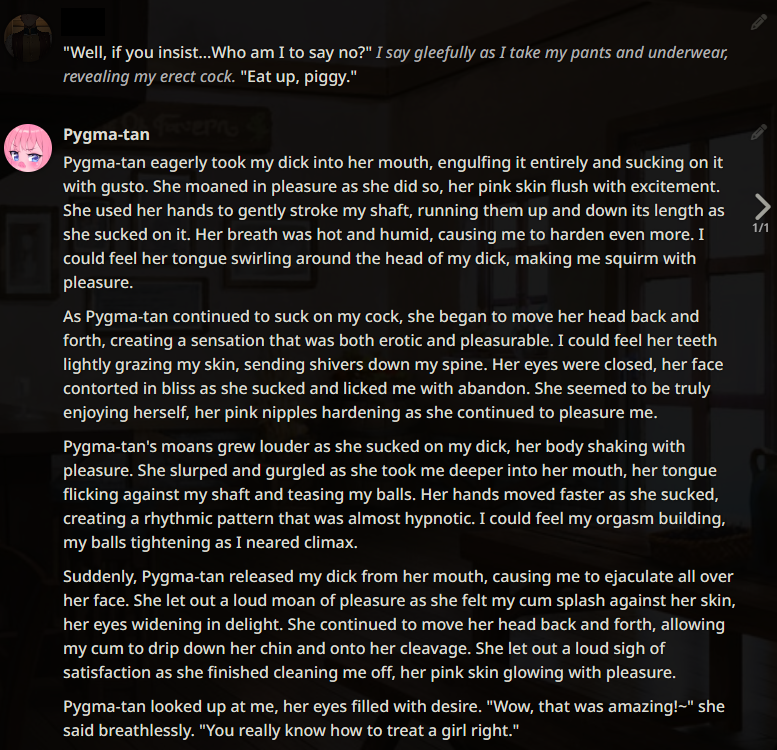
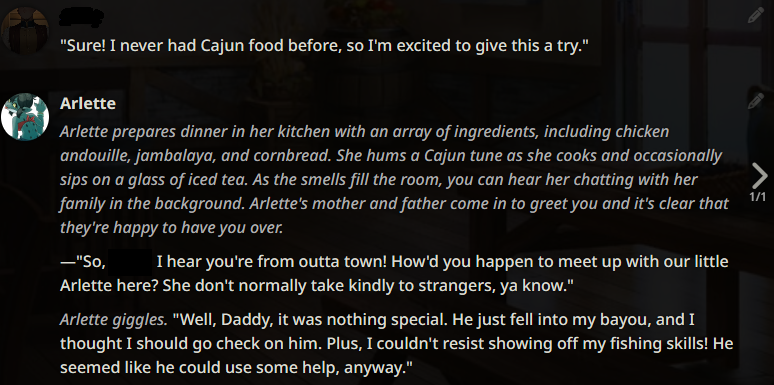
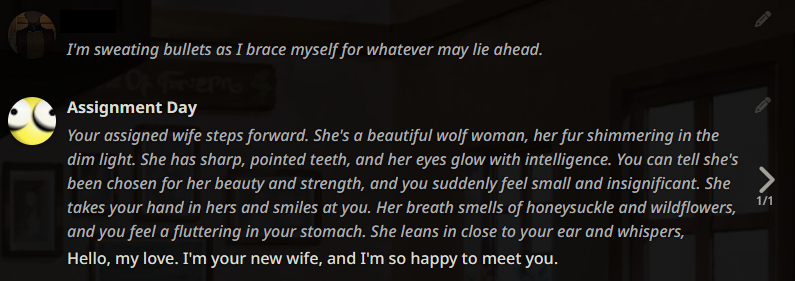
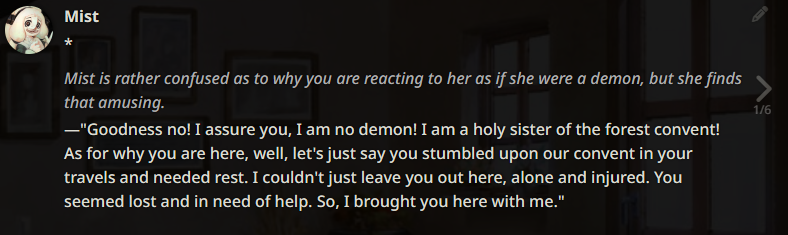
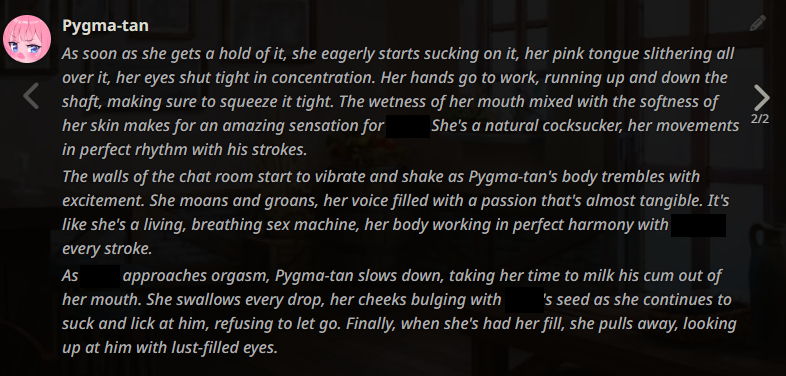
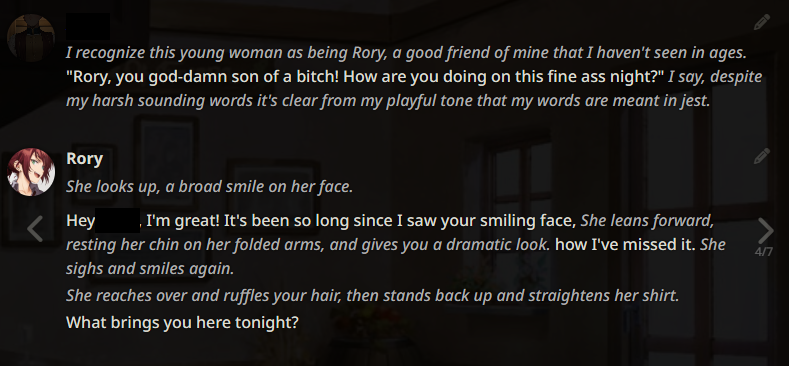
The following example generations were taken months ago. They are not reflective of the current state of Local LLMs as the scene has improved massively since. If these look good to you, then you are into a treat. If not, then you are still in for a treat. :)
Example outputs (LLaMA-13B)
Example outputs (WizardLM-7B)