Graphic tutorial ➯ go back ?
Tutorial on how to do animated graphics/inner backgrounds like me :3
( request by Ewa ) ദ്ദി(。•̀ ,<)~✩
Resources i use: ezgif.com , ibispaintx and Pinterest ( for pngs )
- I tend to colour my graphics however colouring isn't necessary , i find that it just harmonises the piece !
First you gather the pngs you wish to add
( i find mine at Pinterest ) , for the tutorial ill just use these:
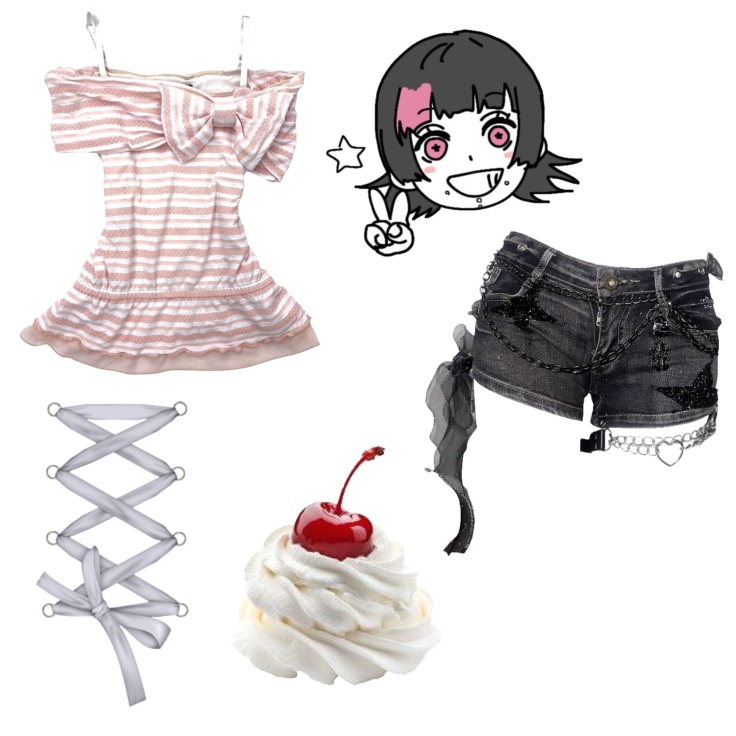
- Remember to remove the backgrounds
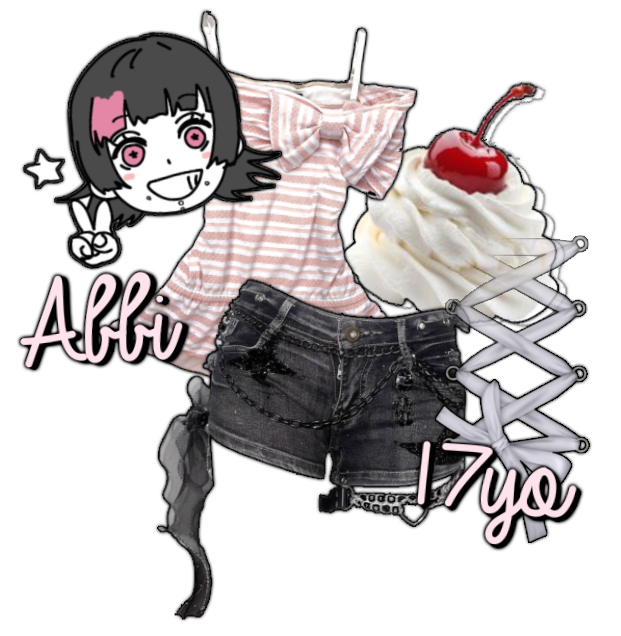
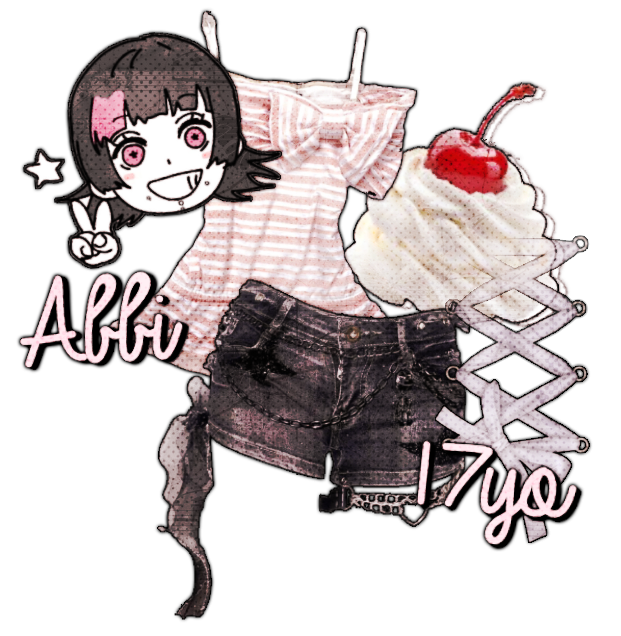
I like to test compositions and placements until i find a composition that looks good
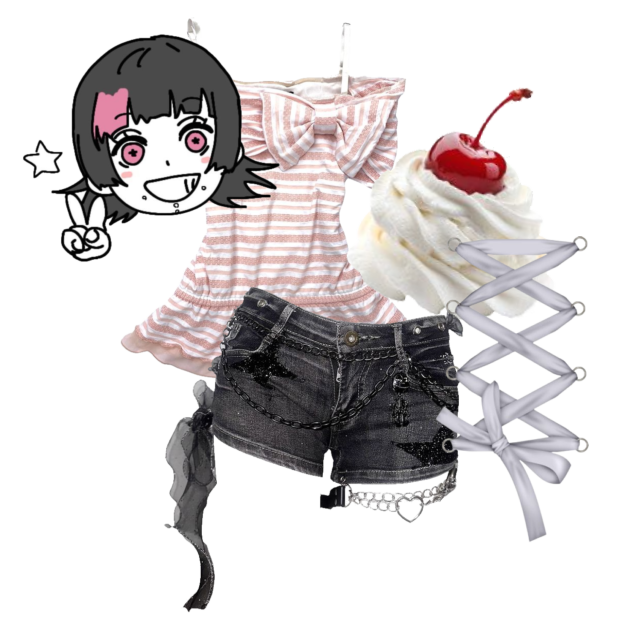
Like this ^ but you see that blank spot ? It feels plain to me so if i have a blank spot i tend to fill it with text !! A name or the url just something ( I'll add my name and age for this example )
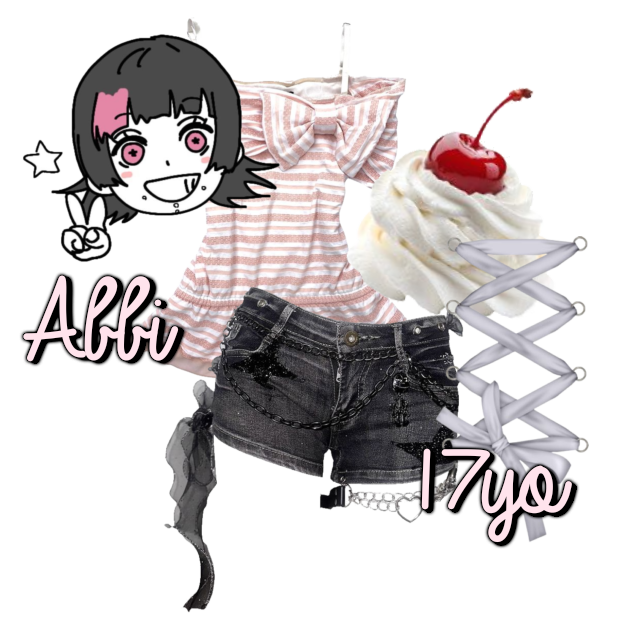
See how the text filled any spaces that felt empty ?? :D ( the left is where id leave a space for links !! )
Now i add glow outer effect !! I'd say this is pretty important but if you'd prefer not to then thats fine !!
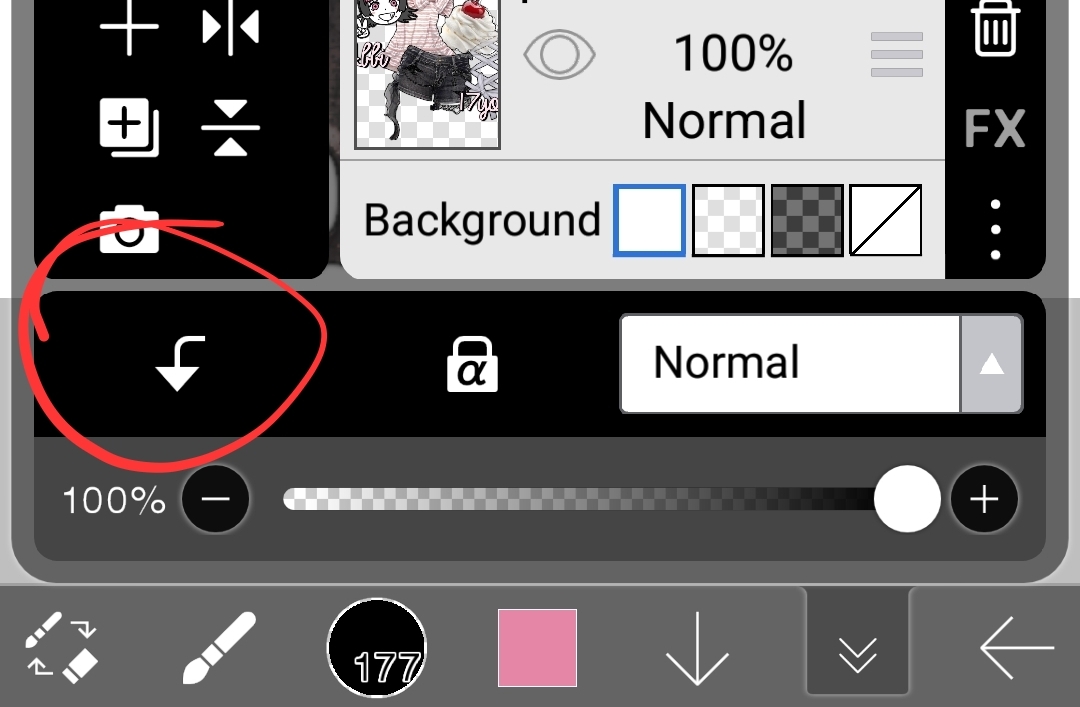
- Do NOT merge your layers together , we need them separate to make them move !!
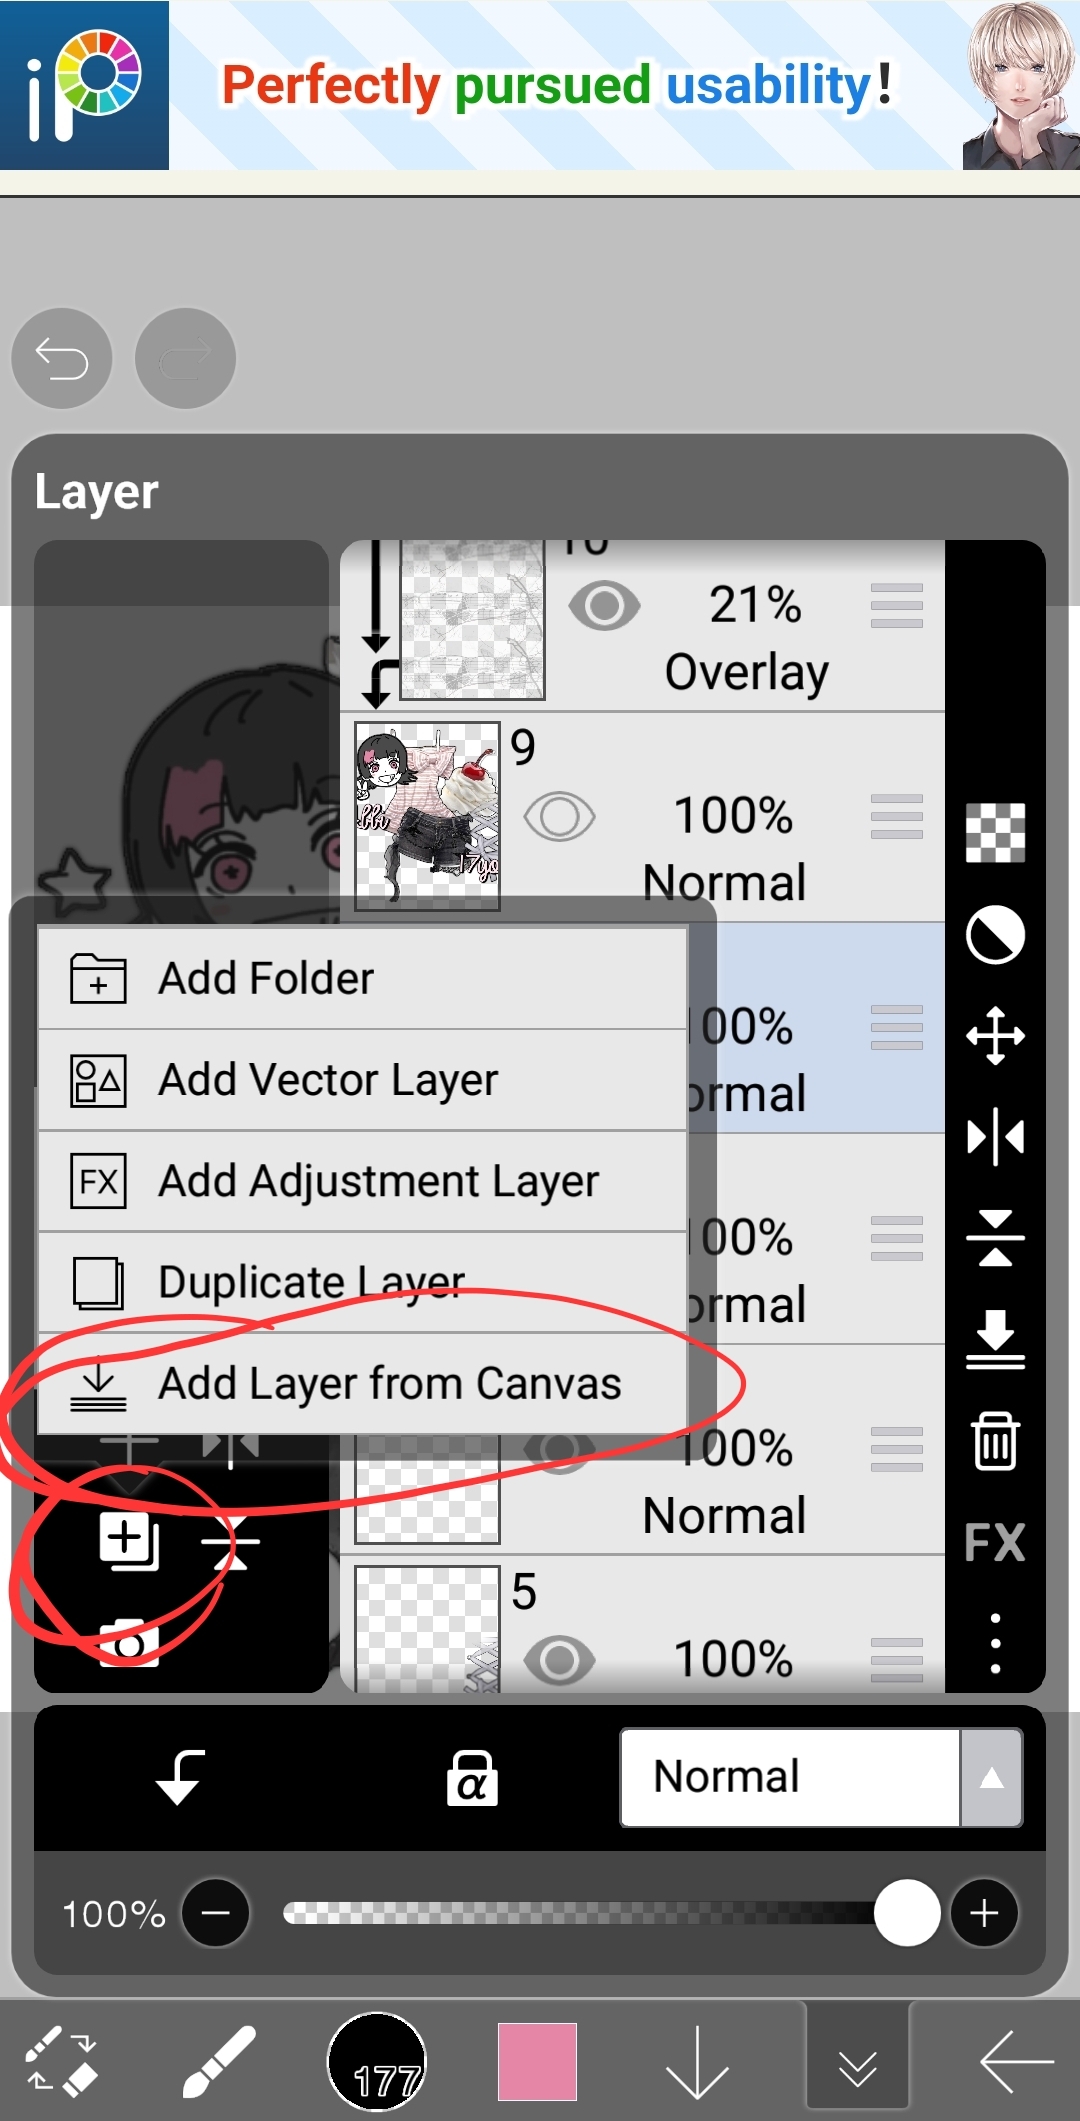
Now add a layer from canvas to keep this composition as we are going to make it move slightly for the gif !! ( Hide the copy for now as we move the pngs around )
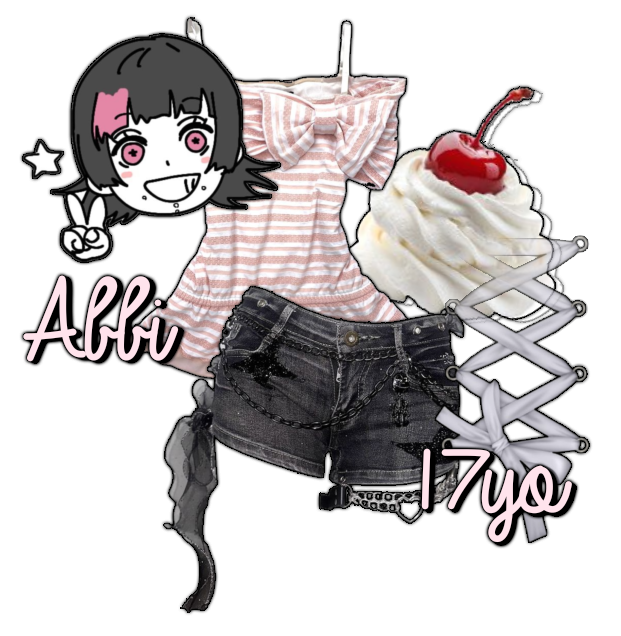
When moving the separate parts i either enlarge it , tilt it or sometimes both . However we don't want to accidentally move it too much so i always use the little sliders !
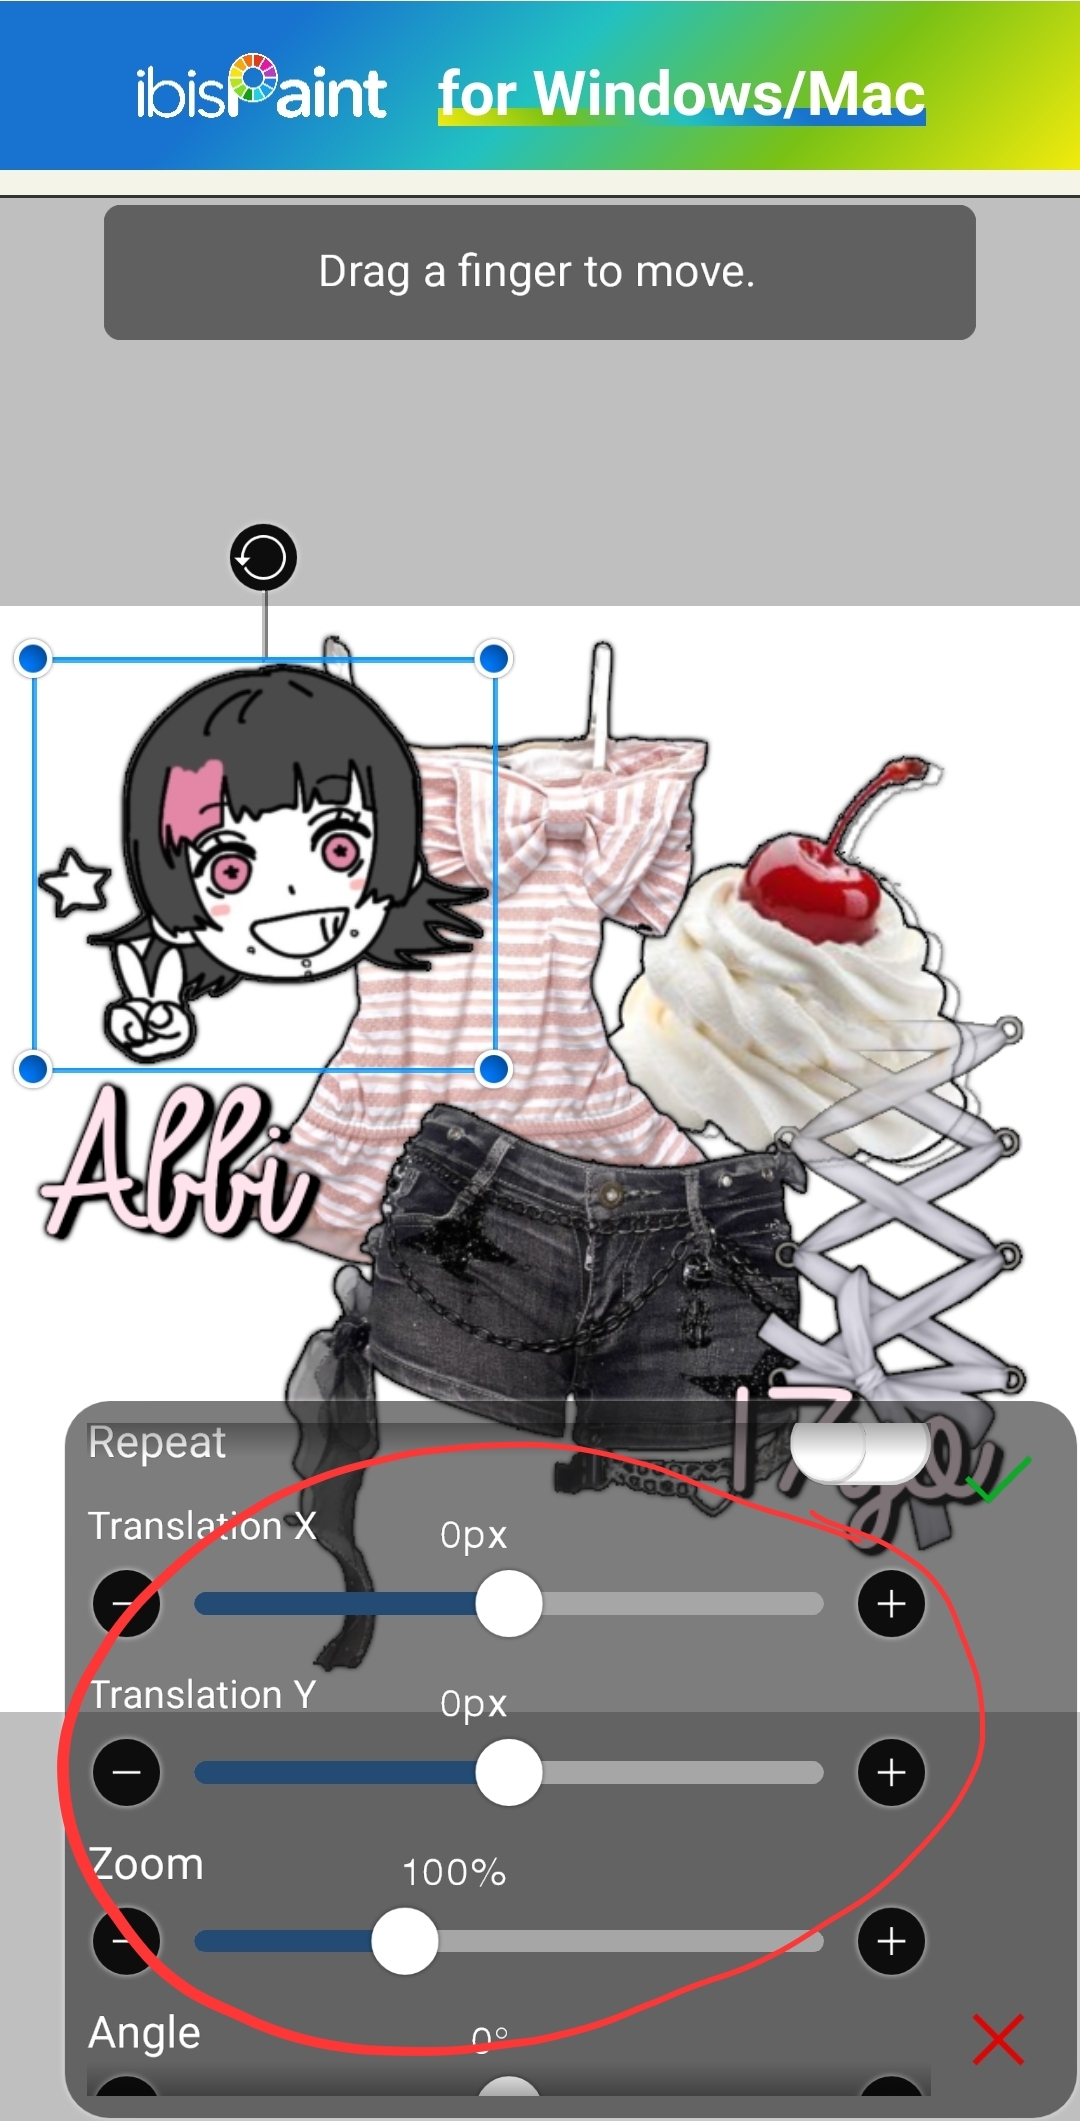
I usually move the sliders by 5 however sometimes you can go up to 10 , but be mindful not to move it too much !!
Now you can see i tilted the head , shirt and texts while enlarging the shorts , whipped cream and text !! But only by 5
Now you have two options , leave the image like this and then make it a gif , or we can colour it !! For this example I'll do a more subtle colouring !!
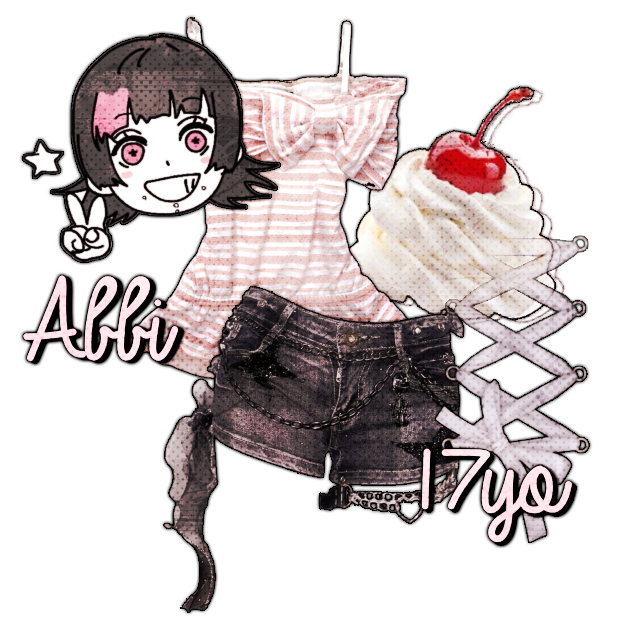
- ^ this was of the og composition we copied from canvas earlier !!
I then merge down our new composition and colour that one !! When colouring remember to clip your colouring onto our graphic so we can keep a transparent background !!
Now we have our two pngs to make into a gif
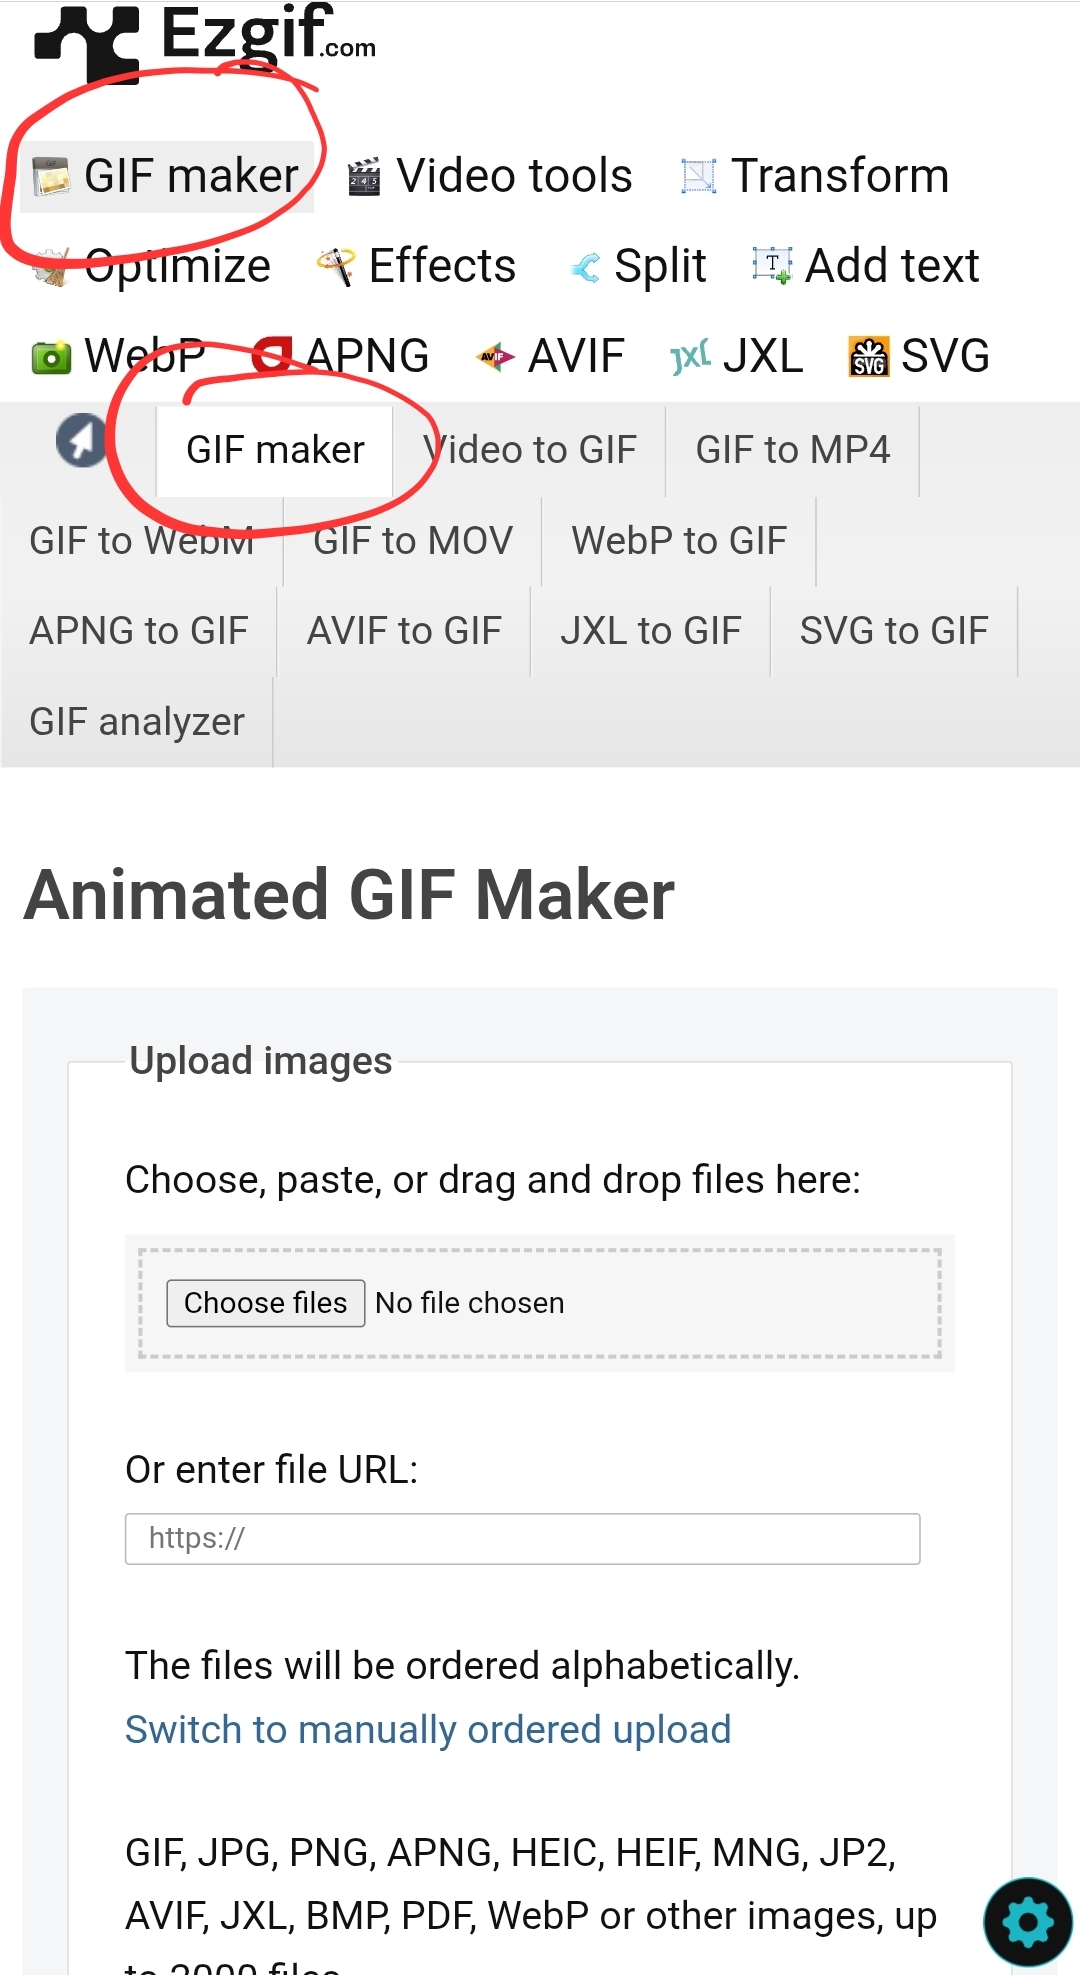
Now go to ezgif.com ~> gif maker section and upload our two photos !
Now , i turn the delay time from 20 to 100 but thats my preference !! You can try out different timings !
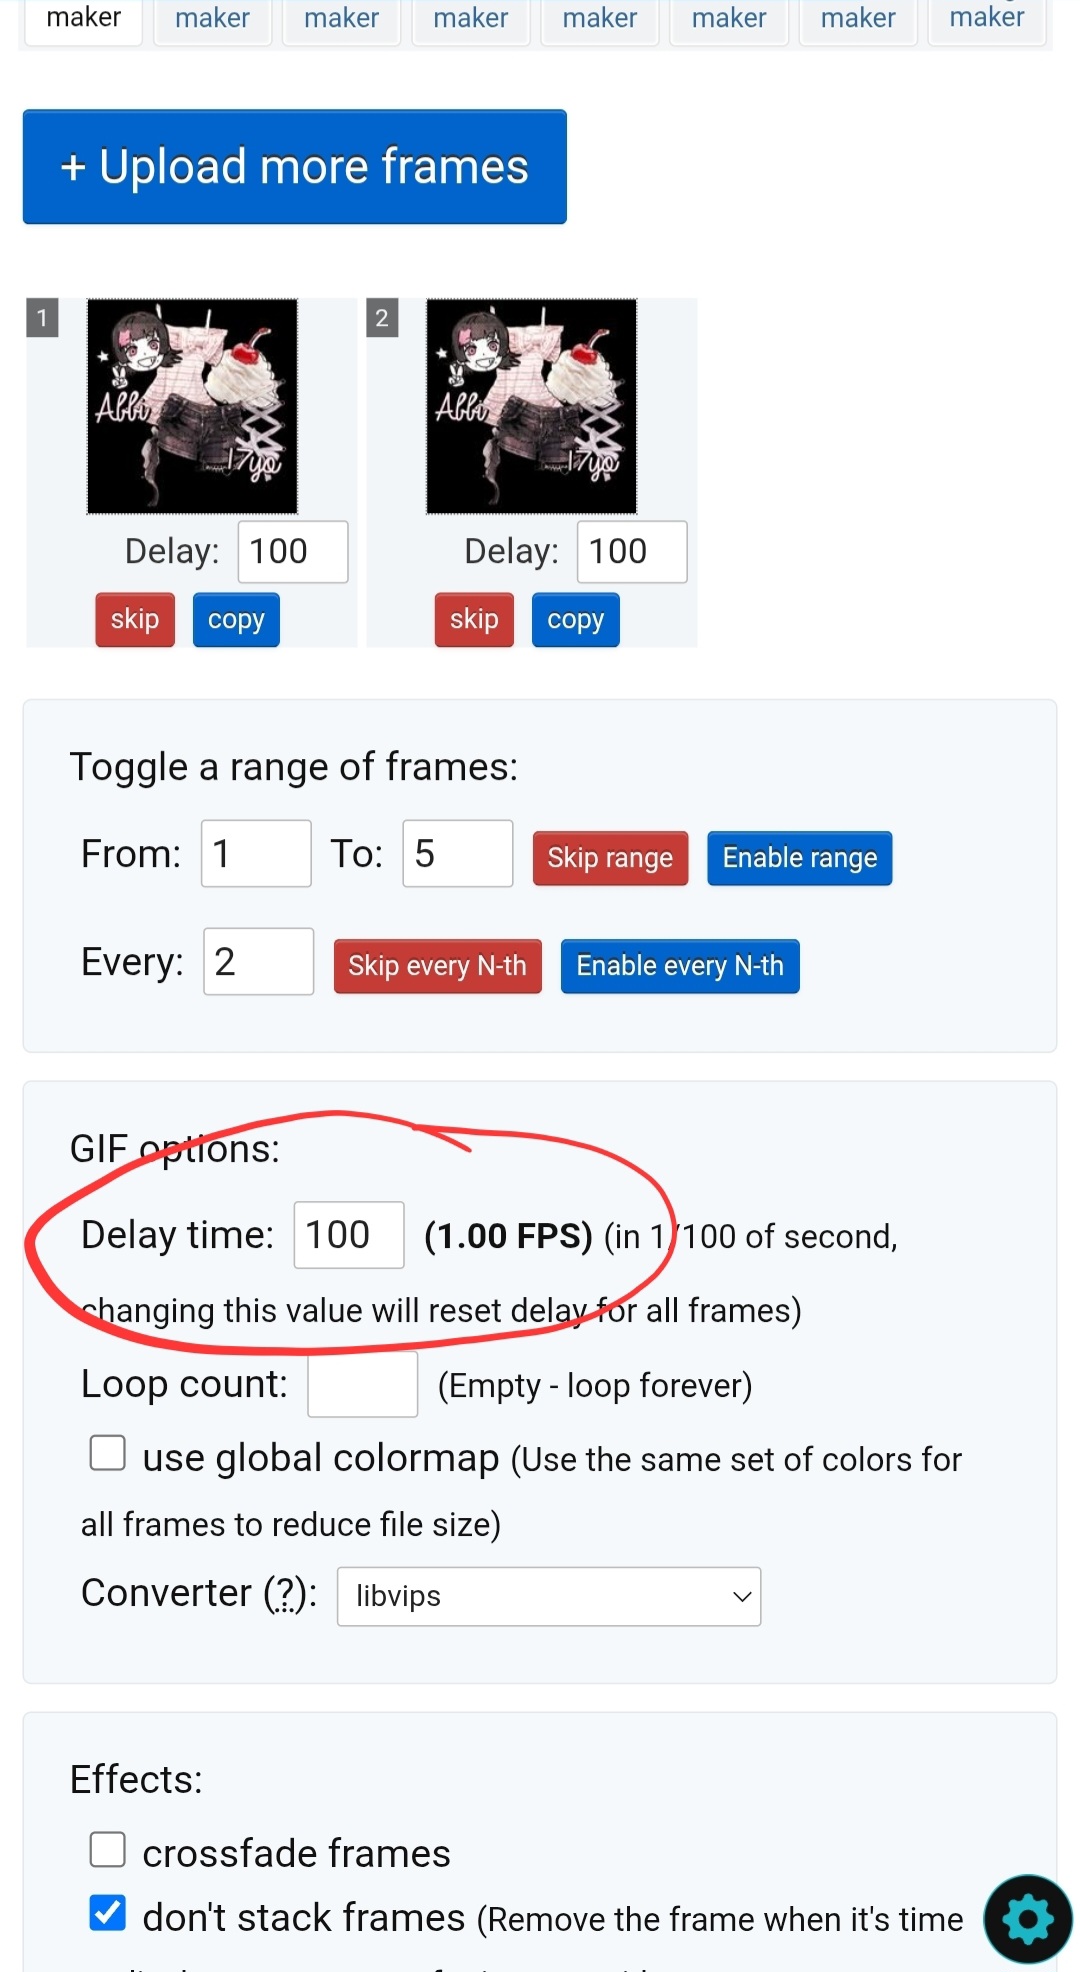
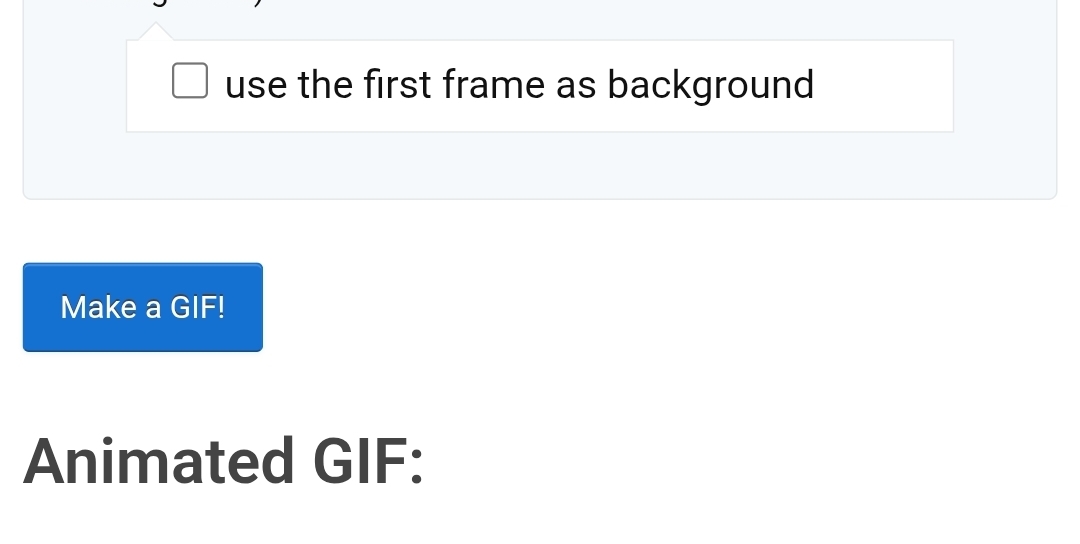
Make sure don't stack frames is on !!
Click the blue make gif button
And then i download my image andddd Ta daaaa !! We have a super kawaii graphic !!
I hope this was easy to understand !! Feel free to show me if you used mai tutorial ➯ here i love seeing people use my tutorials 🥹🥹💖