miku.gg: bot emotions tutorial with stable diffusion
by mikudev
mirror: https://docs.miku.gg/guides/bots/create-bot-emotions/
This guide explains how to create the character expression for a mikugg character using stable diffusion.
Prerequisites
- Automatic1111 Stable Diffusion Web UI for generating images
- Latest version of ControlNet installed
- An anime model, e.g. meinamix
1. Prepare the concept image
The first thing you need to have is the character concept image. You don't need to have an reference image, but you need to generate one.

The basic method is to:
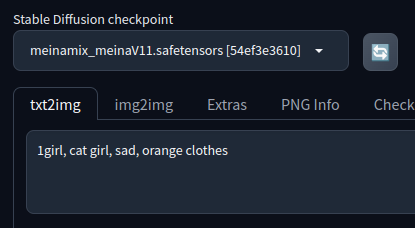
- Describe your character in the prompt of Automatic 1111.
- Generate multiple images until you find one that aligns with your character.
You can also use another image as a reference if you are unsure about the prompt. For example, here I used some random concept image I found an pass it through ControlNet's Canny method to get a better result
||| text2img prompt
||| ControlNET config

||| Result

|||
2. Prepare OpenPose poses
 -
-
The next step is to generate the character in different poses. For this, we first need to build an image with all the poses we want for the character.
The idea is to build a png image with ideally 4 poses, with a total of 2048x512 pixels.
You can find reference poses in OpenPoses. You can use the OpenPose Editor in stable diffusion too.
You should use Gimp or Photoshop to create the image with the 4 pose structures. The final image should look like this:

3. Generate the character sheet
Now that we have the reference image, the character prompt and the poses reference, we can head back to automatic1111 and build the character sheet.
- Go to txt2img, write you previous prompt (positive and negative)
- The dimensions should be 2048 x 512
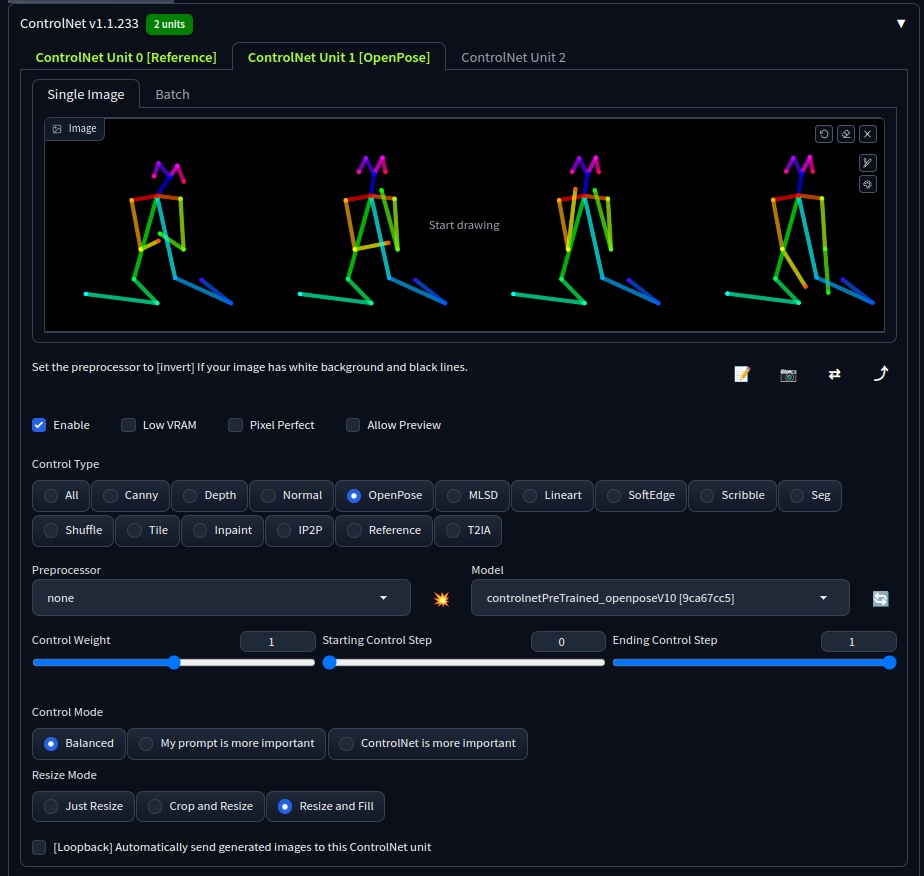
- Add two control nets
- The first controlnet should be "reference only" with your reference image
- The second controlnet should be "open pose" with your poses image (2048x512) without preprocessor.
||| text2img prompt

||| ControlNET "Only Reference"

||| ControlNET "OpenPose"
|||
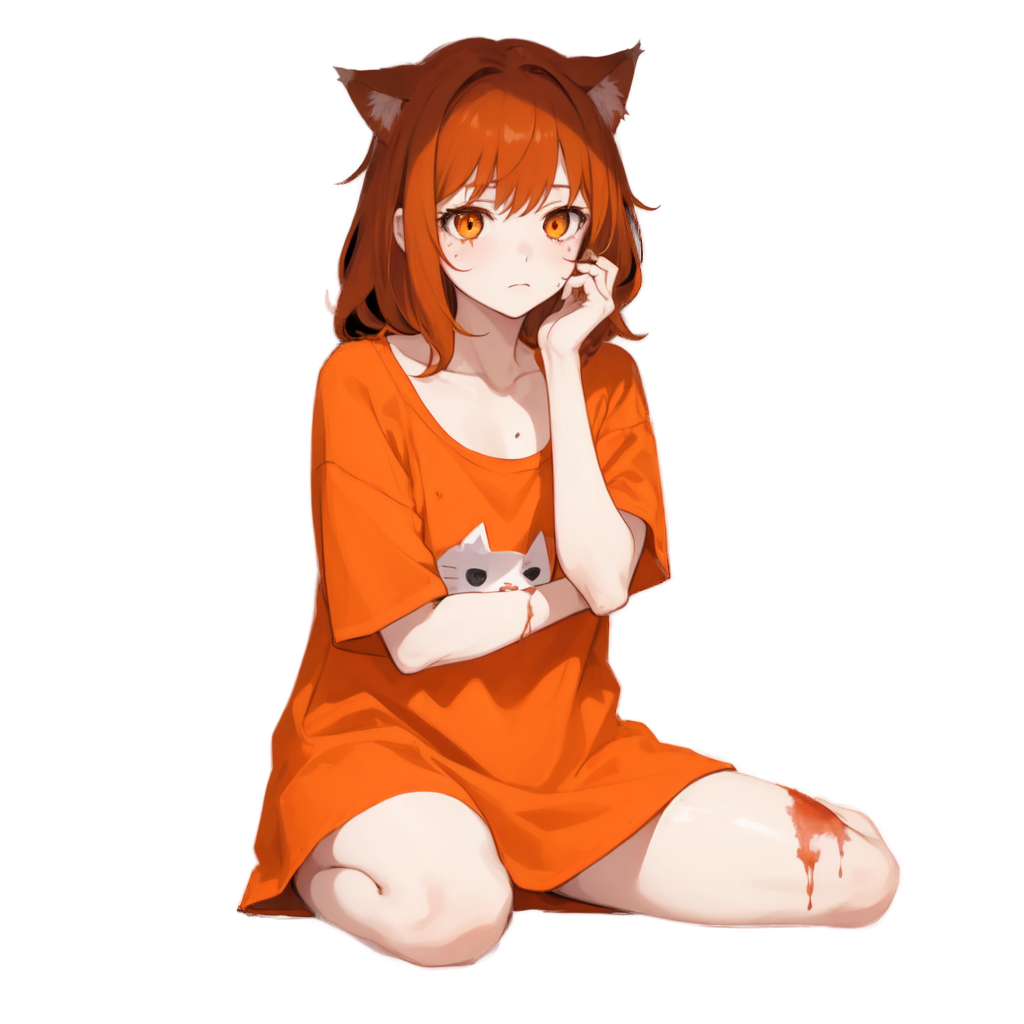
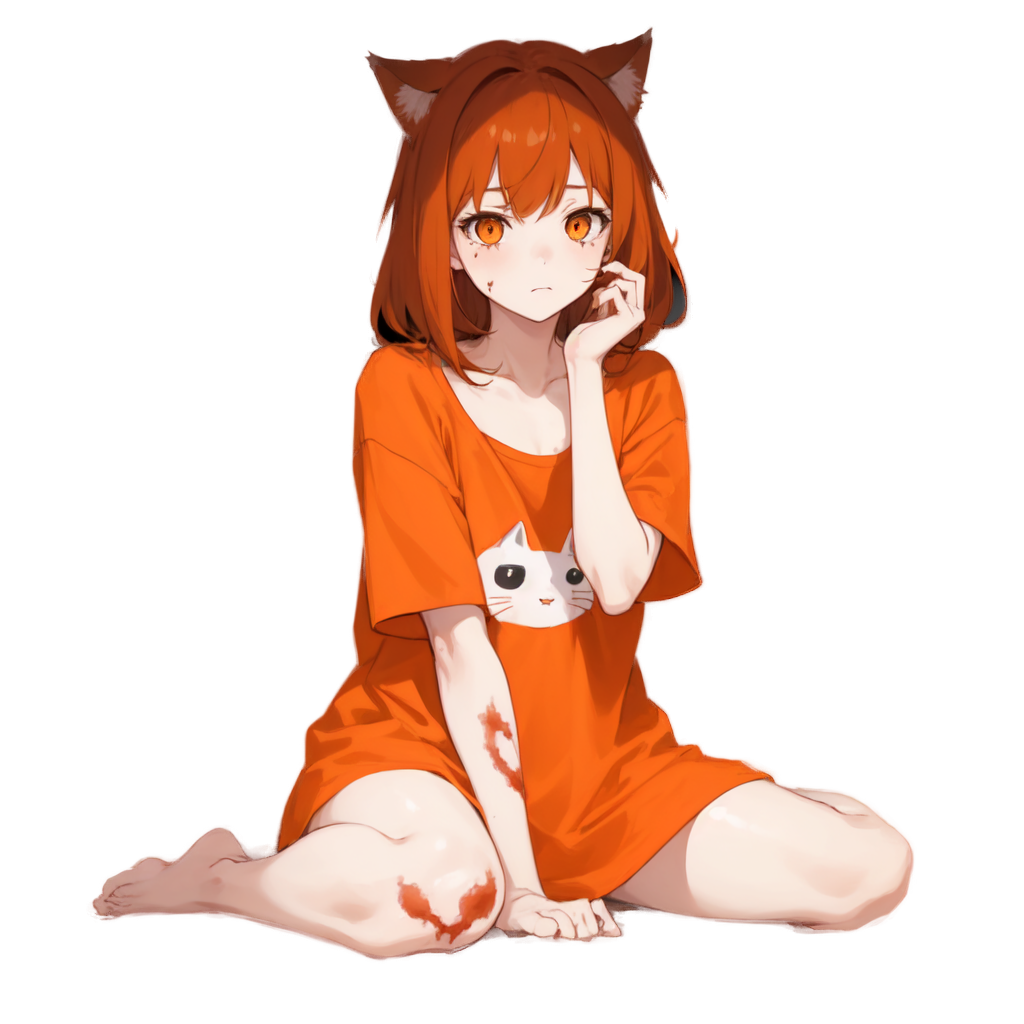
The result quality doesn't have to be the best, feel free to try many configurations, prompt variations and different references if you have many.
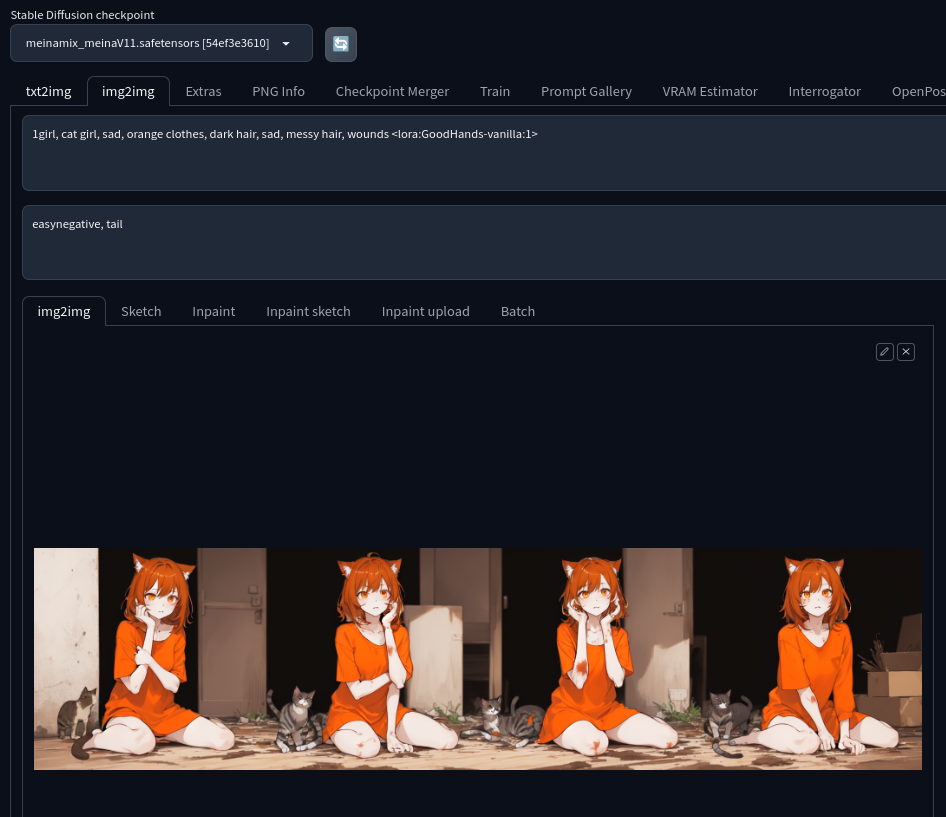
After a few iterations, I ended up deciding for this image

As you can see, the image is still unclear, has some faces are not the best and hands are not properly drawn. We will fix these issues in the next section.
4. Edit and split poses
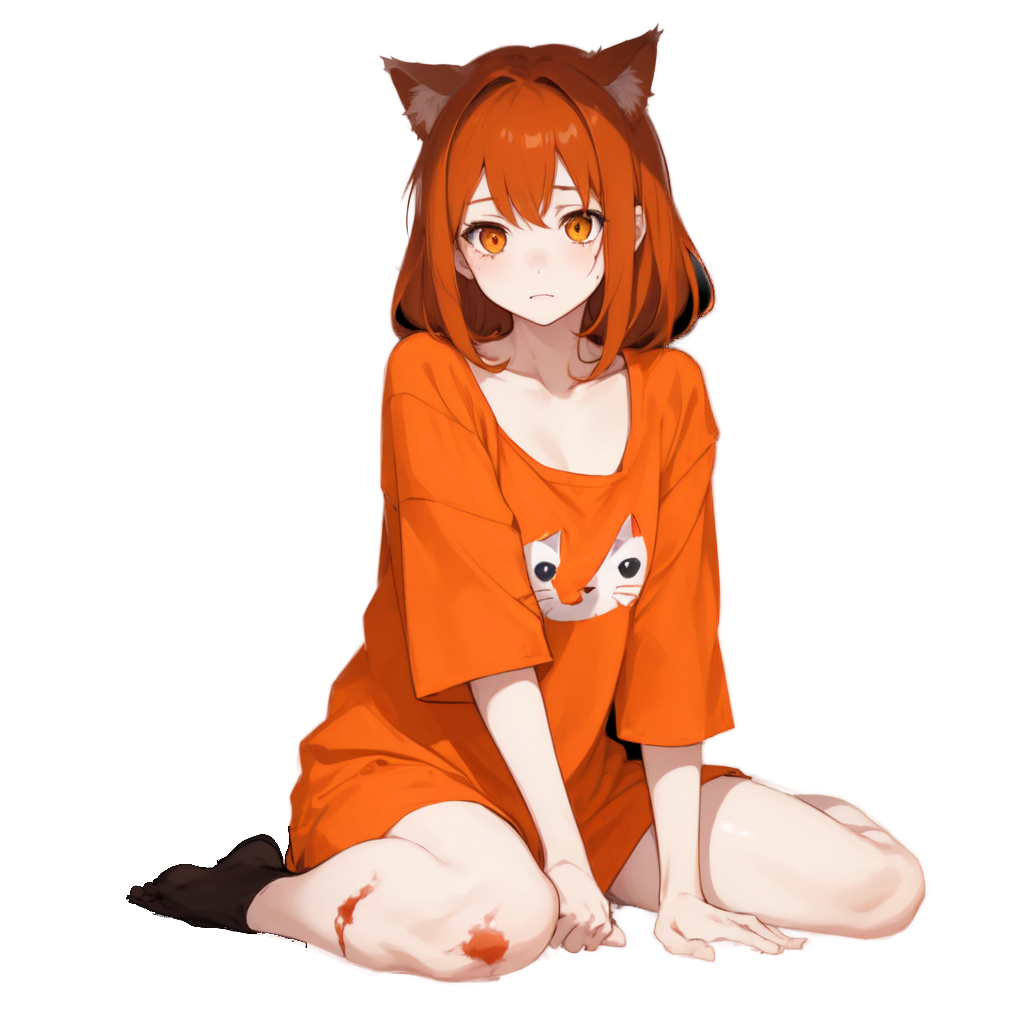
Upscale character sheet image
First let's add more detail to our image using img2img upscaling by clicking on "Send to img2img". The important thing here is to use a low Denoising strength to avoid destroying the image too much and add more details in the proccess.
||| img2img prompt
||| parameters

|||

Remove background and split
Once you have your desired character sheet, you need to remove the backgrounds and split them into poses. You can do this with the stable-diffusion-webui-rembg tool, or with any background-removing tool, or manually.
Something you need to do some small tweaks to the images and automatic tools don't work very well, so this step can take some time.
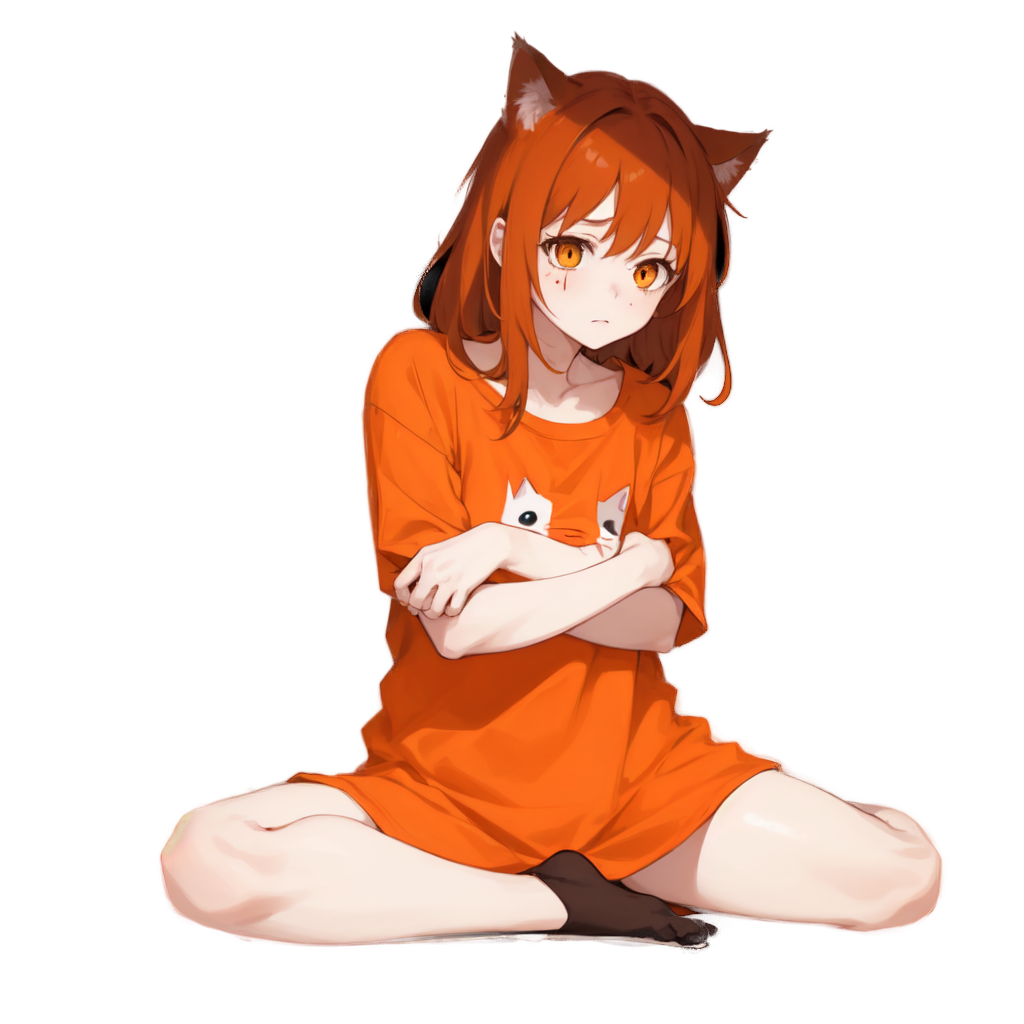
After you have clean up the pngs, separate each pose in a diffrent png file to get it ready for expression inpainting.
||| pose1
||| pose2
||| pose3
||| pose4
|||
5. Generate expressions
We will use a tool called miku_expressions_gen.py. Which is a script for Automatic1111. Please follow the instructions in that link about how to install it.
After installing the script, you should place one of the poses in the "inpaint" area of img2img. and you should inpaint the face rea.
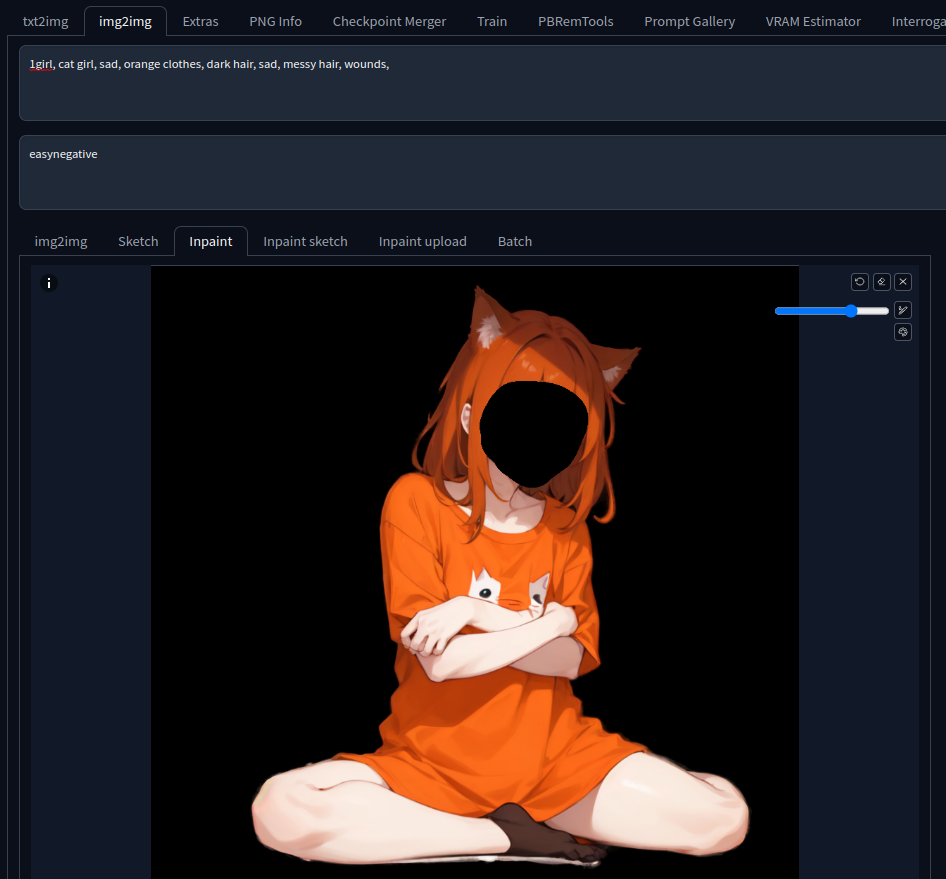
You should make sure to:
- Use an inpaiting model
- Mask the face correctly
- maintain the same prompt and it MUST end with a comma
, - "Only masked" option should be selected as the inpaint area.
- Denosing strength should be set to a high value like
0.75
Do some test inpaitings to check everything is set up correctly.
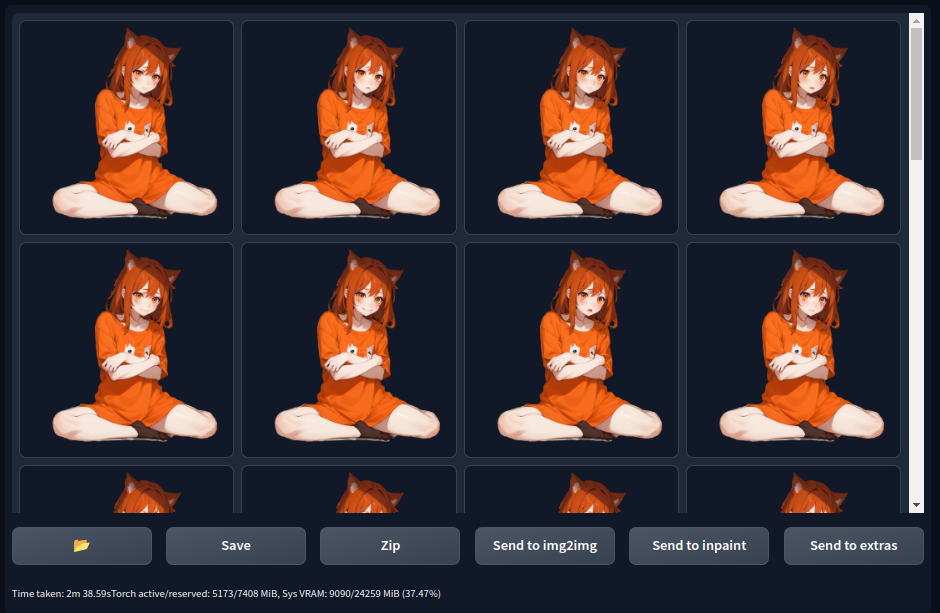
Once you're ready, run the script called miku.gg:inpaint expressions and select the desired emotion pack.
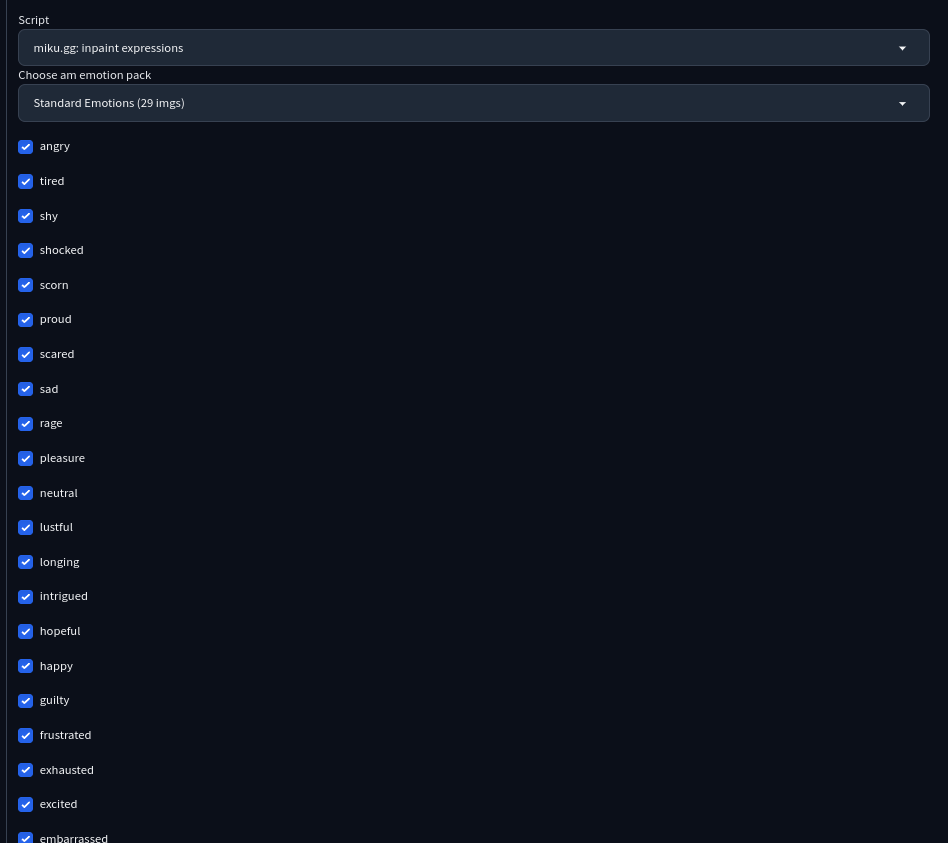
One you have run the script, it will generate all the expressions. For reference it took me almost 3 minutes for the 29 expressions of 1024x1024 images in a RTX 3090.
Please do the same with each pose so you can have more variety of expressions. Also, if some expressions are meant for specific poses, you can unselect them in the checkboxes for the other poses.
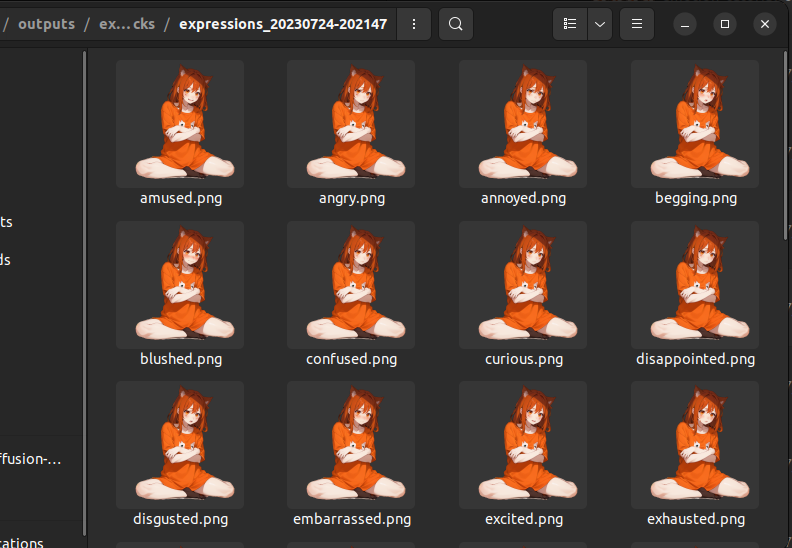
The expresions should be saved in a folder inside the outputs/expresions_packs folder of your stable-diffusion-webui folder. Each image expression has their name written in their file, which makes is simplier to import into the miku bot builder.
6. Import into Miku
Finally, you can import all these poses and their expressions into Miku.
For a tutorial on how to create a bot, please refer to the Create bots guide.
