How To Use Gradient Maps On Photopea
by rentry.co/ulquiorra
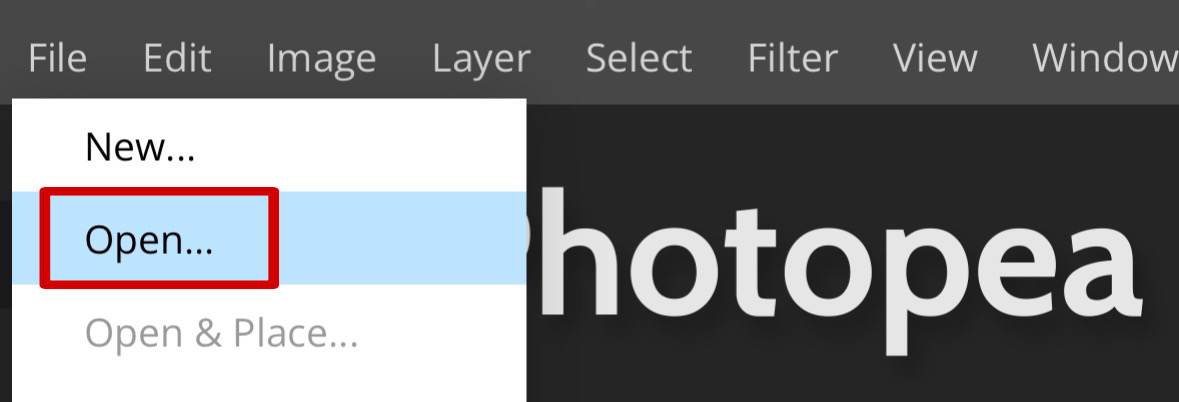
- Acess Photopea > File > Open and select the image you wish to edit. You can recolor JPEGs, PNGs and even GIFs.
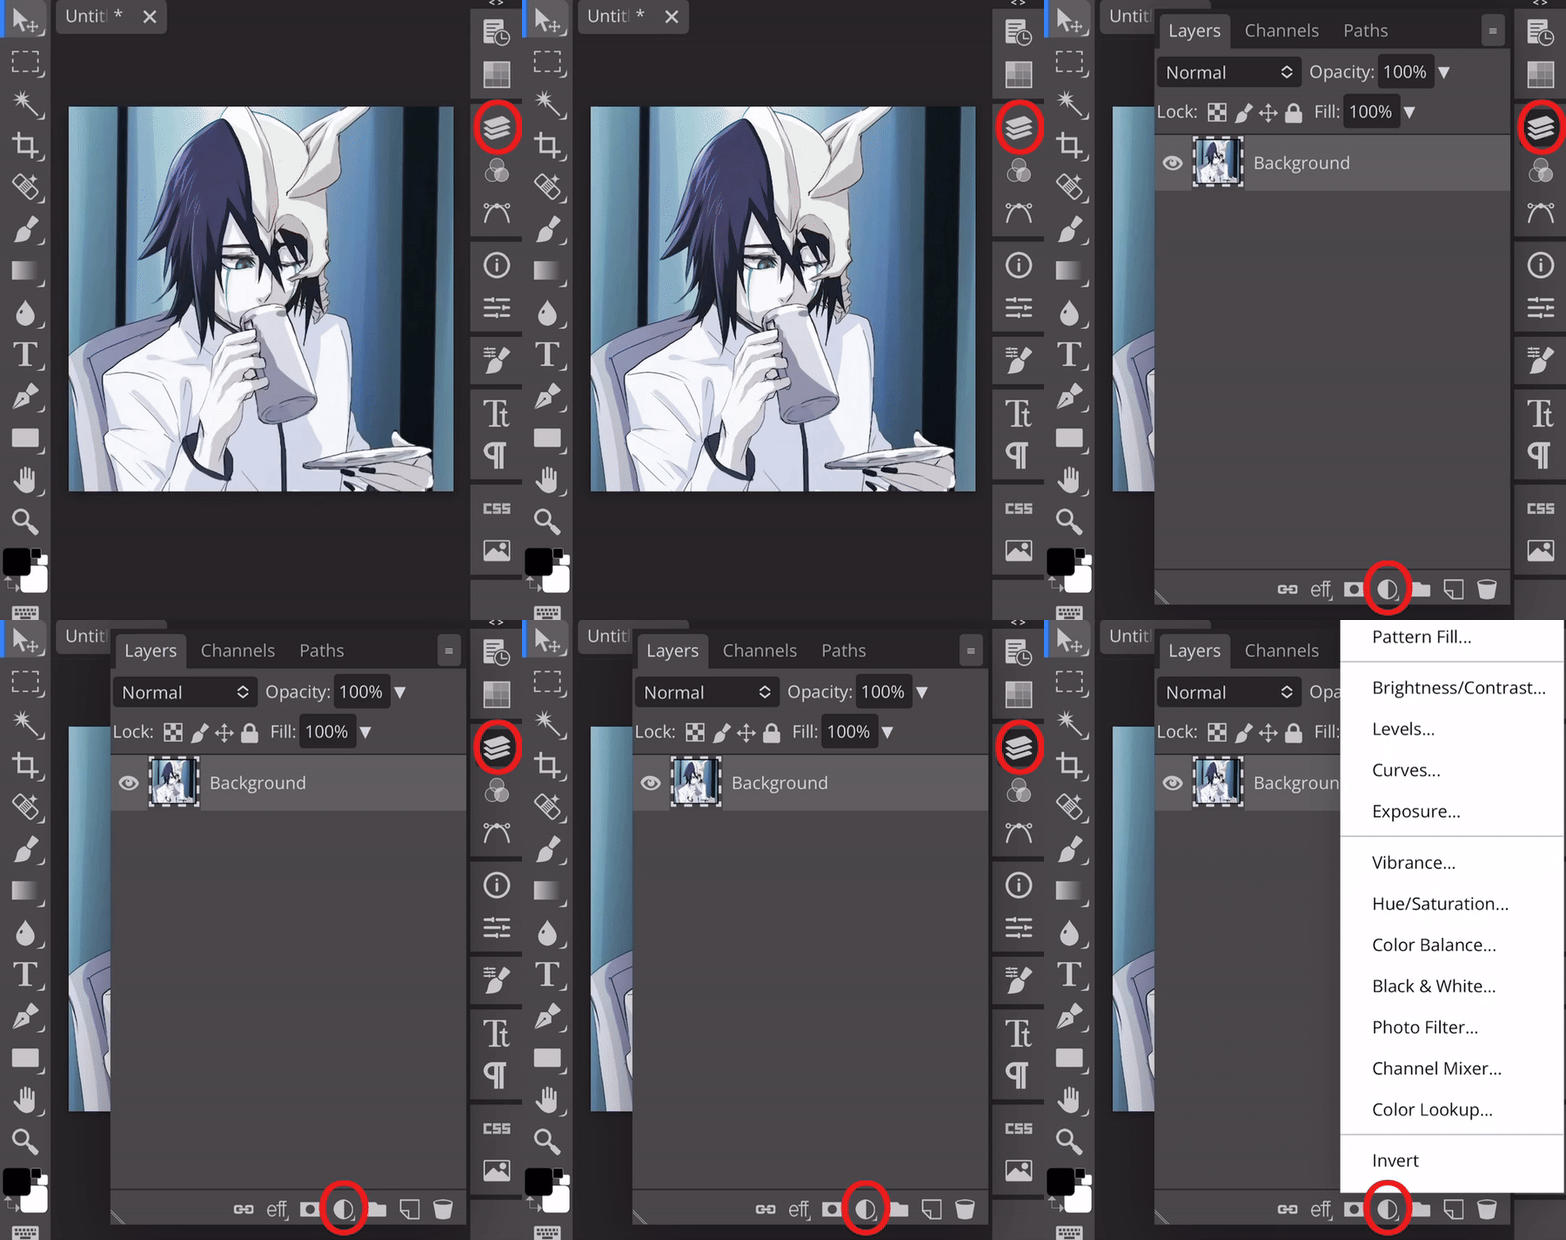
- Go to Layers
 and click on
  .
.
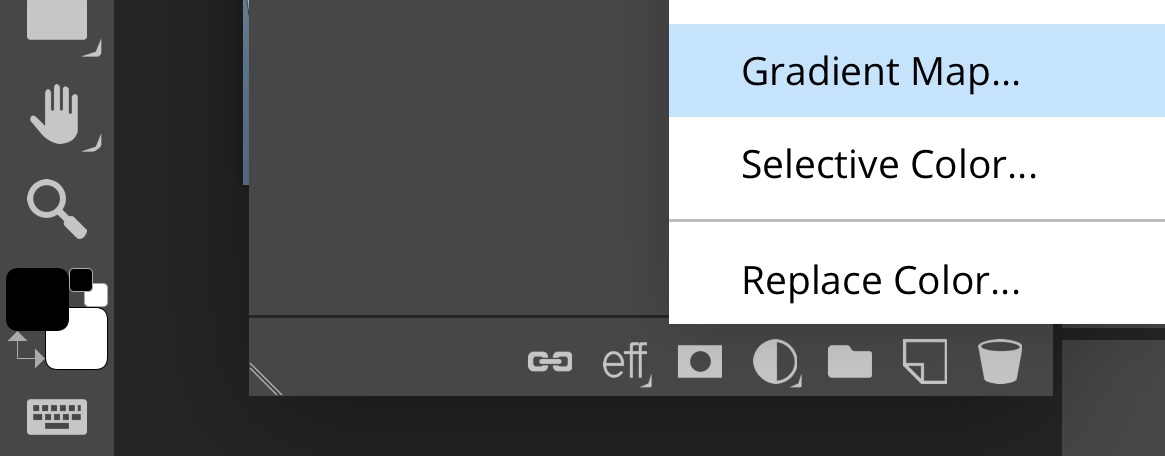
- Scroll down until you find "Gradient Map" and select it to open a new window.
- Click on the bar
 to open another window and add colors.
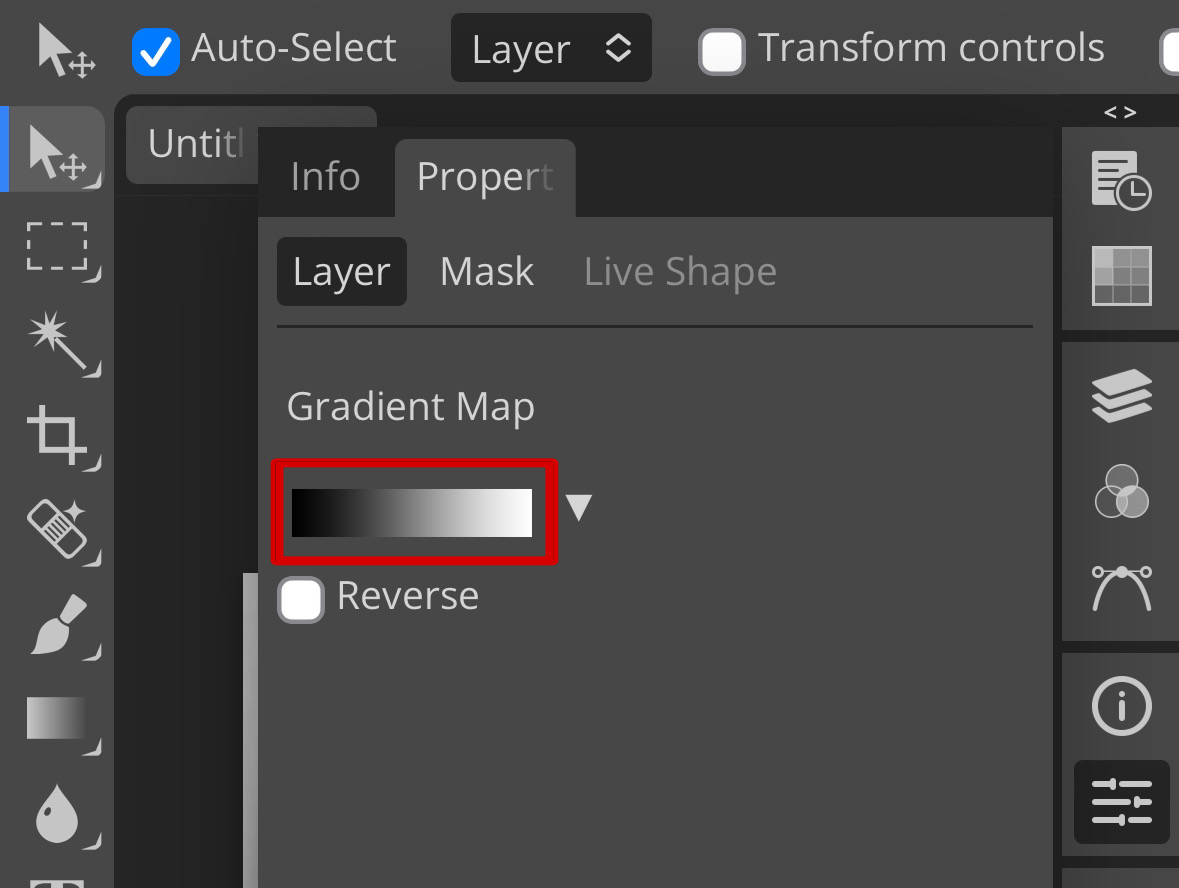
- Clicking on any spot in the bar will allow you to add a new color in the position you selected.
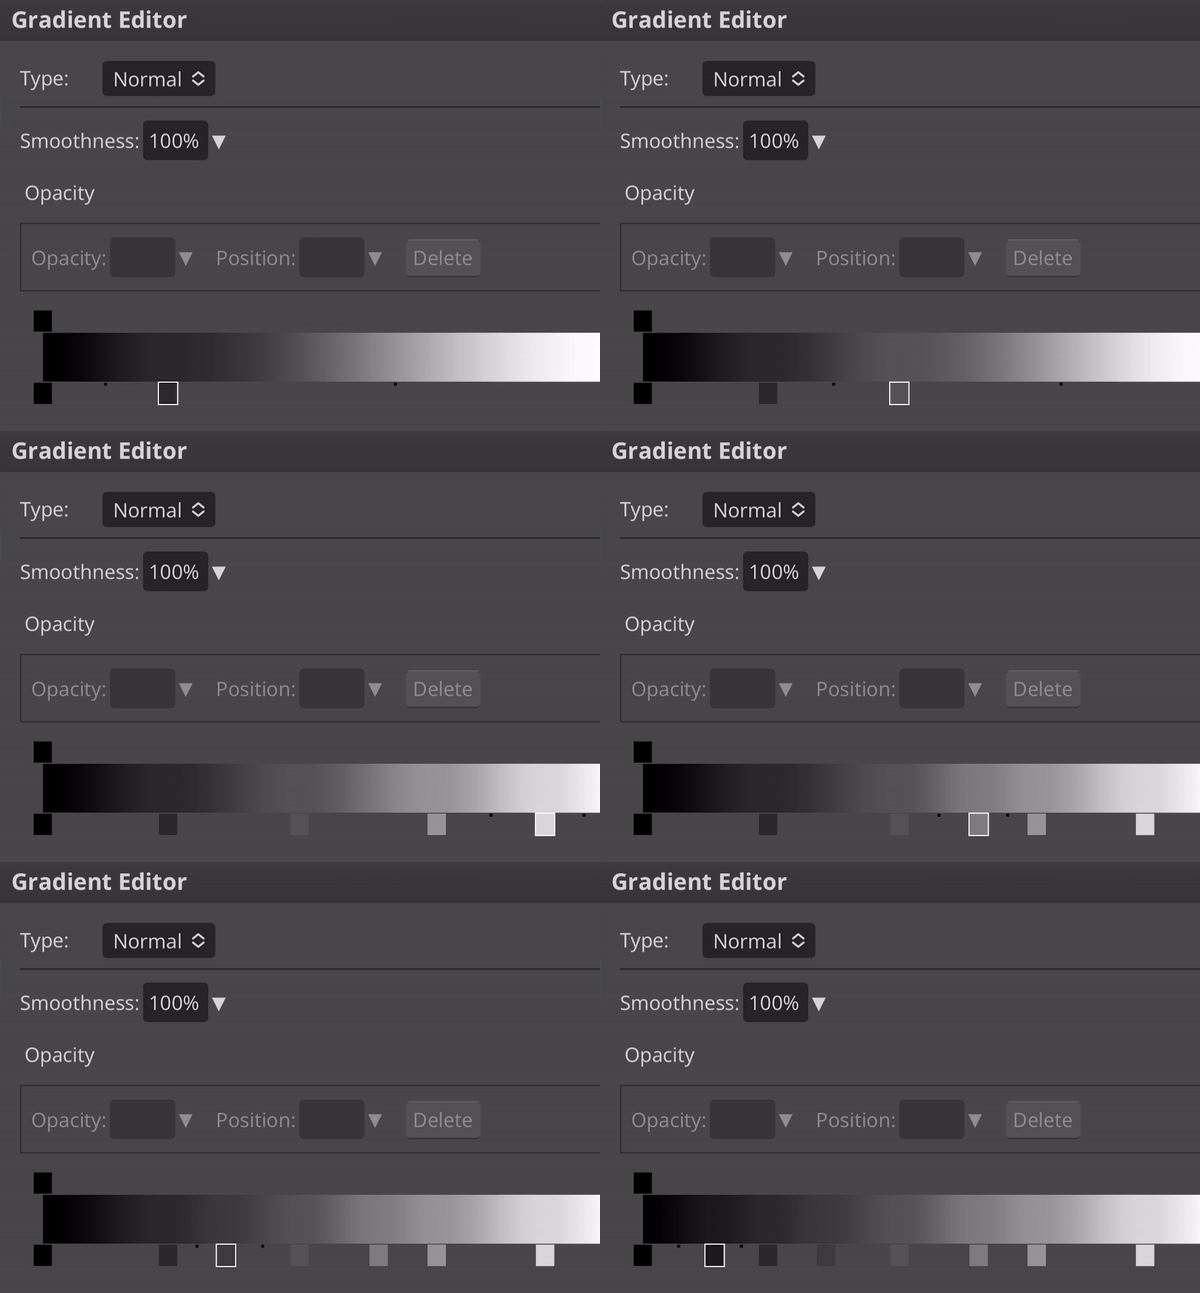
- Select the spot you wish to add the new color and click on it (Tip: spots closer to black will recolor darker shades while spots closer to white will recolor lighter shades.)
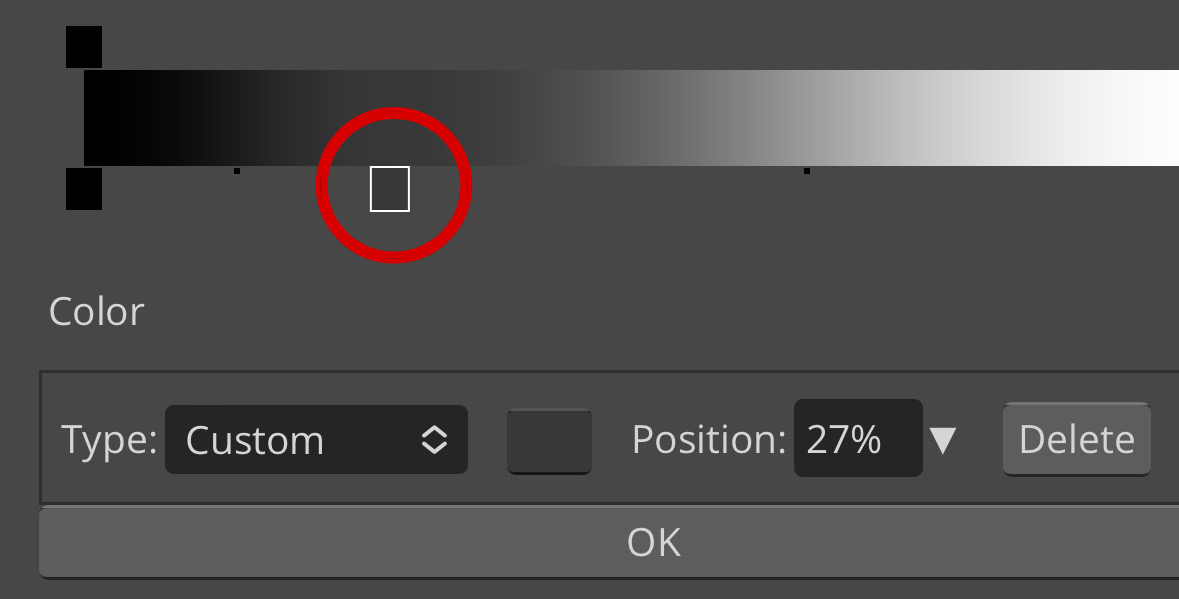
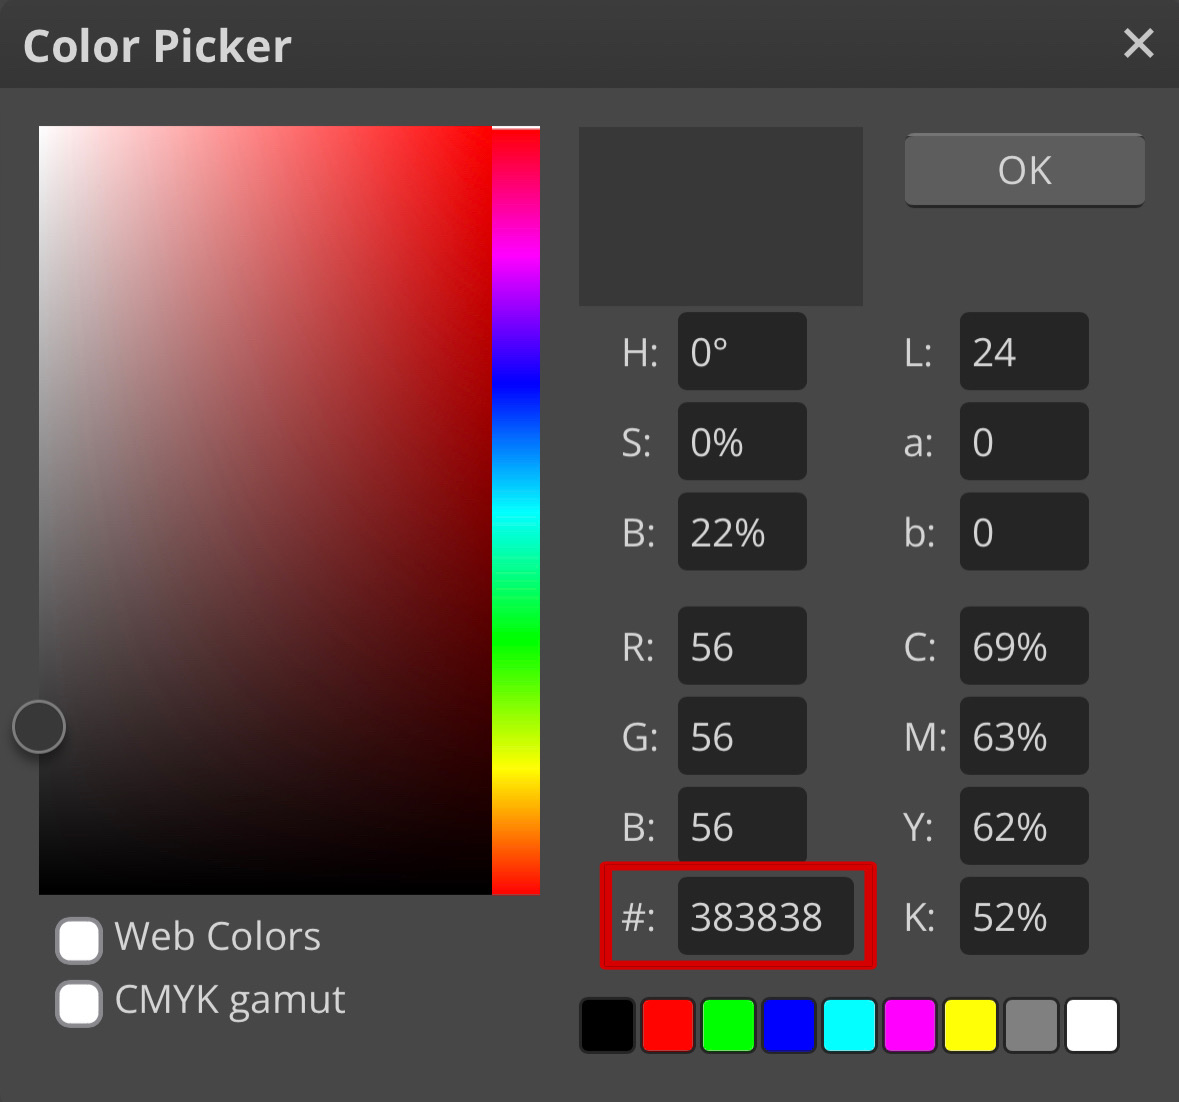
- Another window will show up. Change the hex code to the color you desire to use and repeat the process many times you want.
- If the result is not what you wanted, you can use your finger to drag the color box around the bar and adjust it to what you prefer.

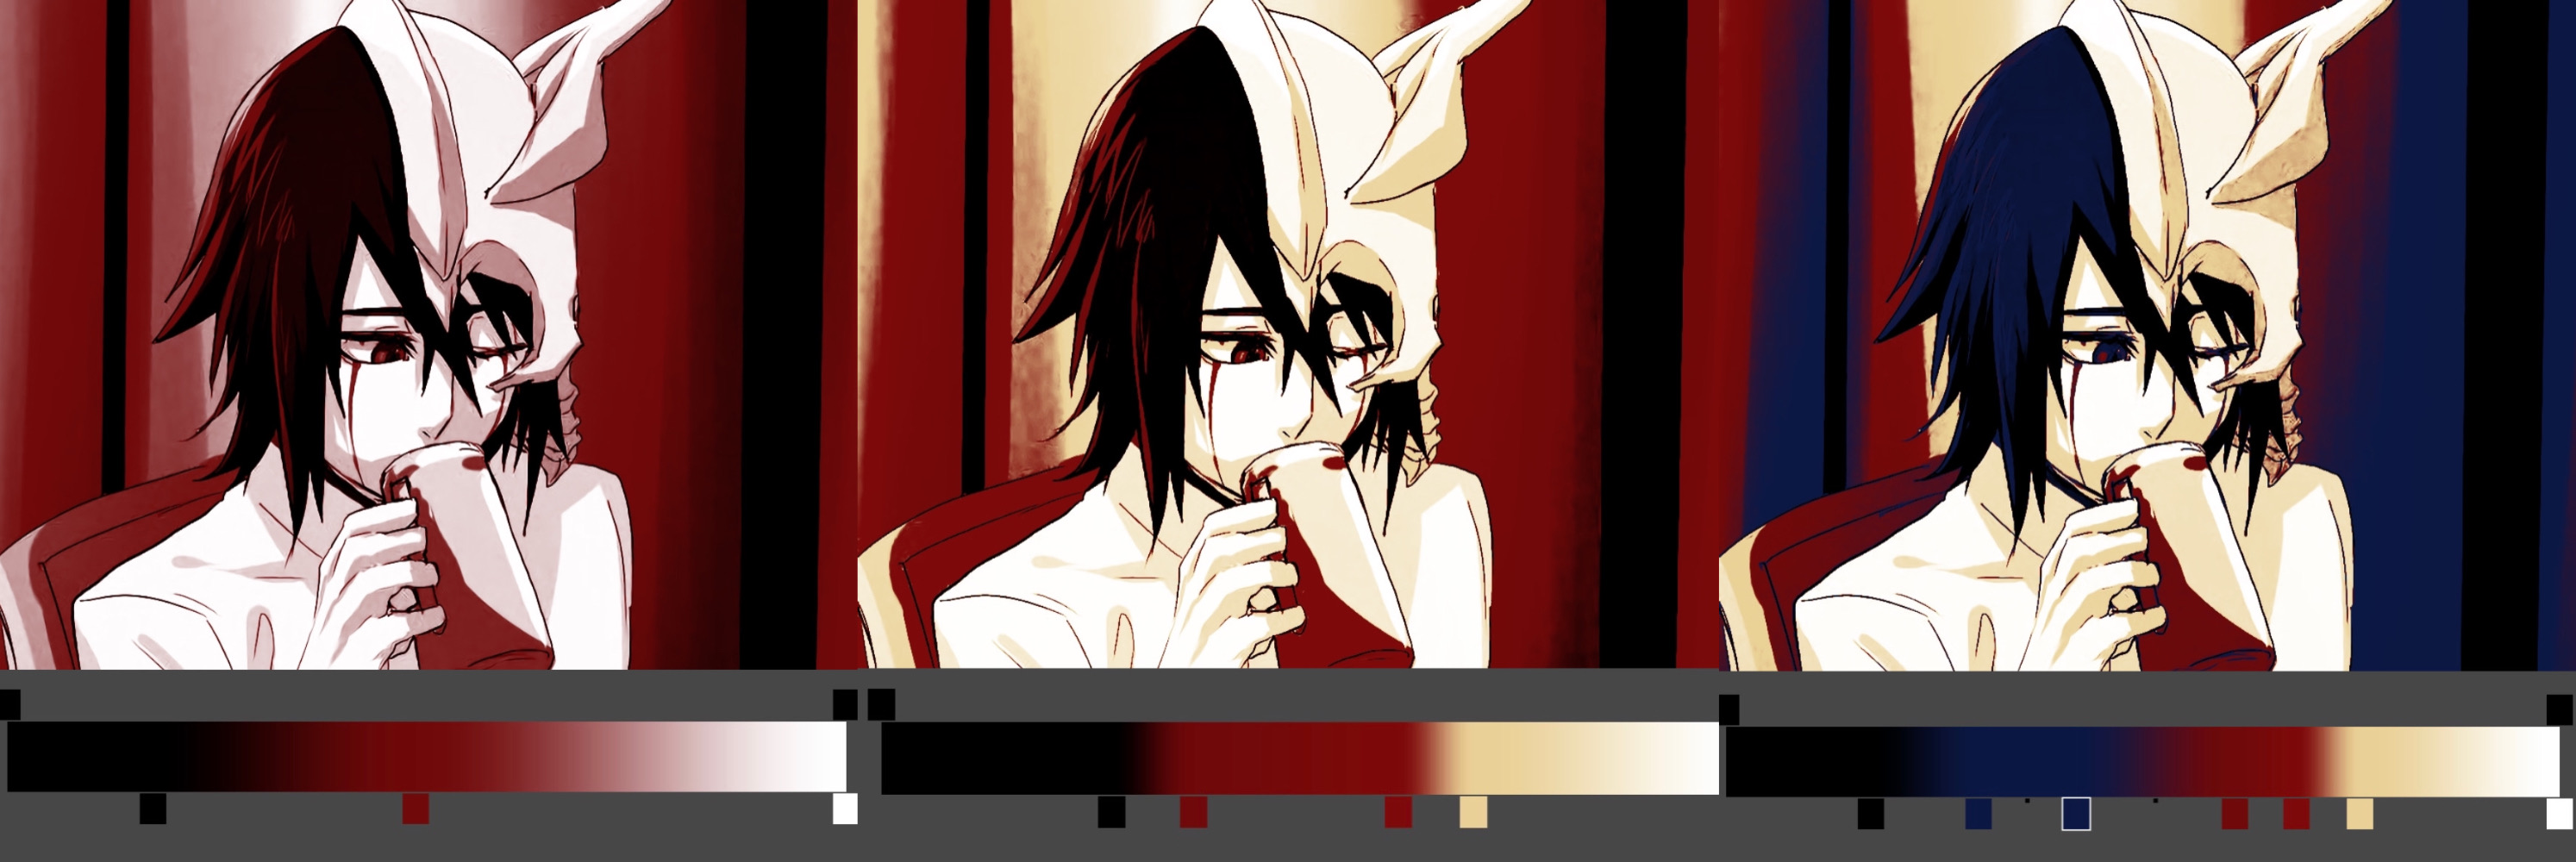
- Once you're done, the bar should look like this. As for this example, two colors were used — darker tones will be dark red and lighter tones will turn beige — and they were dragged close to each other to have little difference when fading to another.

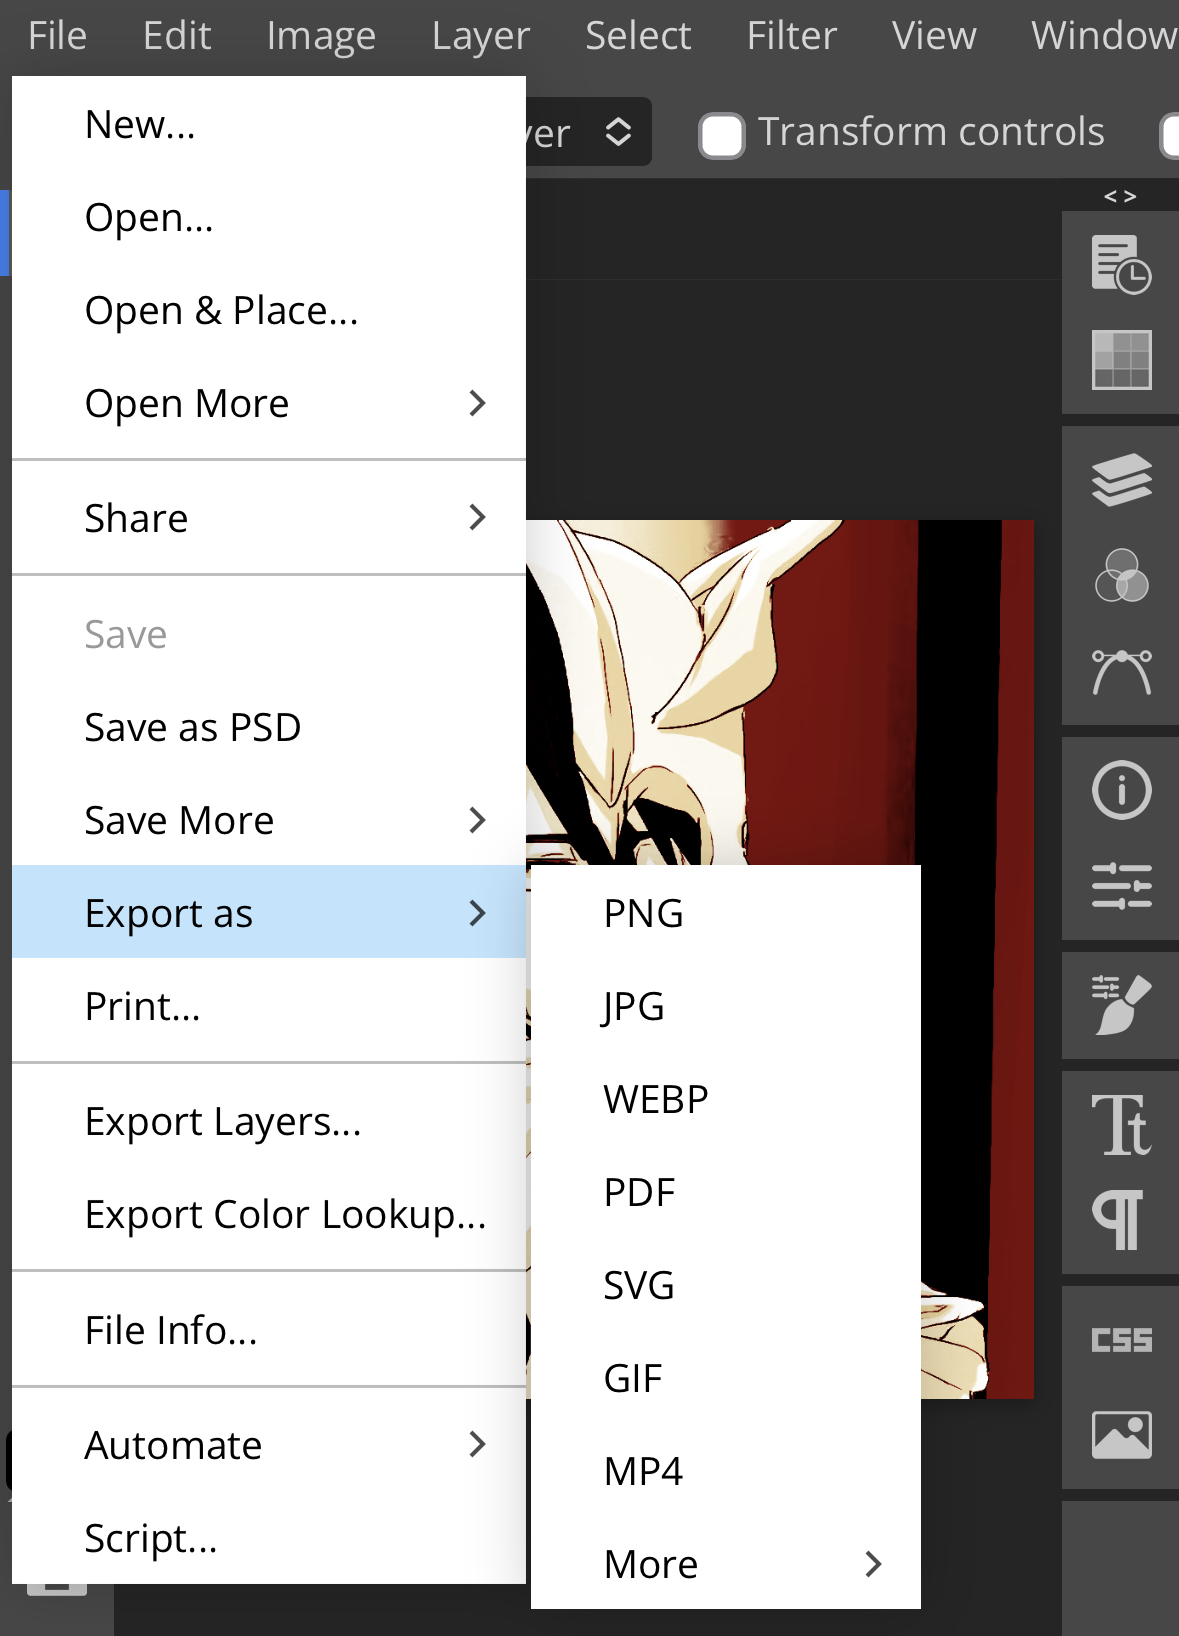
- Your image should be recolored by now once you're finished. To save, go to File > Export as > choose the type you wish.
- The final results with one, two and three colors respectively!
Hope this helps!
Thank you for visiting /ulquiorra :)