Copier LoRA Learning Method
※ This is an ai translated copy of a Rentry in Japanese
※ Since cweb-pix died and the image links were broken, it has been uploaded to majinai for correction.
Introduction
The Copier LoRA Learning Method is a technique for creating another LoRA based on an overtrained LoRA. It allows the creation of LoRAs that have subtle changes in the outline and other details. It utilizes the mechanism of "learning the difference between the model and the reference image" in LoRA. This memo provides an introduction to the creation process and records the progress.
Procedure and Creation Record
1.Output an image with the original model
Output any image randomly. The output image will be referred to as the "original image."
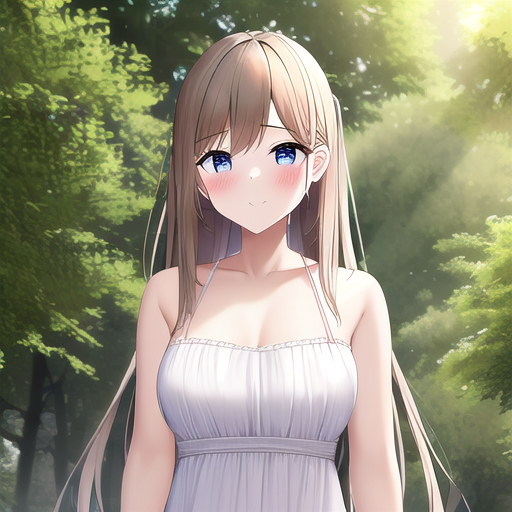
2.Train the original model with the original image
Train the original model with the original image
Training Settings
Number of iterations: 512, epochs: 6 (3072 steps), learning rate: 0.0001, resolution: the same as the original image (512), Dim: 64, Alpha: 32, Optimizer: AdamW, Network: networks.lora, Shuffle captions: True, Keep tokens: 0, Warmup steps: 500, No regularization
Generate captions using WD14Tagger.
3.Merge the Copier LoRA with the original model
Use merge_lora.py in sd-scripts to merge them.
Example command (after entering venv): python .\networks\merge_lora.py --sd_model="D:\sd_train\Train\nai_full.ckpt" --models="G:\sd\models\lora\kagakusyuu.safetensors" --save_to="G:\sd\models\Stable-diffusion\copying_machine.safetensors" --ratios=1 --precision="float" --save_precision="float"
The model created here will be referred to as the "Copier Model."
This will result in output images that are exactly the same. It will always produce the same output regardless of the prompt.

4.Process the original image
The images created here will be referred to as "processed images."
In the records, five LoRAs were created, and the processed images are as follows:
Outline
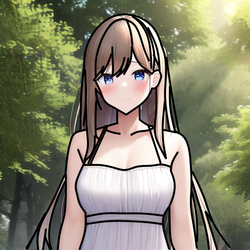
Flatten
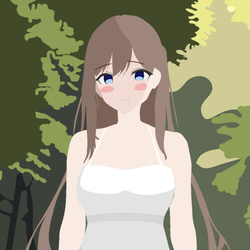
High Contrast
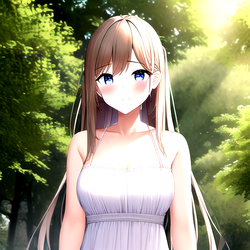
Posterization
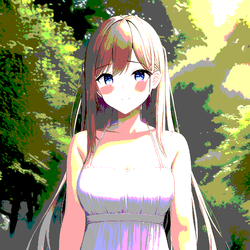
JPEG Noise
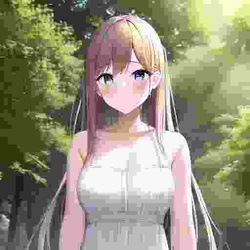
5.Train the processed images with the Copier Model
The LoRAs created here will be referred to as "processed LoRAs." This step can also be considered as completion.
In the records, the training parameters were set as dim64/alpha32 and 4096 steps.
6Repeat Steps 2 to 5 with a different original image※
※ This step is optional. It can be done with only one image.
7.Merge the created processed LoRAs※
※ This step is optional. It can be done with only one image.
Merge the multiple processed LoRAs with the original model to create a processed model.
8.Create LoRA from the model differences between the original model and the processed model※
※ This step is optional. It can be done with only one image.
9.Resize Dim※
※ This step is optional.
Sometimes, resizing the Dim after training with a higher Dim and then resizing it can yield better results than training with a low Dim. You can resize using the resize_lora.py script in sd-scripts.
Example command (after entering venv): python .\networks\resize_lora.py --model "G:\1111\models\lora\sample.safetensors" --save_to "G:\1111\models\lora\sample1.safetensors" ---new_rank 8 --save_precision "fp16"
In the records, all models were resized to Dim 8. Later, it was changed to Dim 4, but Dim 8 seemed to be sufficient.
Results
The output is from a different model than the one used for training. Training was done with a single image.
Outline
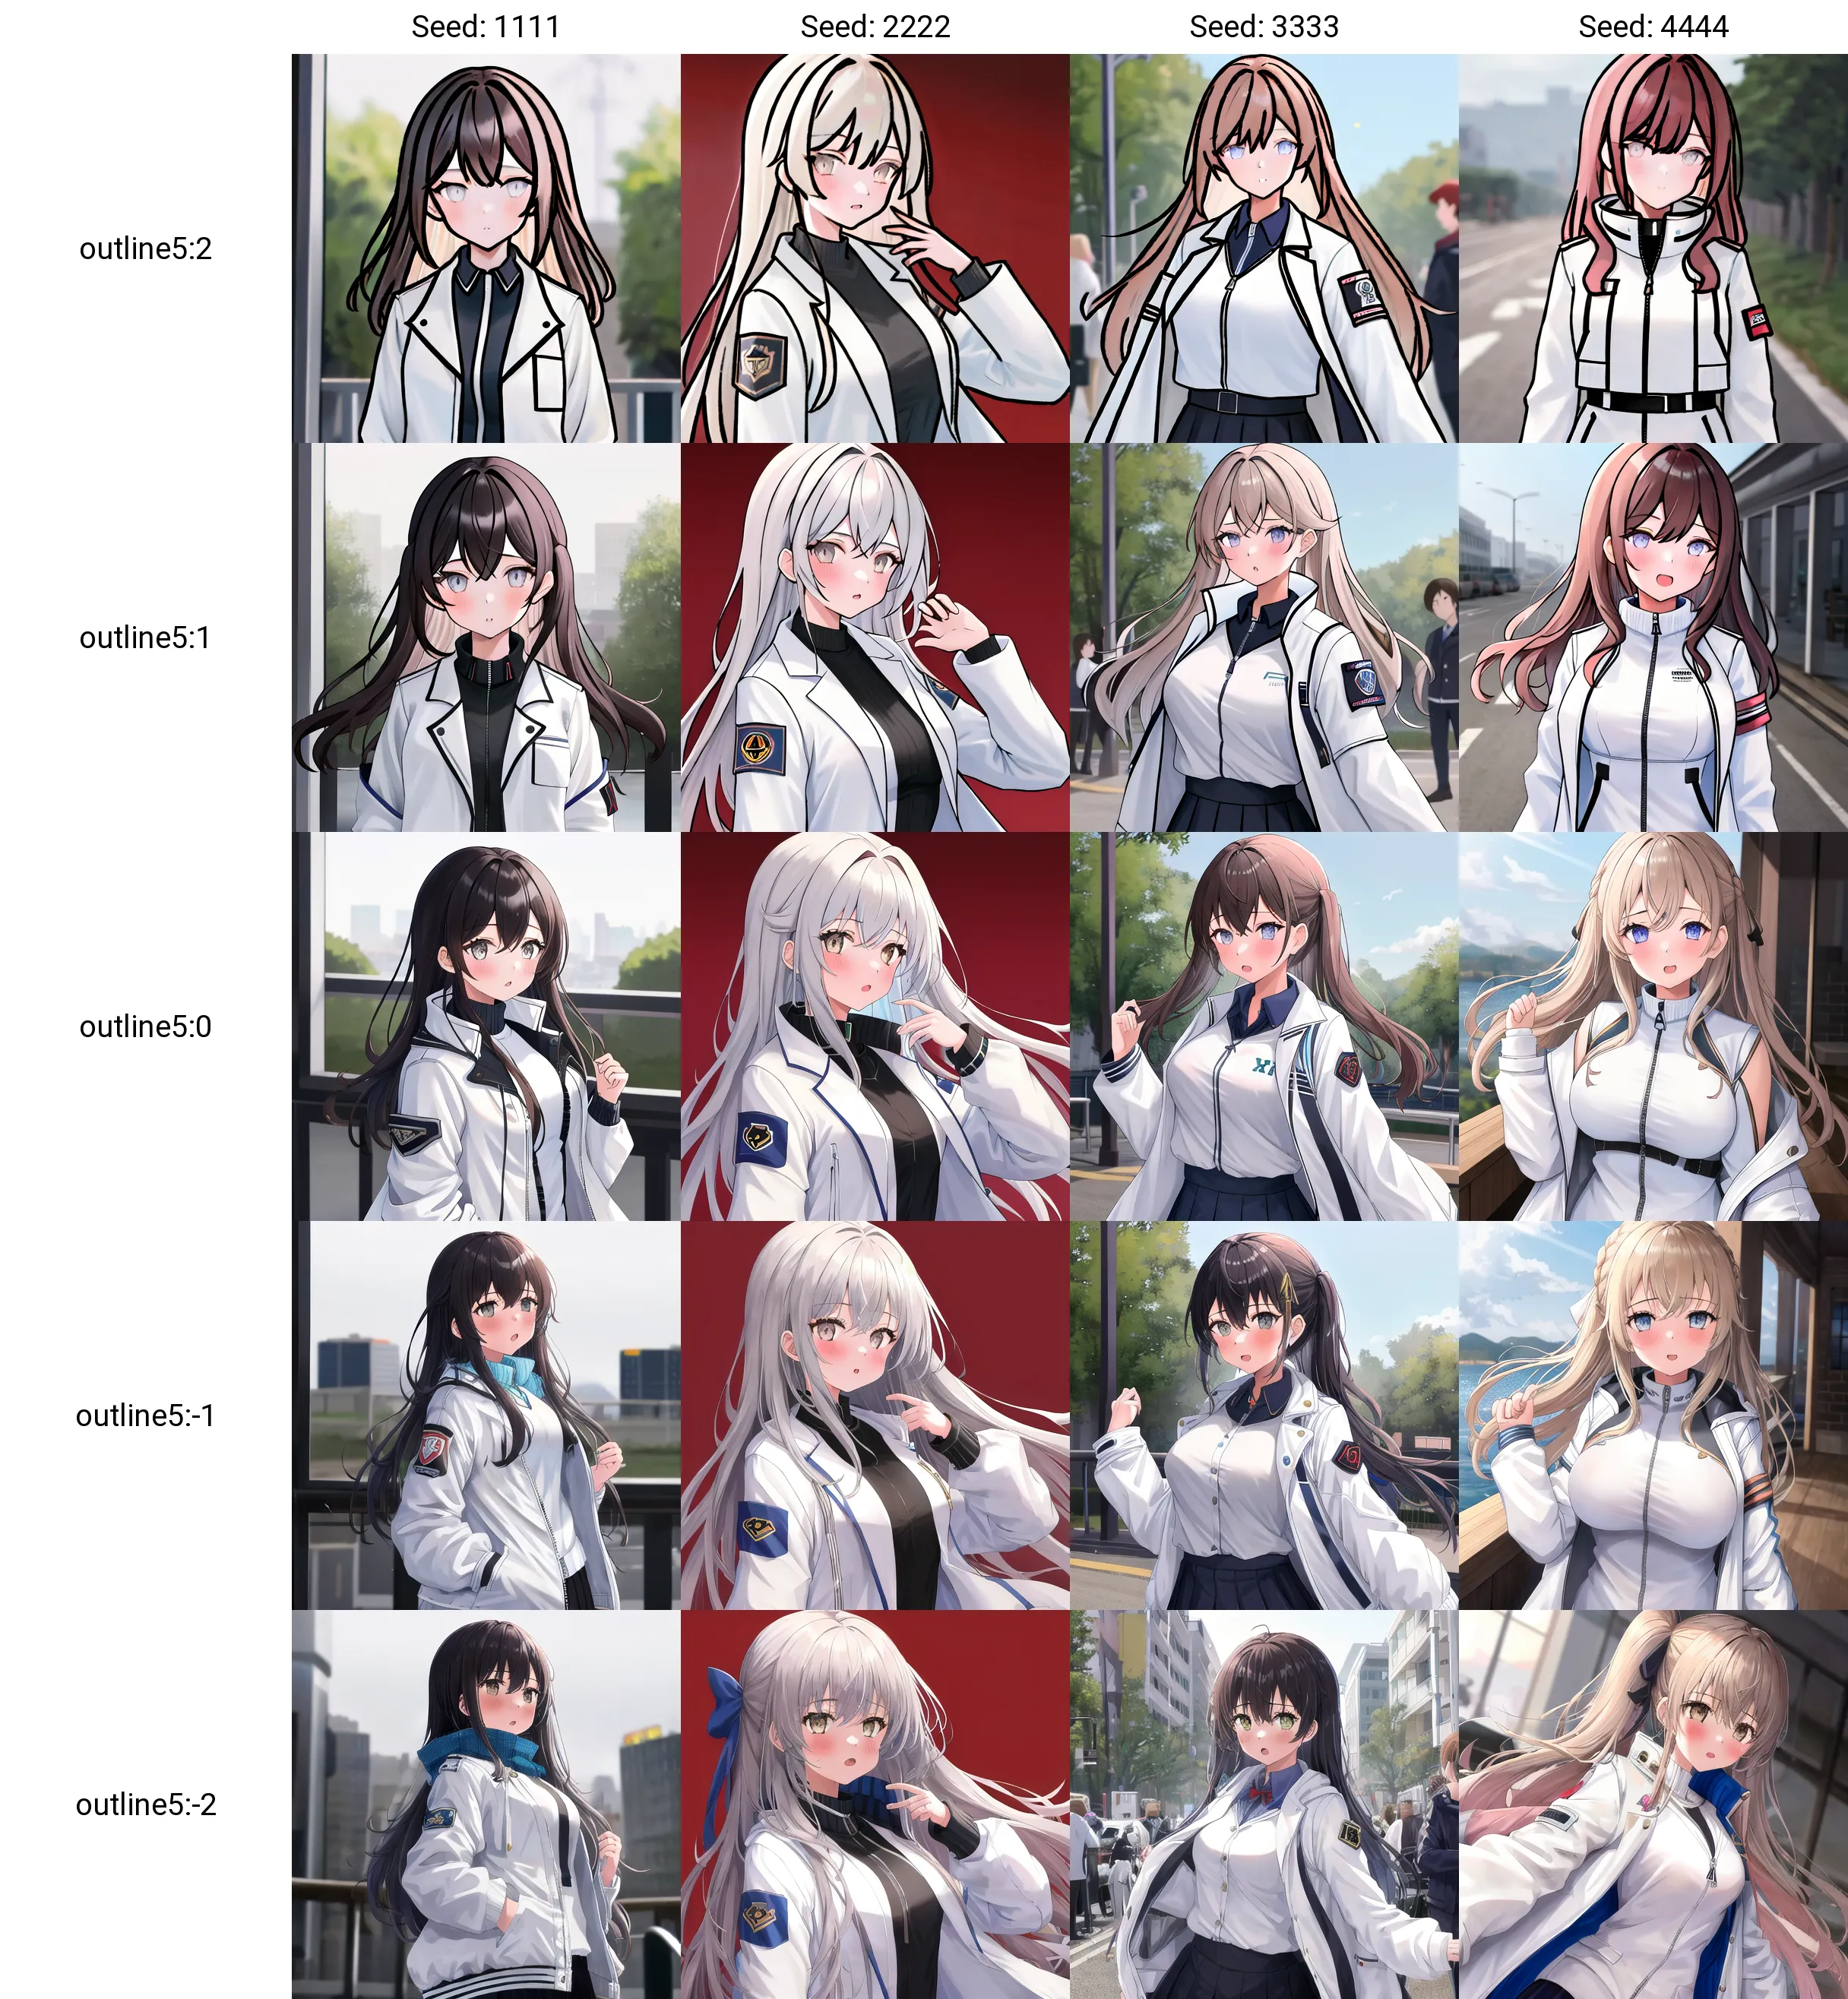
When the intensity was increased, the lines became thicker, as expected.
Flattening
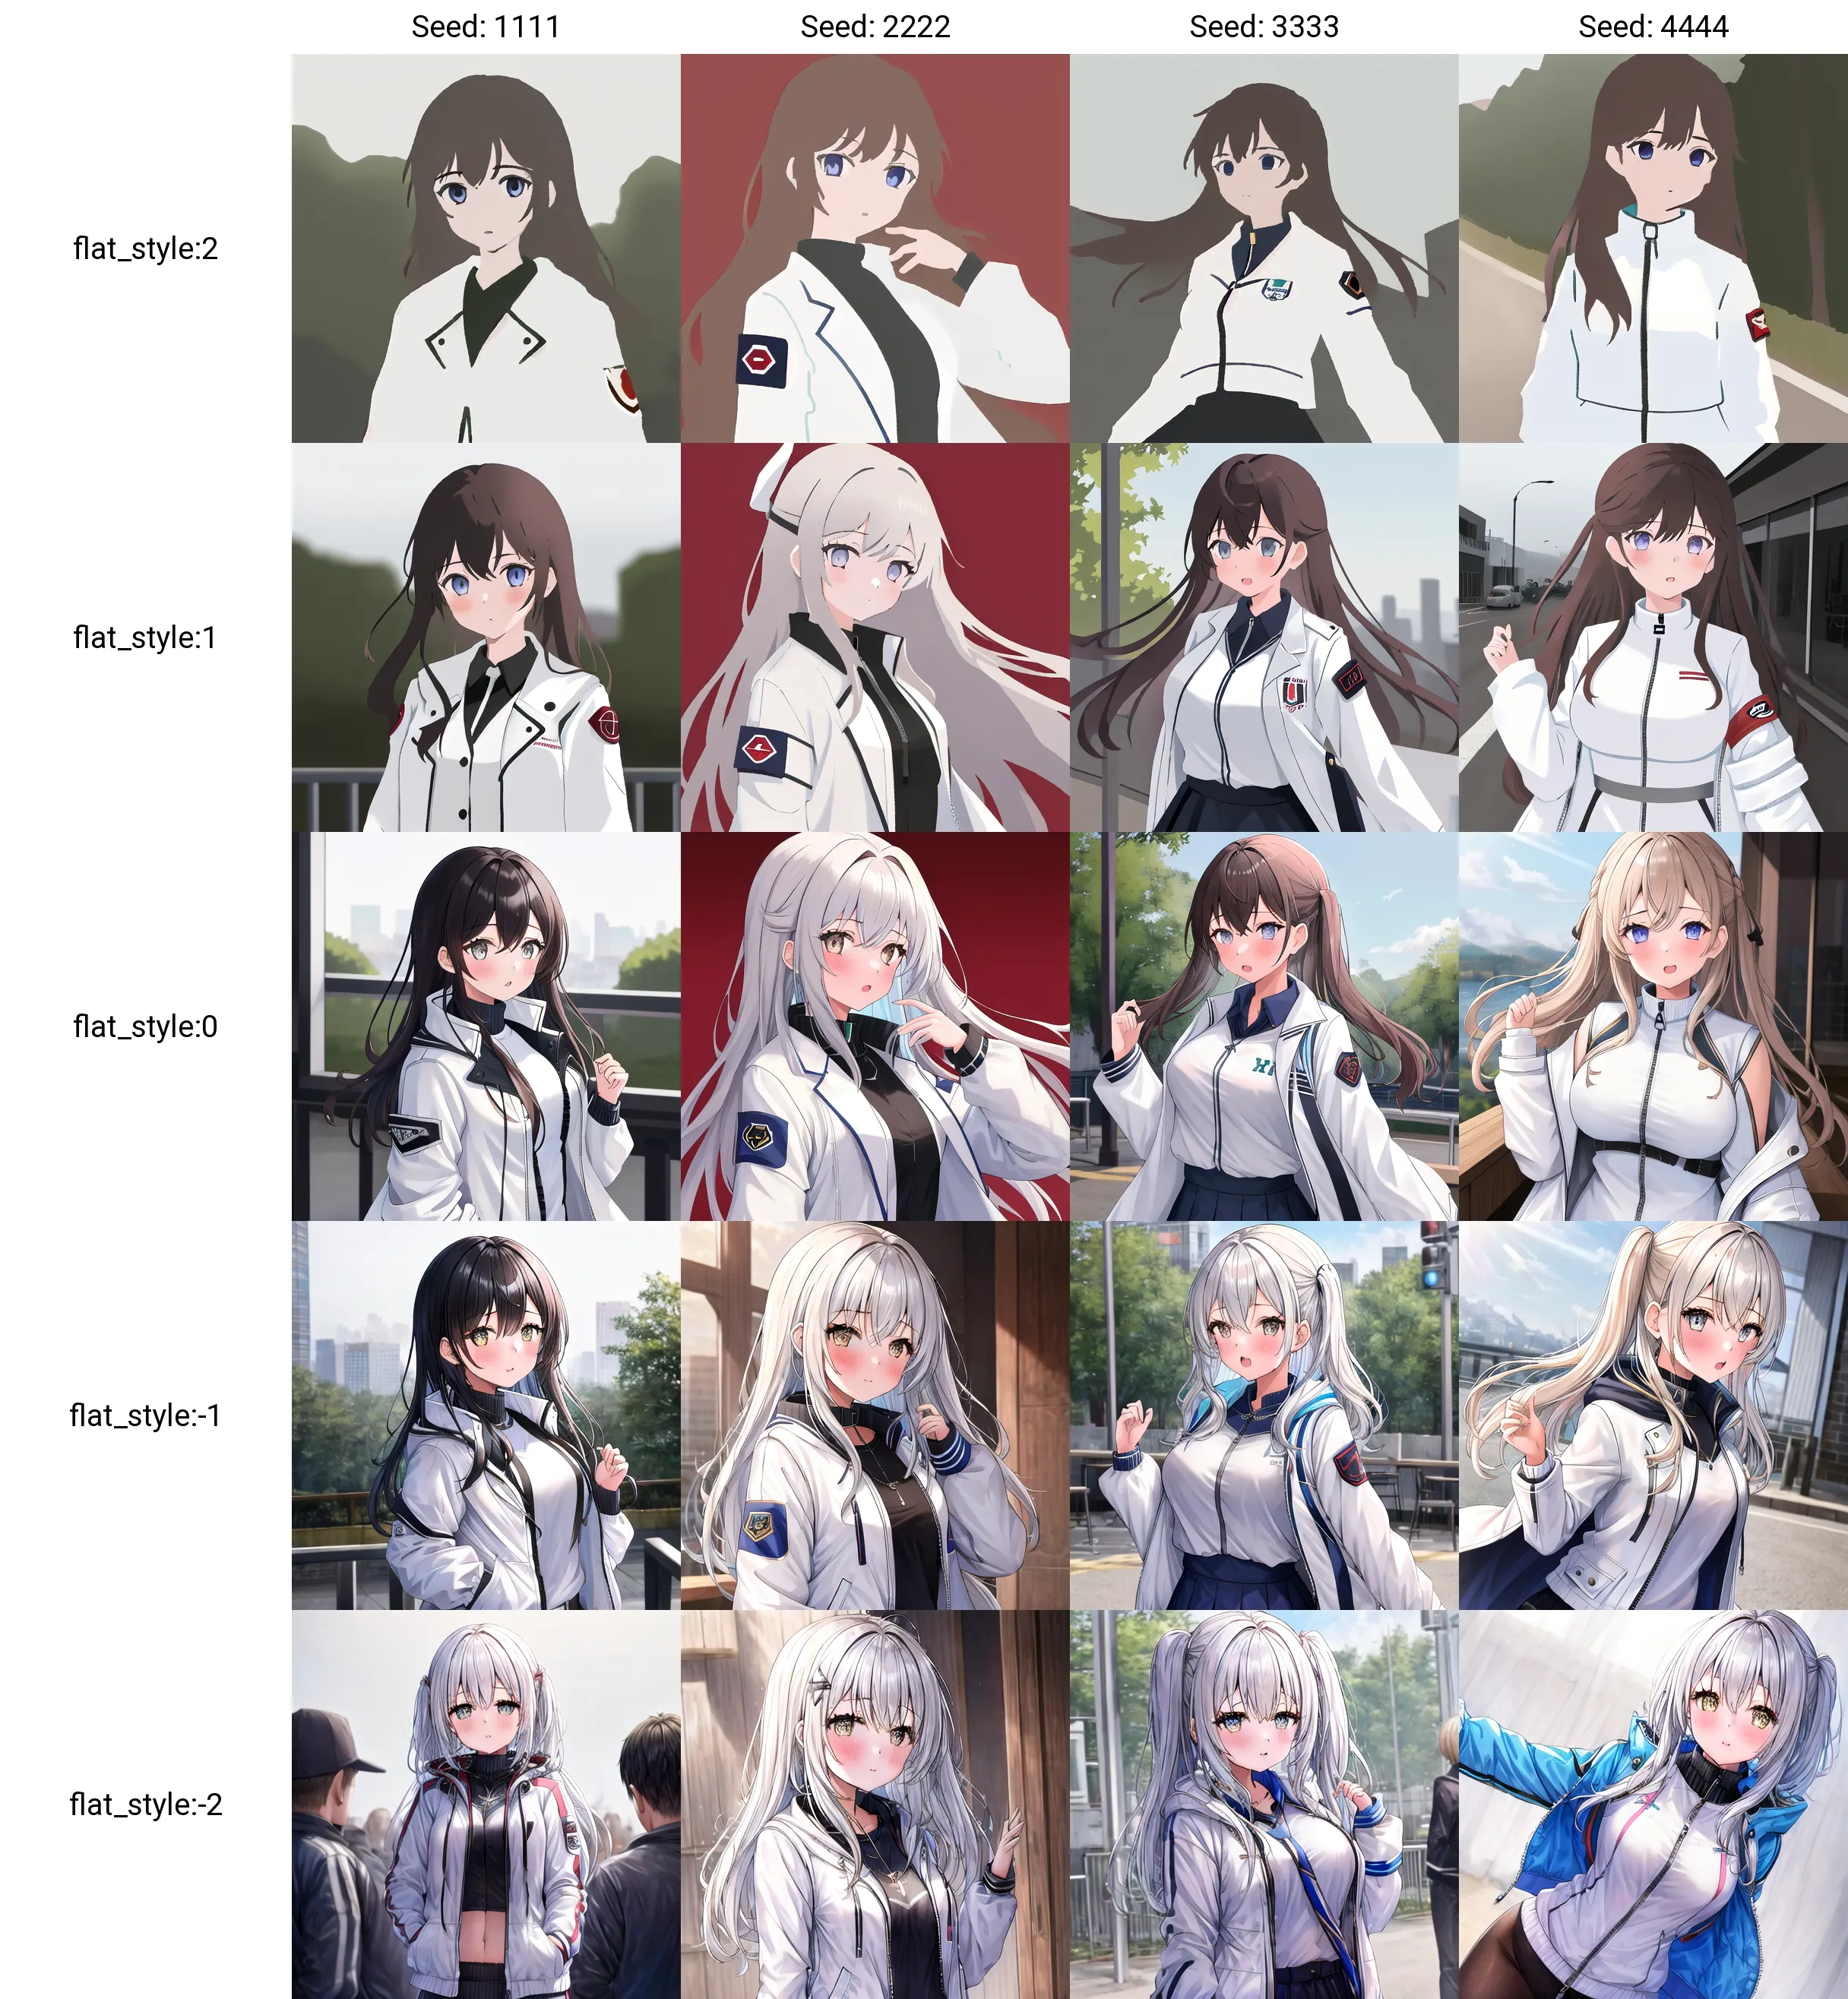
Since the effect was not significant, training was done with Dim 128, Alpha 64, and 5120 steps.
The effect is similar to "flat" but not as pronounced.
High Contrast
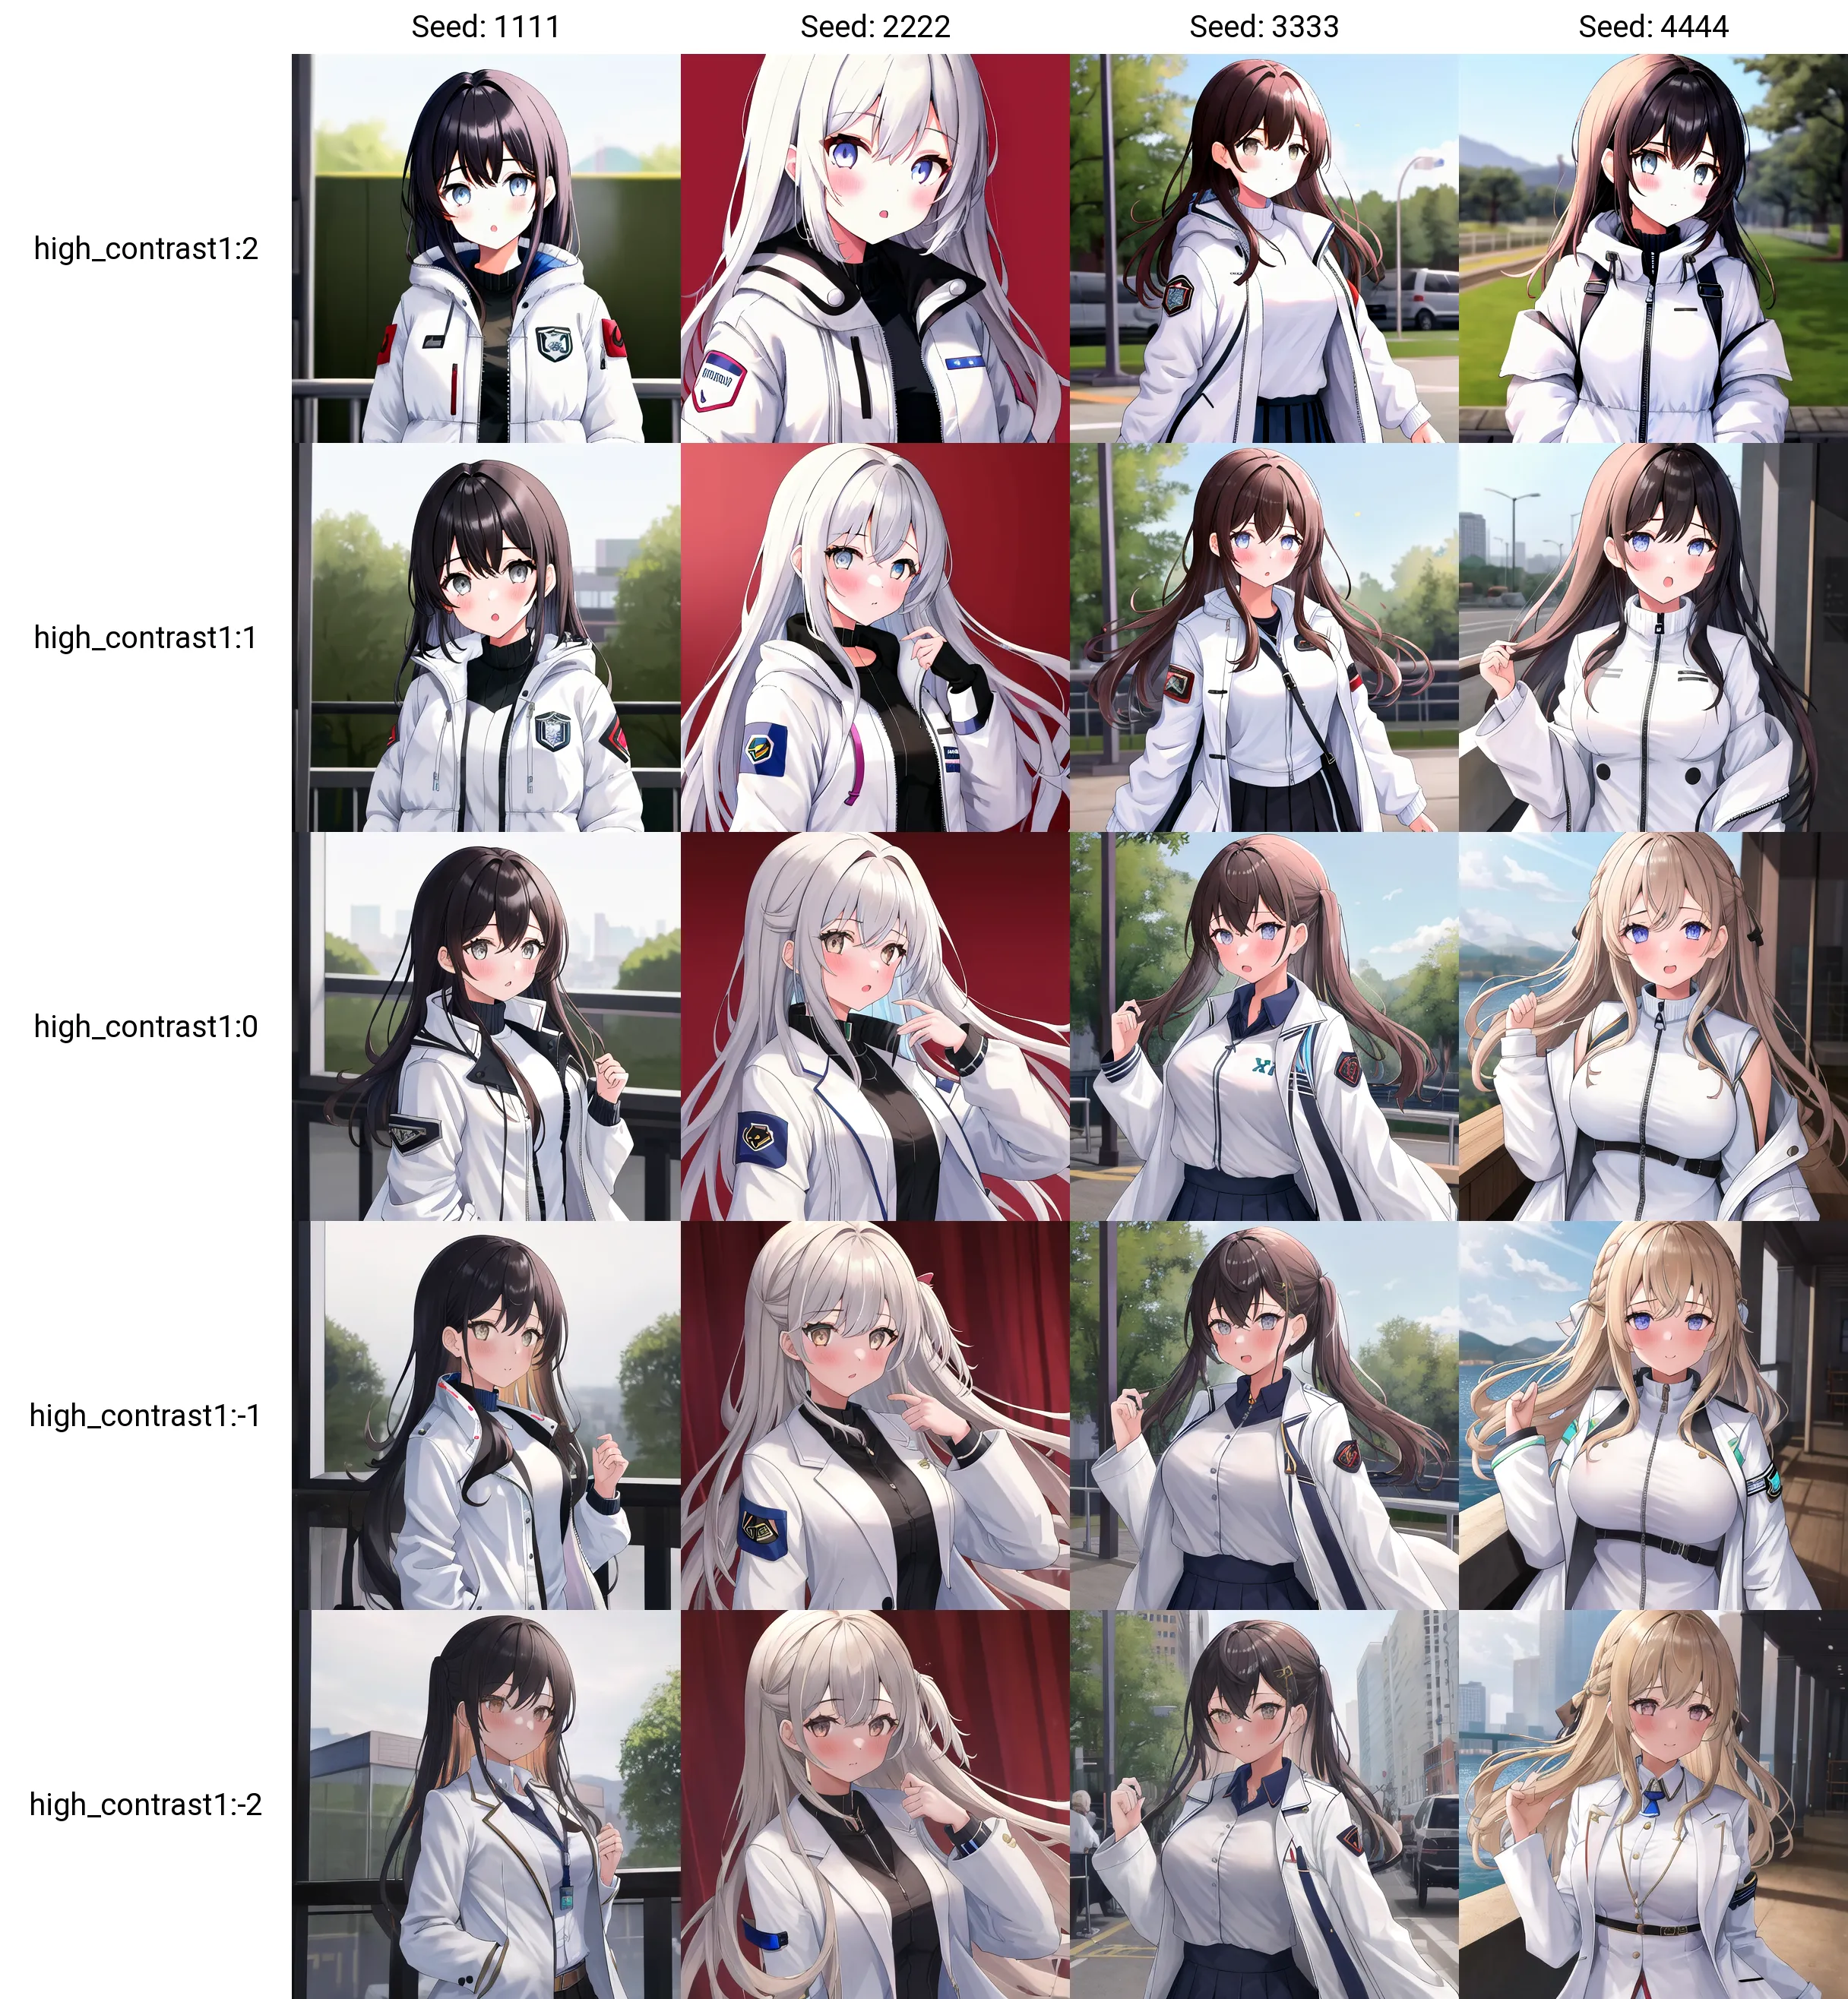
A subtle effect. When applied with a negative value, the contrast slightly decreased.
Posterization
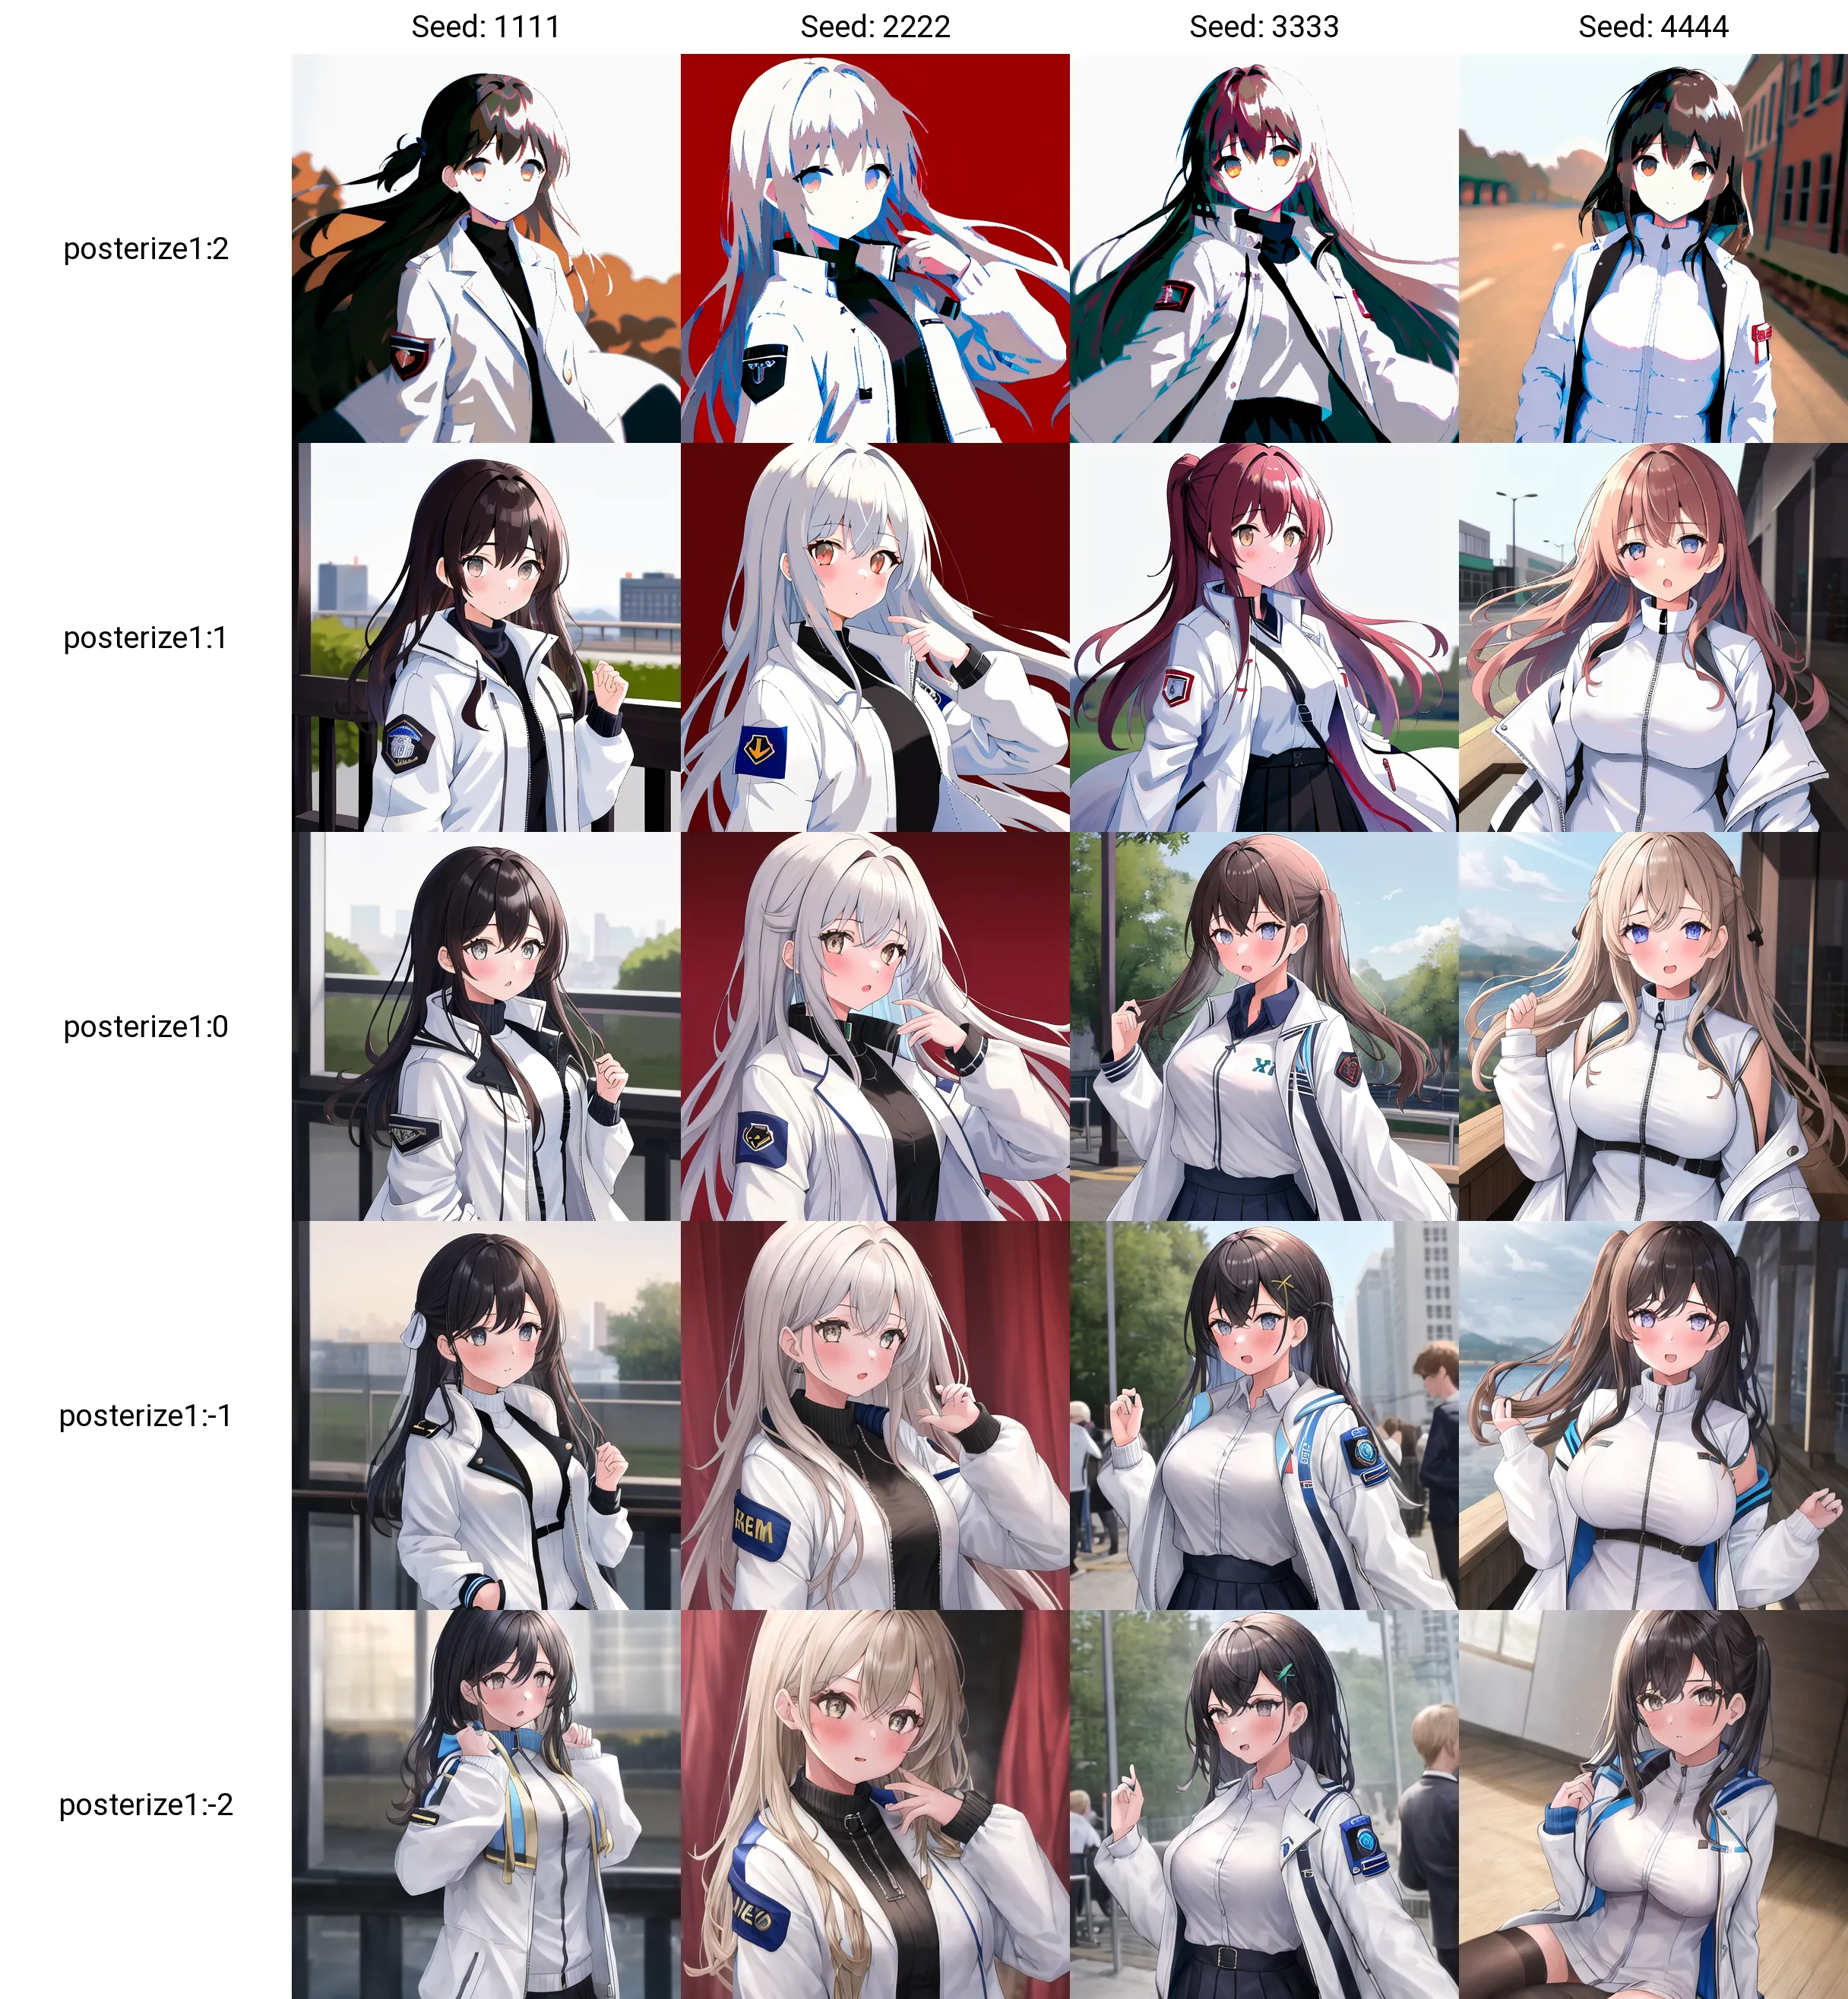
When applied with a negative value, it became a version that only affects the fill of the "flat" effect.
JPEG Noise
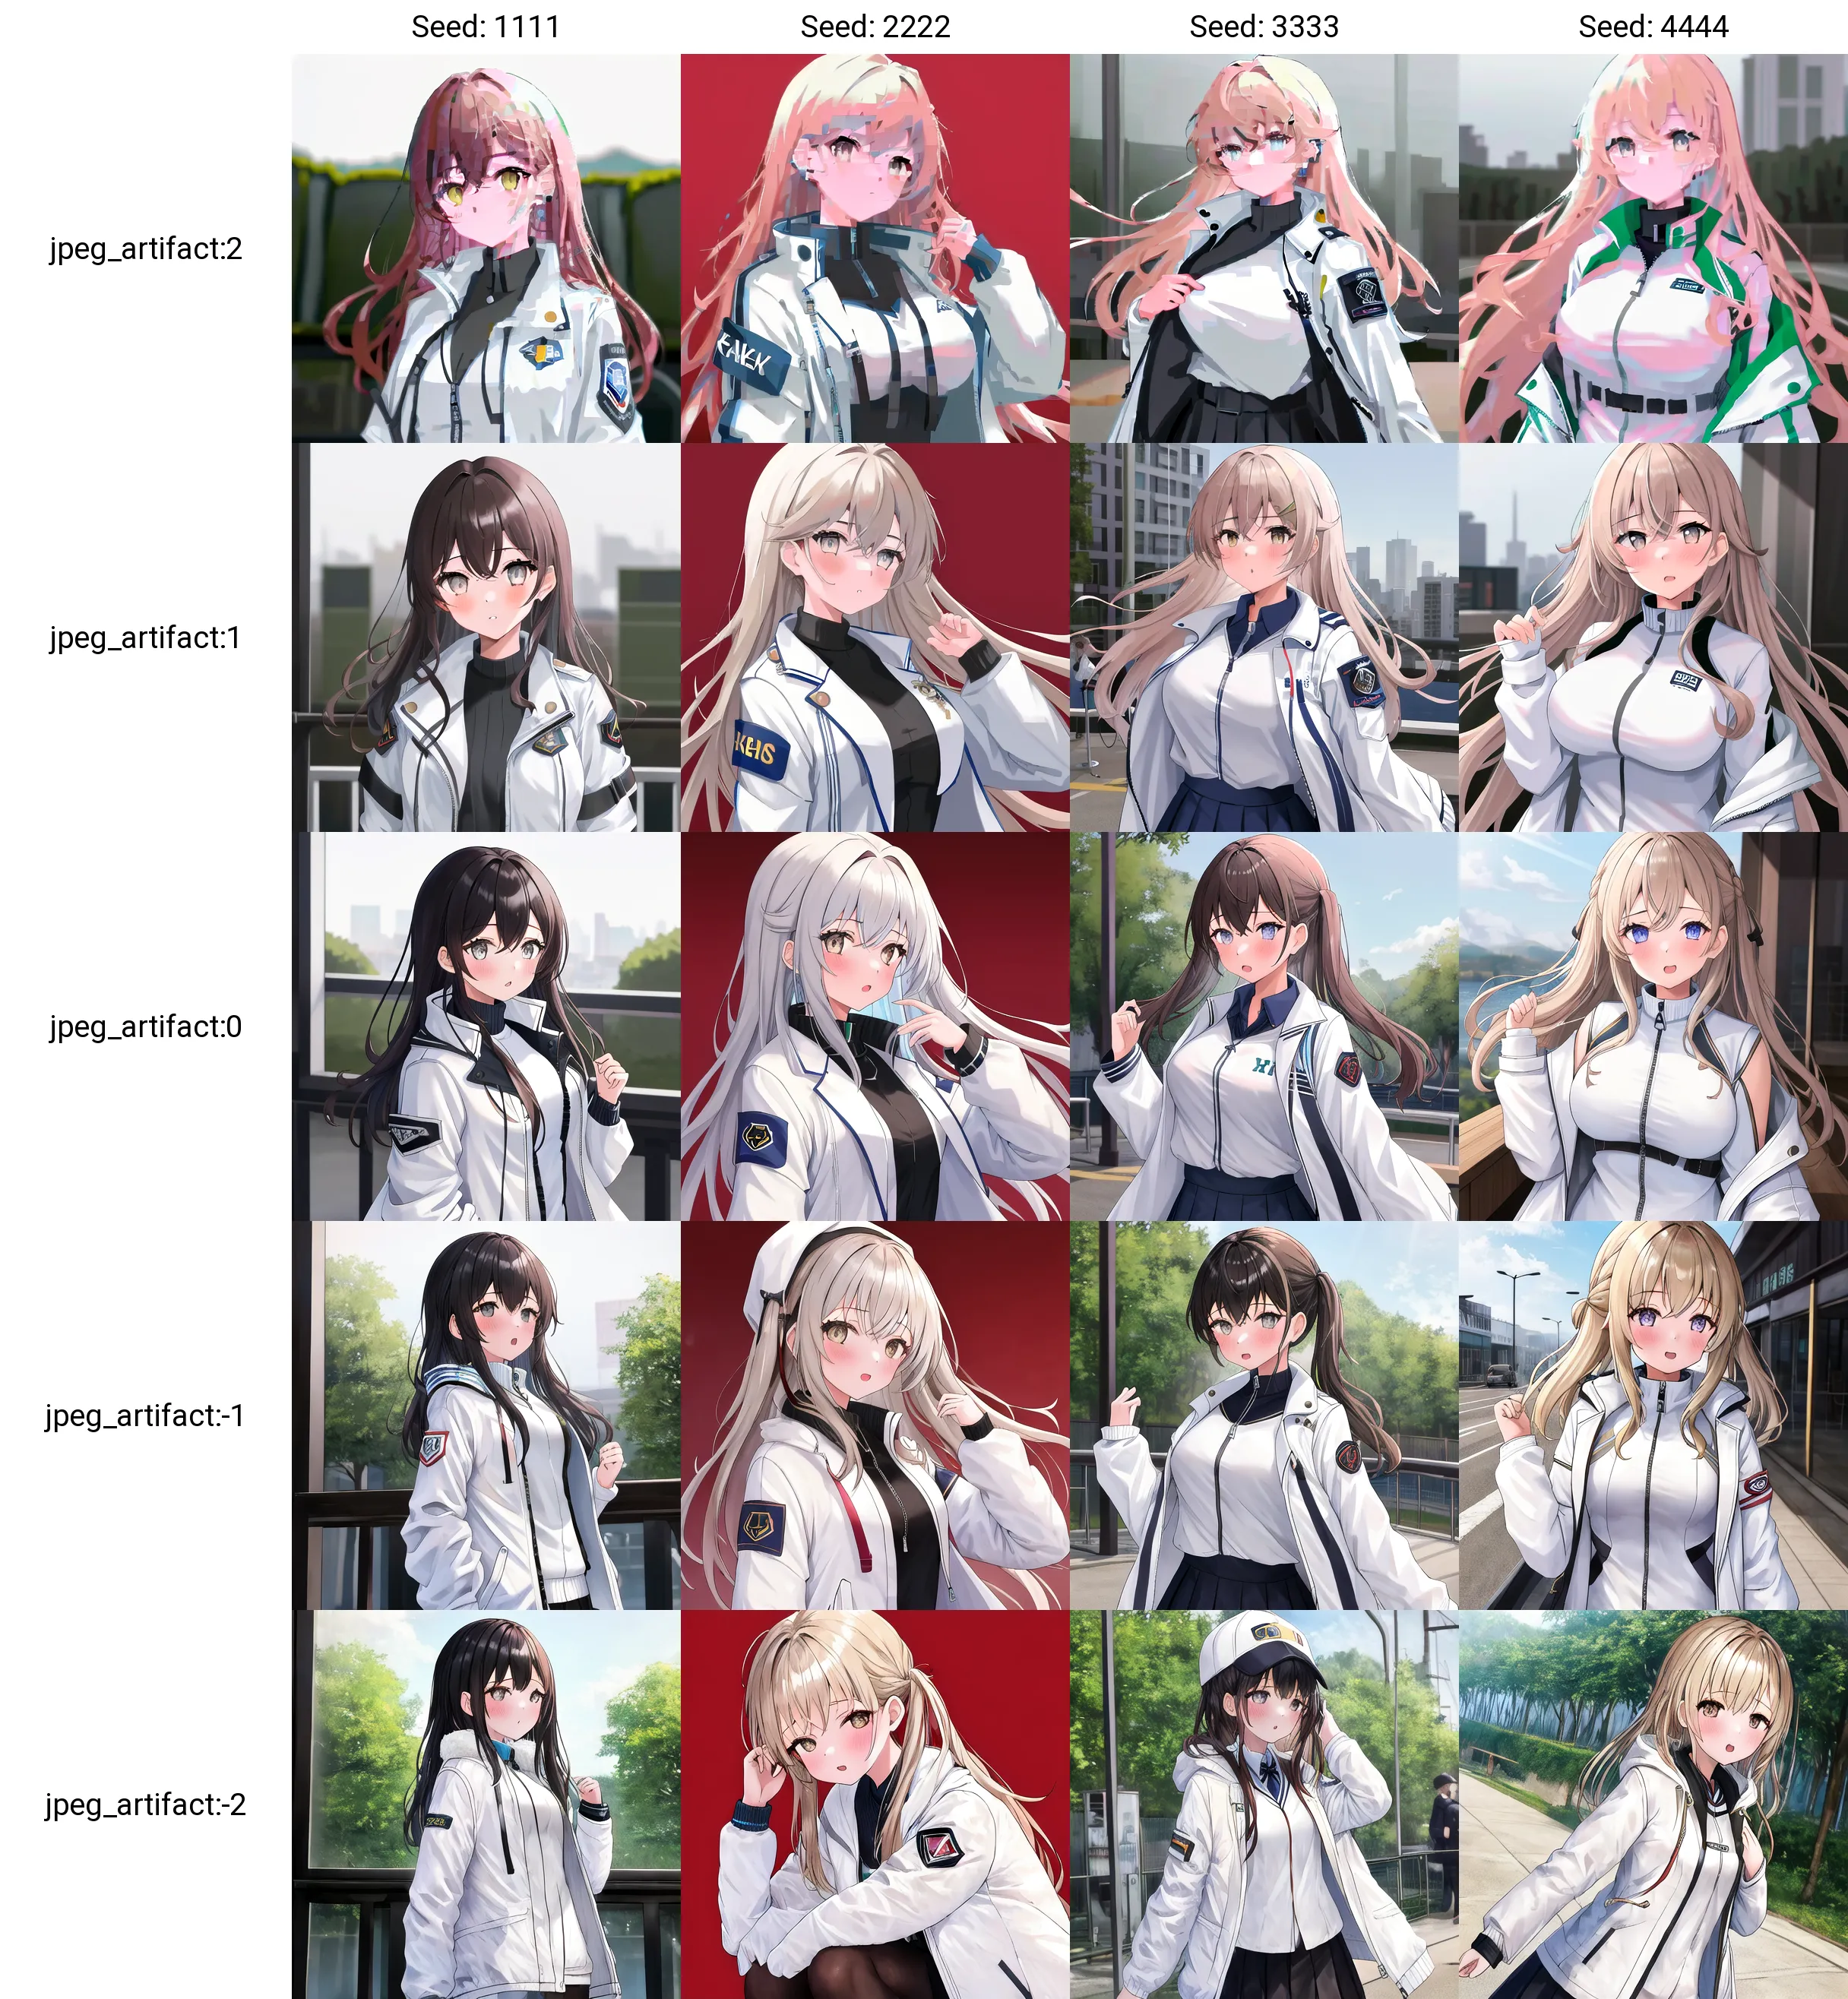
Since the effect was not significant, training was done with Dim 128, Alpha 64, and 5120 steps.
When applied with a negative value, it became slightly more detailed with increased background details.
Difference Extraction Method
By merging the overtrained LoRA of the original image and the overtrained LoRA of the modified image (which was edited with additional modifications), the difference between the original image and the modified image can be extracted using svd_merge.py.
Procedure and Example
An example using the "Outline" effect:
1.Output an image with the original model
Output any image randomly. The output image will be referred to as the "original image."

2.Train the original model with the original image
Overtrain the model to create a perfect Copier LoRA. The LoRA created here will be referred to as the "Copier LoRA."
Ran for 4096 steps.
Captions were created using Tagger. Keep tokens were set to 0 during training.
3.Process the original image
The image created here will be referred to as the "processed image."

4.Train the processed image with the Copier Model
Overtrain the processed image with the Copier LoRA to create a perfect Copier LoRA for the processed image. The LoRA created here will be referred to as the "processed image LoRA."
5.Extract the difference using SVD merge
Use svd_merge_lora.py to extract the difference.
Example command:
python .\networks\svd_merge_lora.py --save_precision "fp16" --precision "float" --save_to "G:\sd\models\lora\outline_svd.safetensors" --models "A.safetensors" "B.safetensors" --ratios 1 -1 --new_rank 8 --device "cuda"
6.Completion
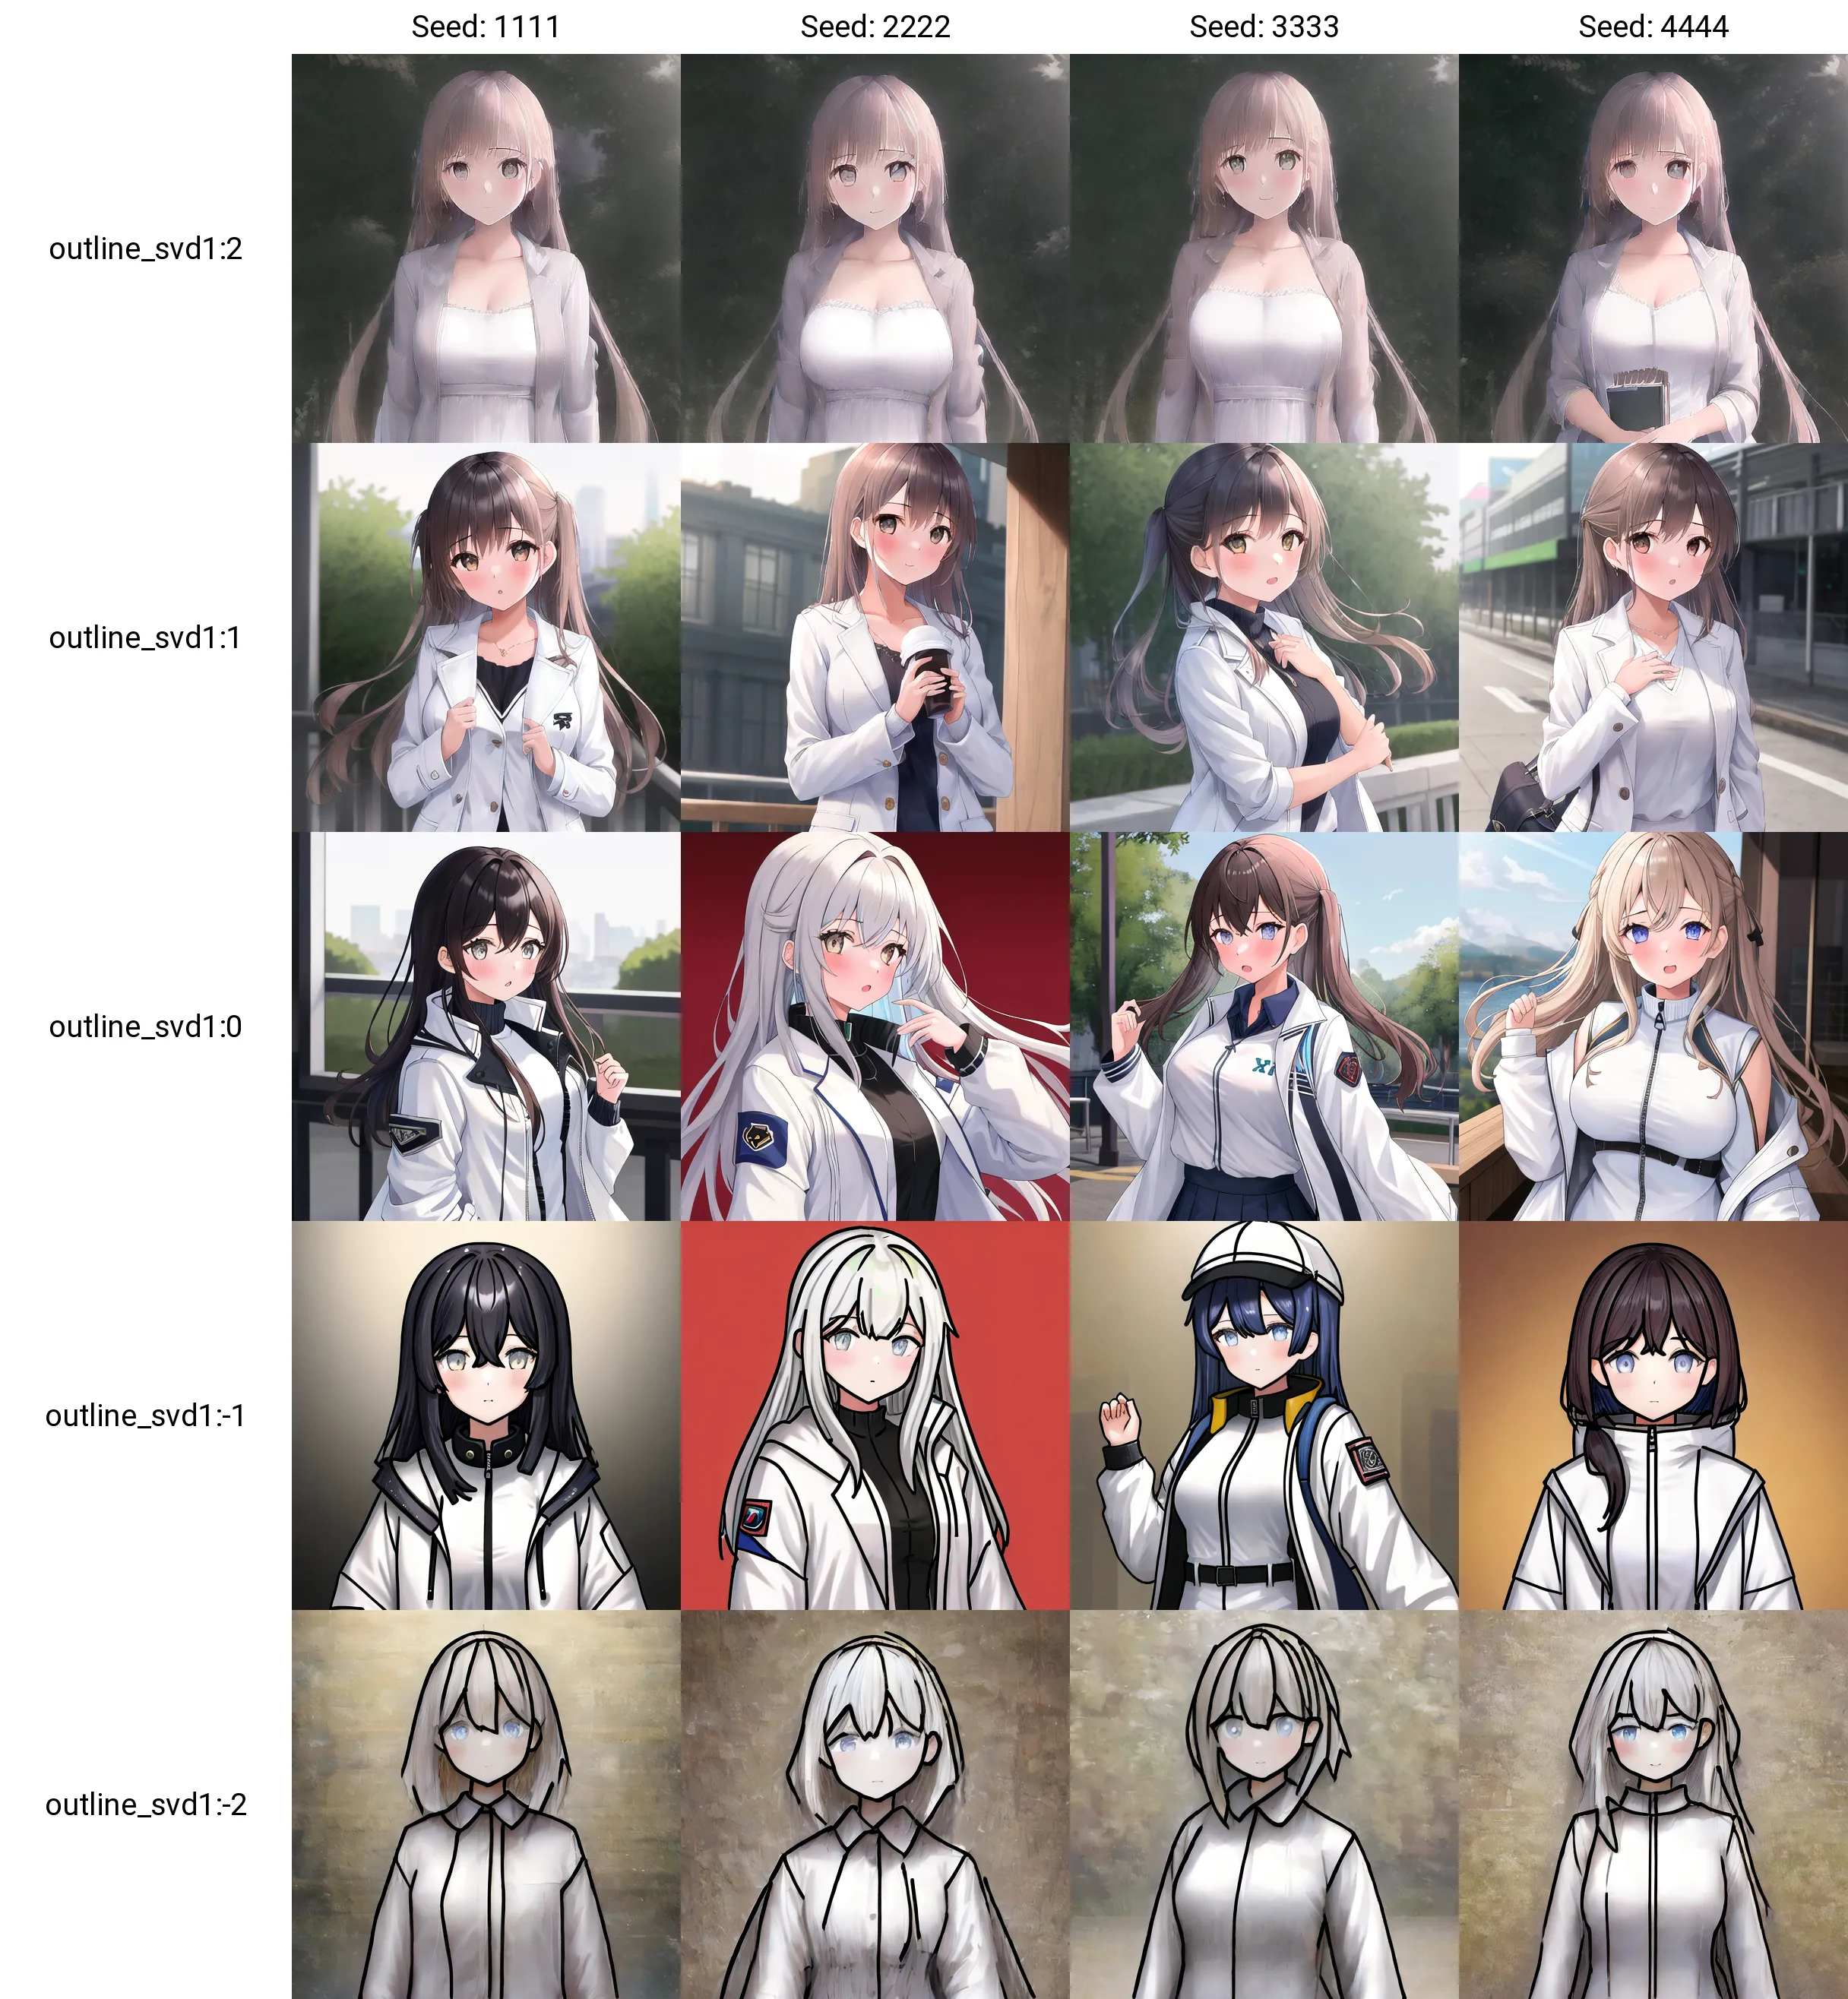
With positive intensity, the outline disappears.
The effect is stronger than the Copier Training method, and the change in art style is more significant. When the intensity was increased, the original image reappeared.
Tips (LoRA in general)
If you want to learn something from game screenshots but don't want the art style to be learned as well, create an art style LoRA using game screenshots first and then merge it into the model.
Use that model as the training model to significantly reduce the change in art style.。
Note
If you want to learn something from game screenshots but don't want the art style to be learned as well, create an art style LoRA using game screenshots first and then merge it into the model.
Use that model as the training model to significantly reduce the change in art style.
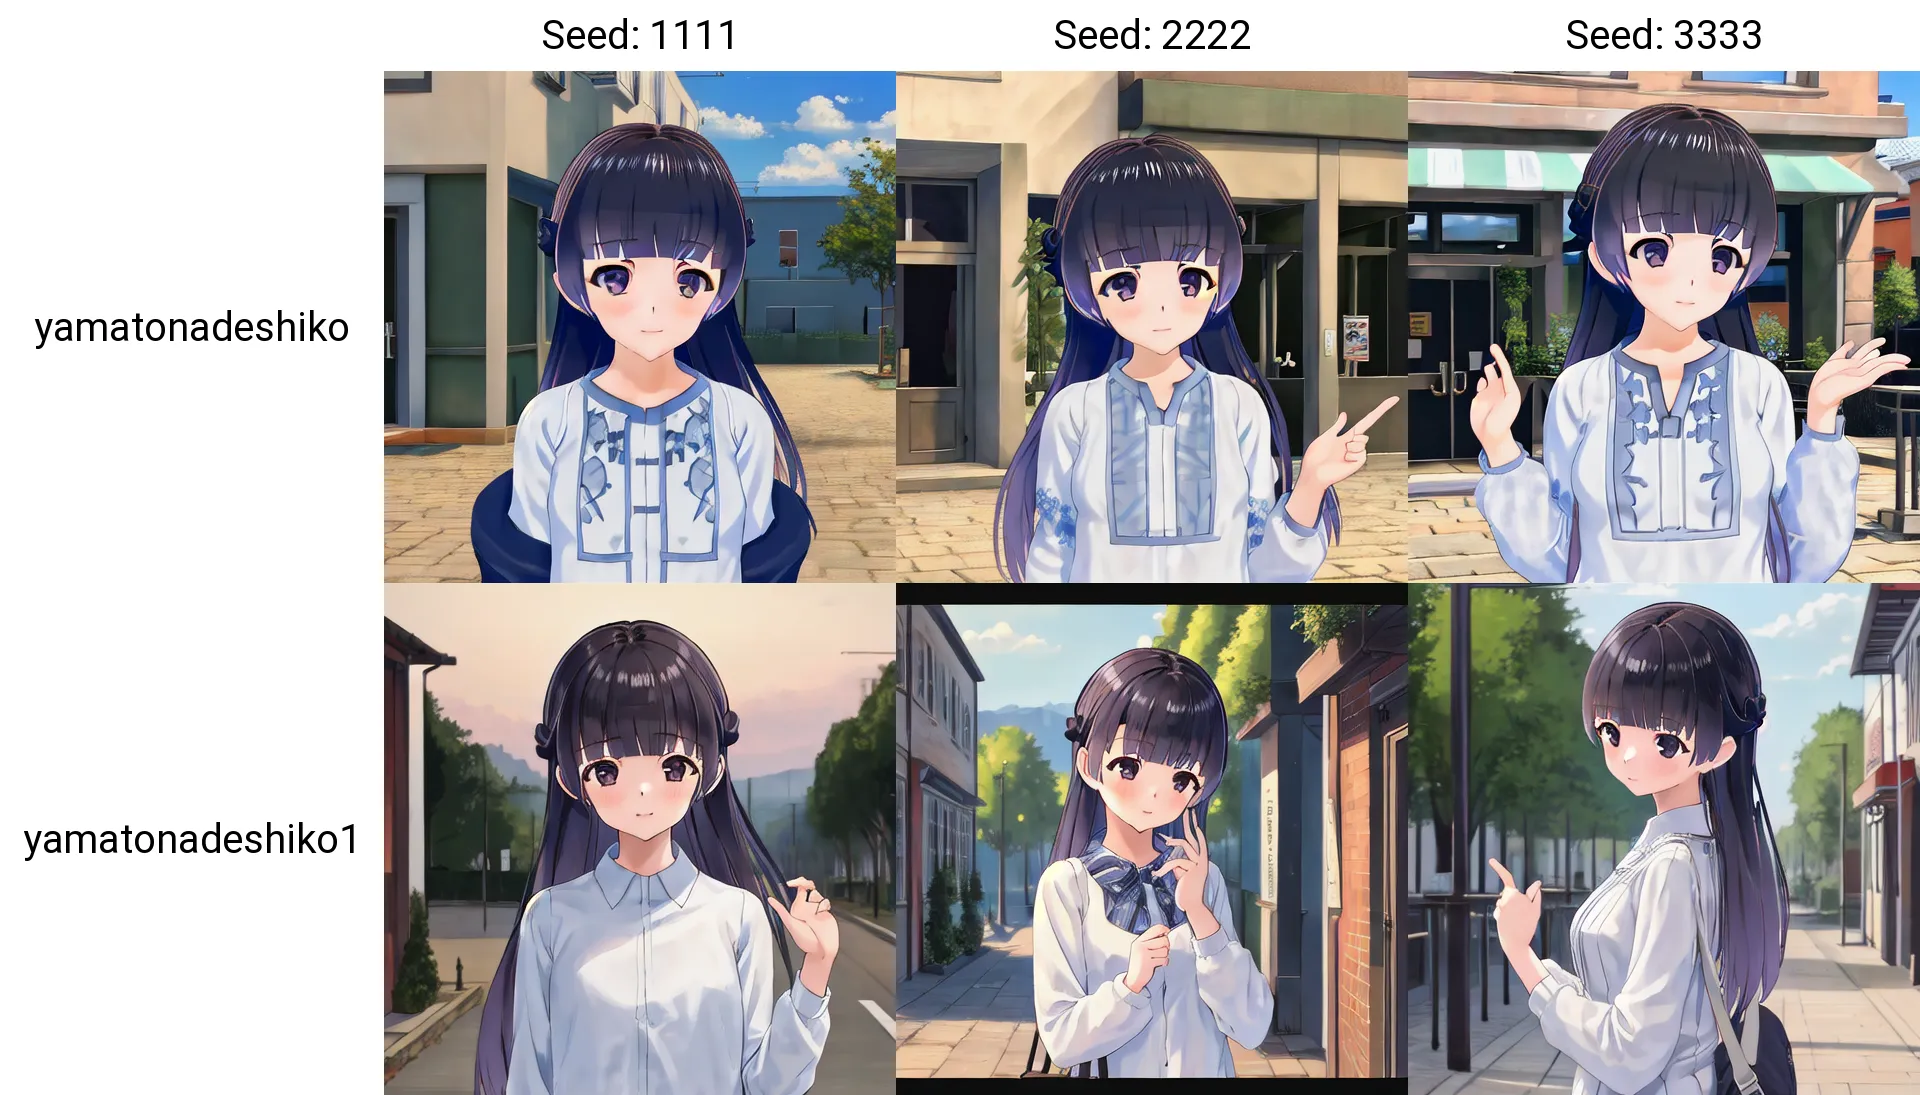
Example (top: trained with NAI as it is, bottom: trained with the model merged with the Koikatsu art style LoRA):
